This documentation provides a comprehensive overview of your edoobox account's user interface. It details the various views and sections within your edoobox account, including their nomenclature and functionalities.
Home Page
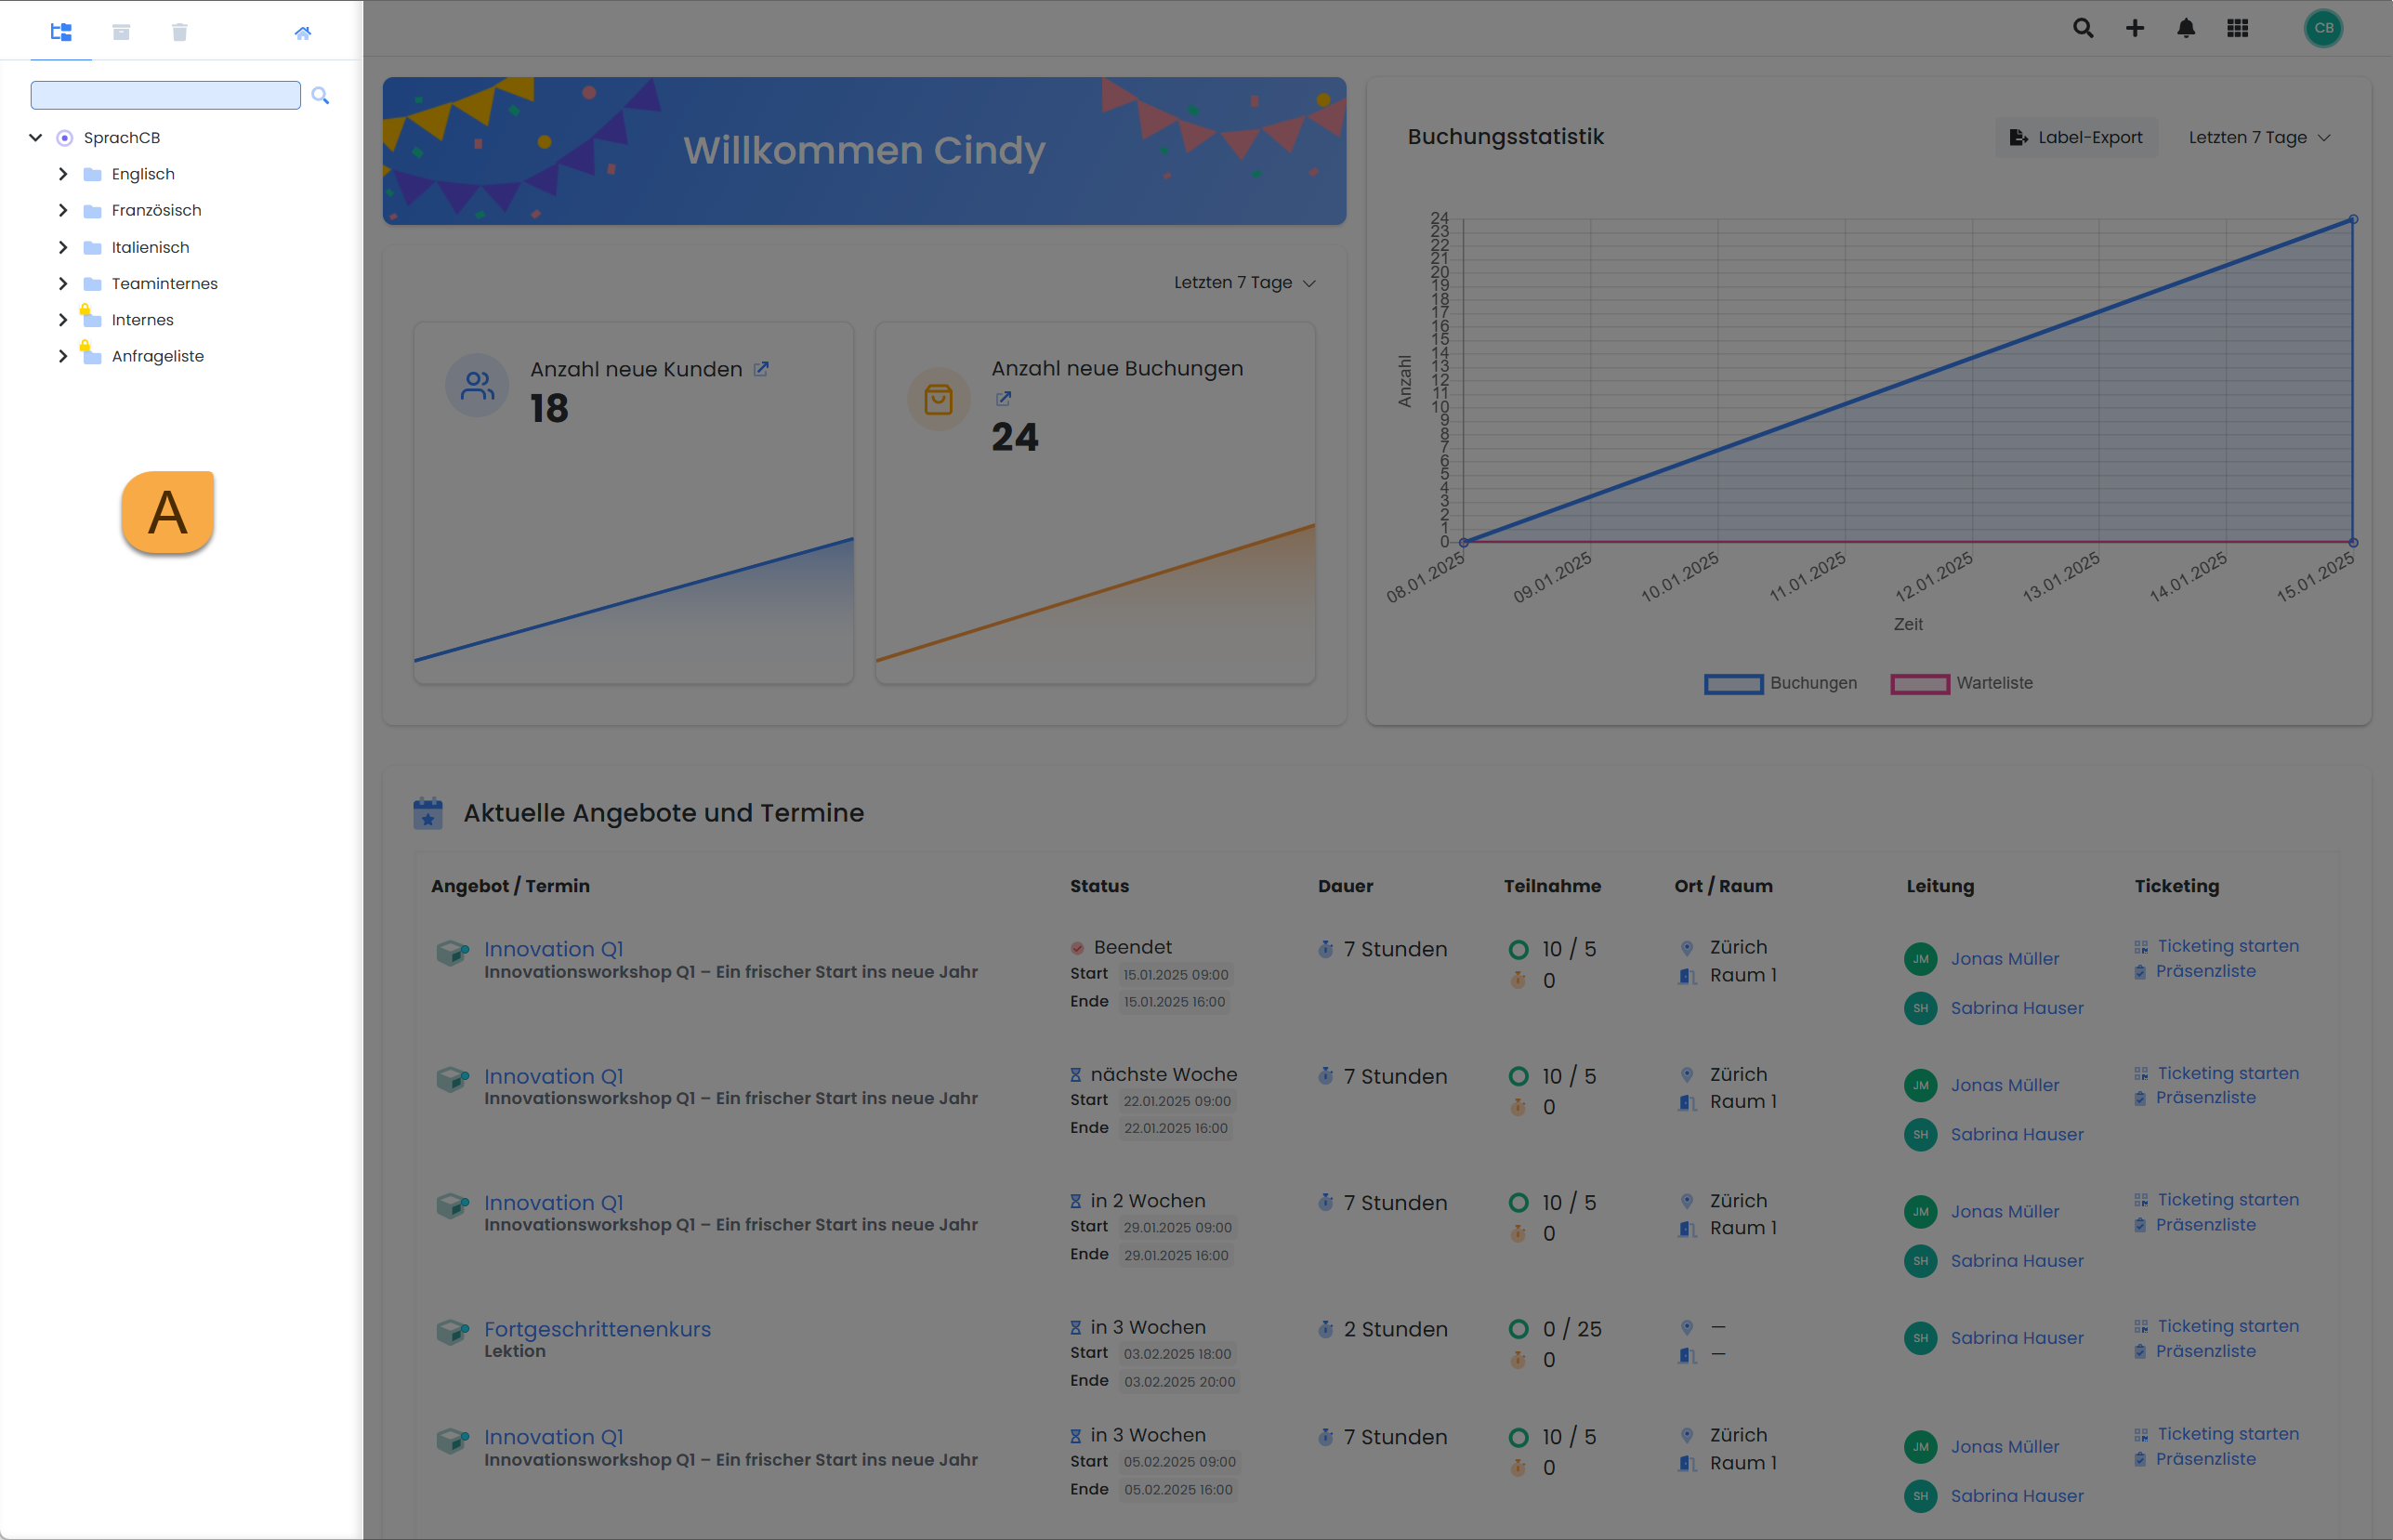
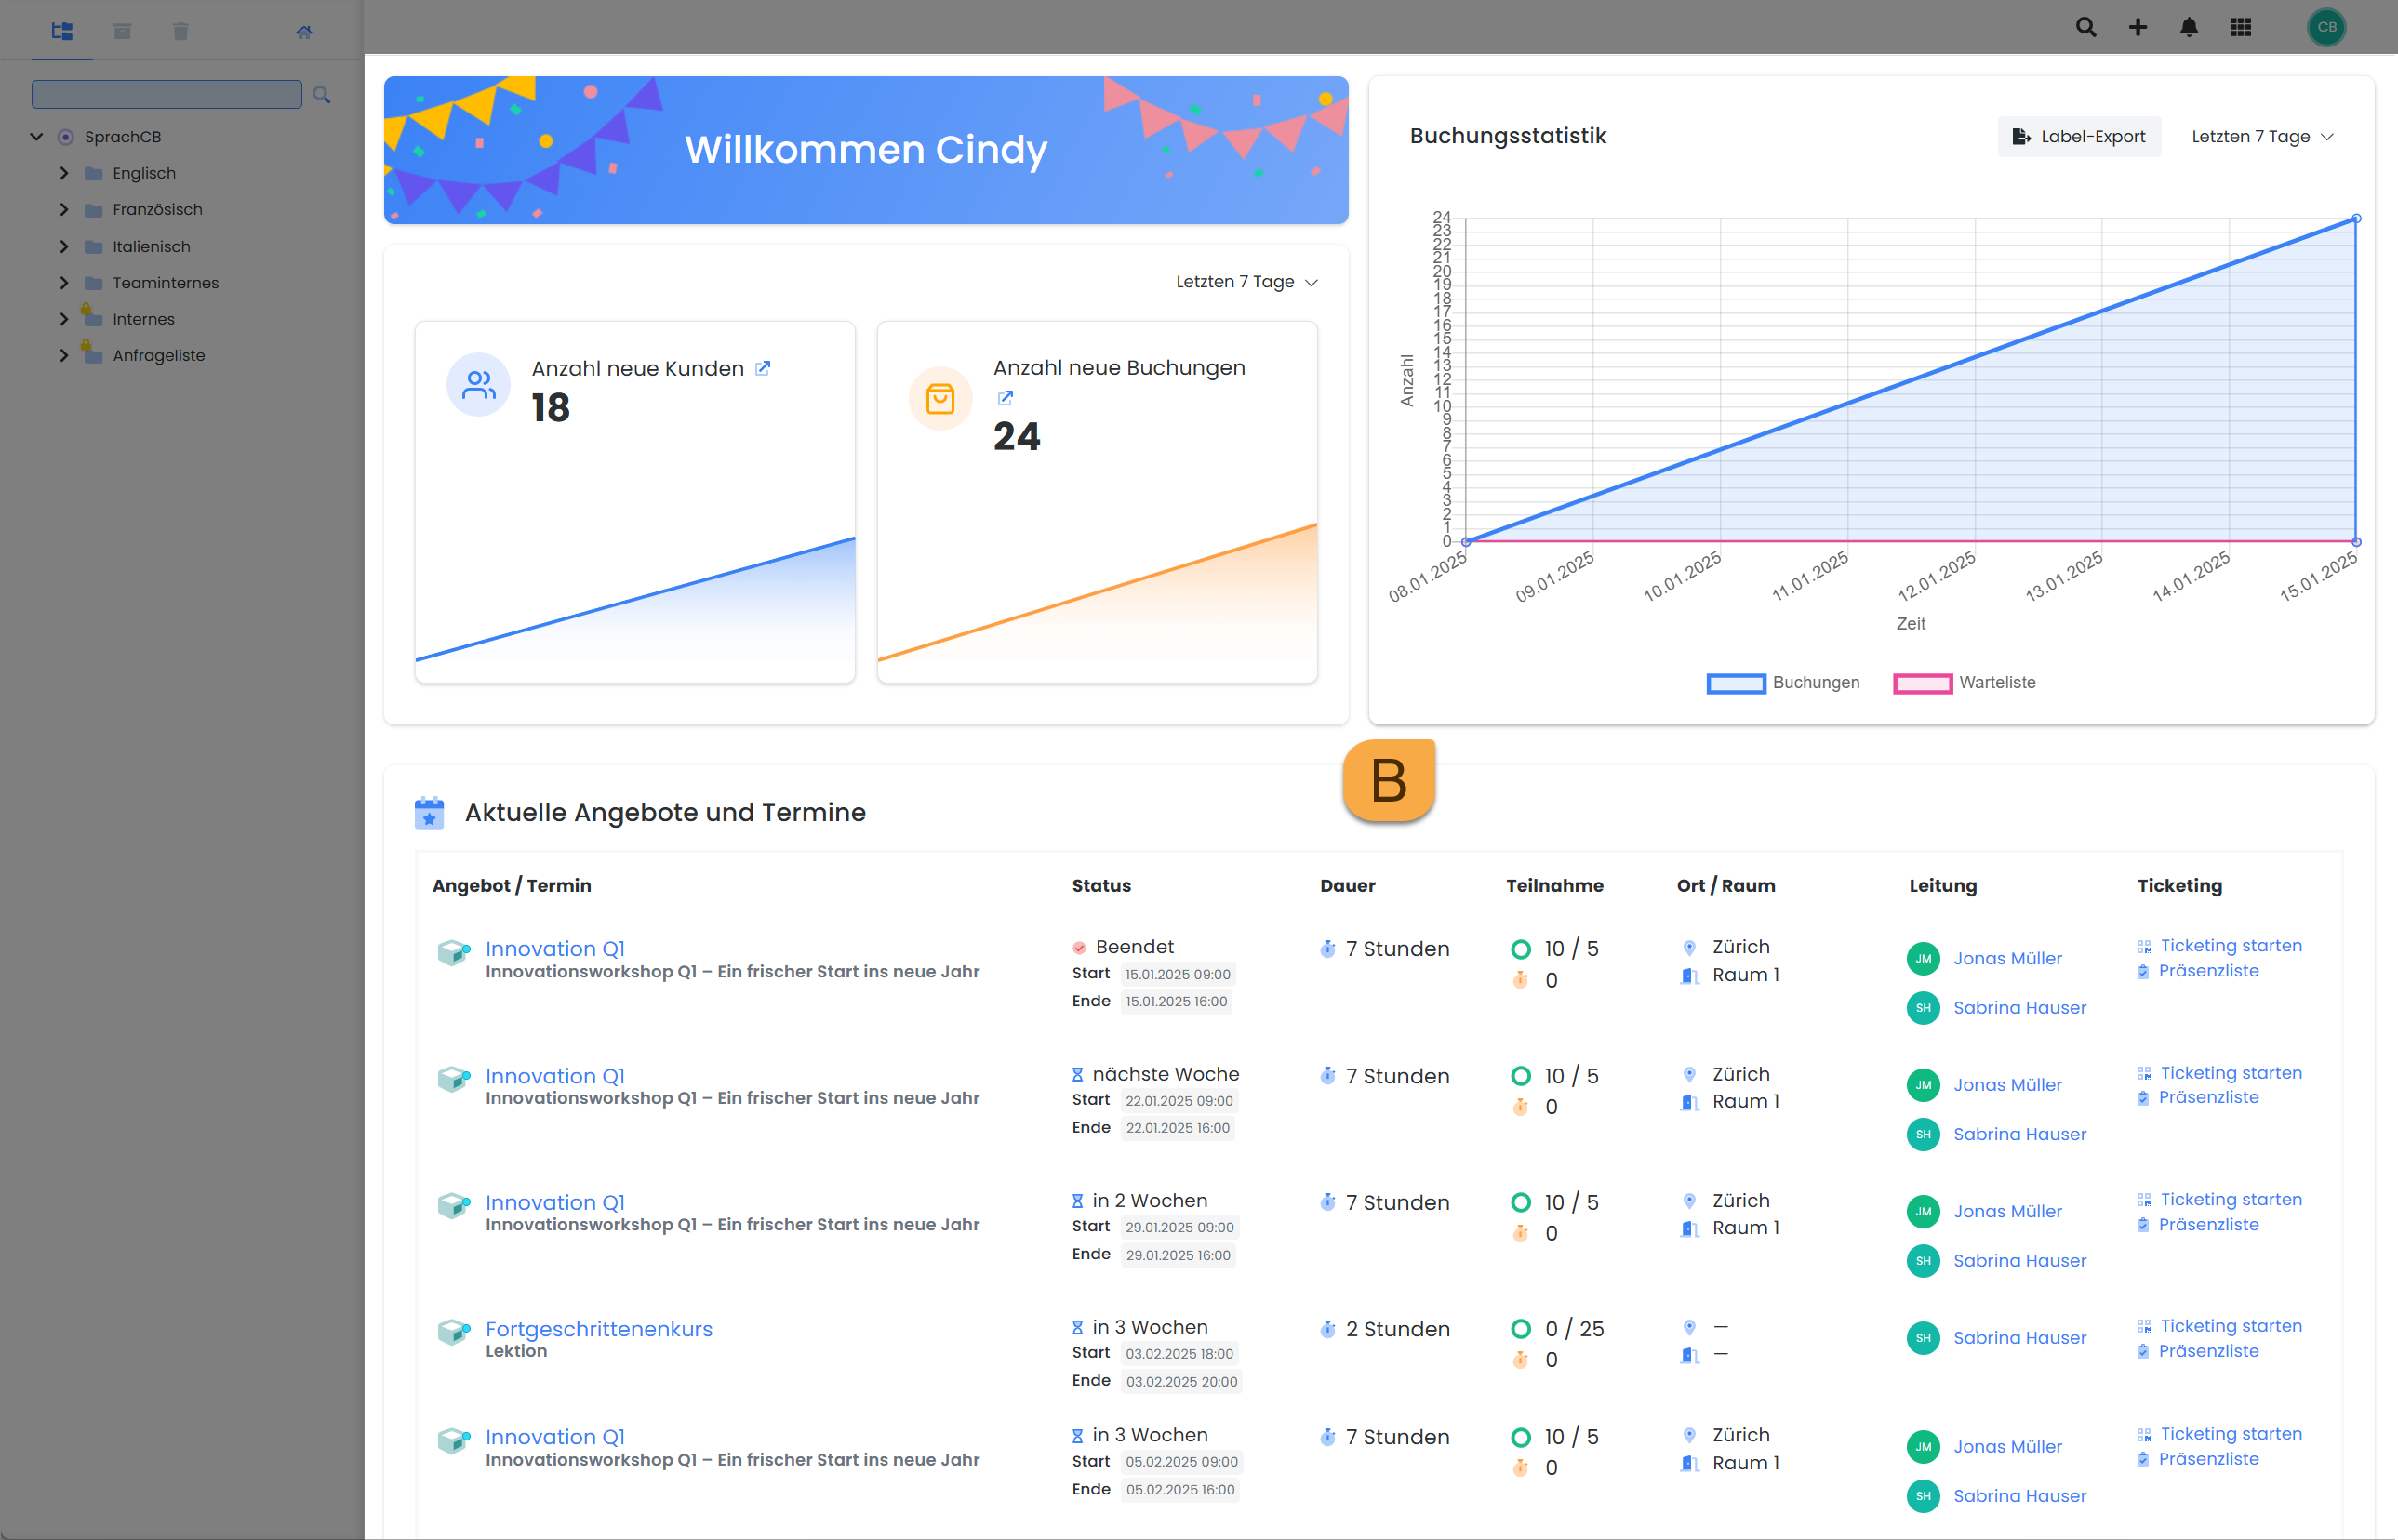
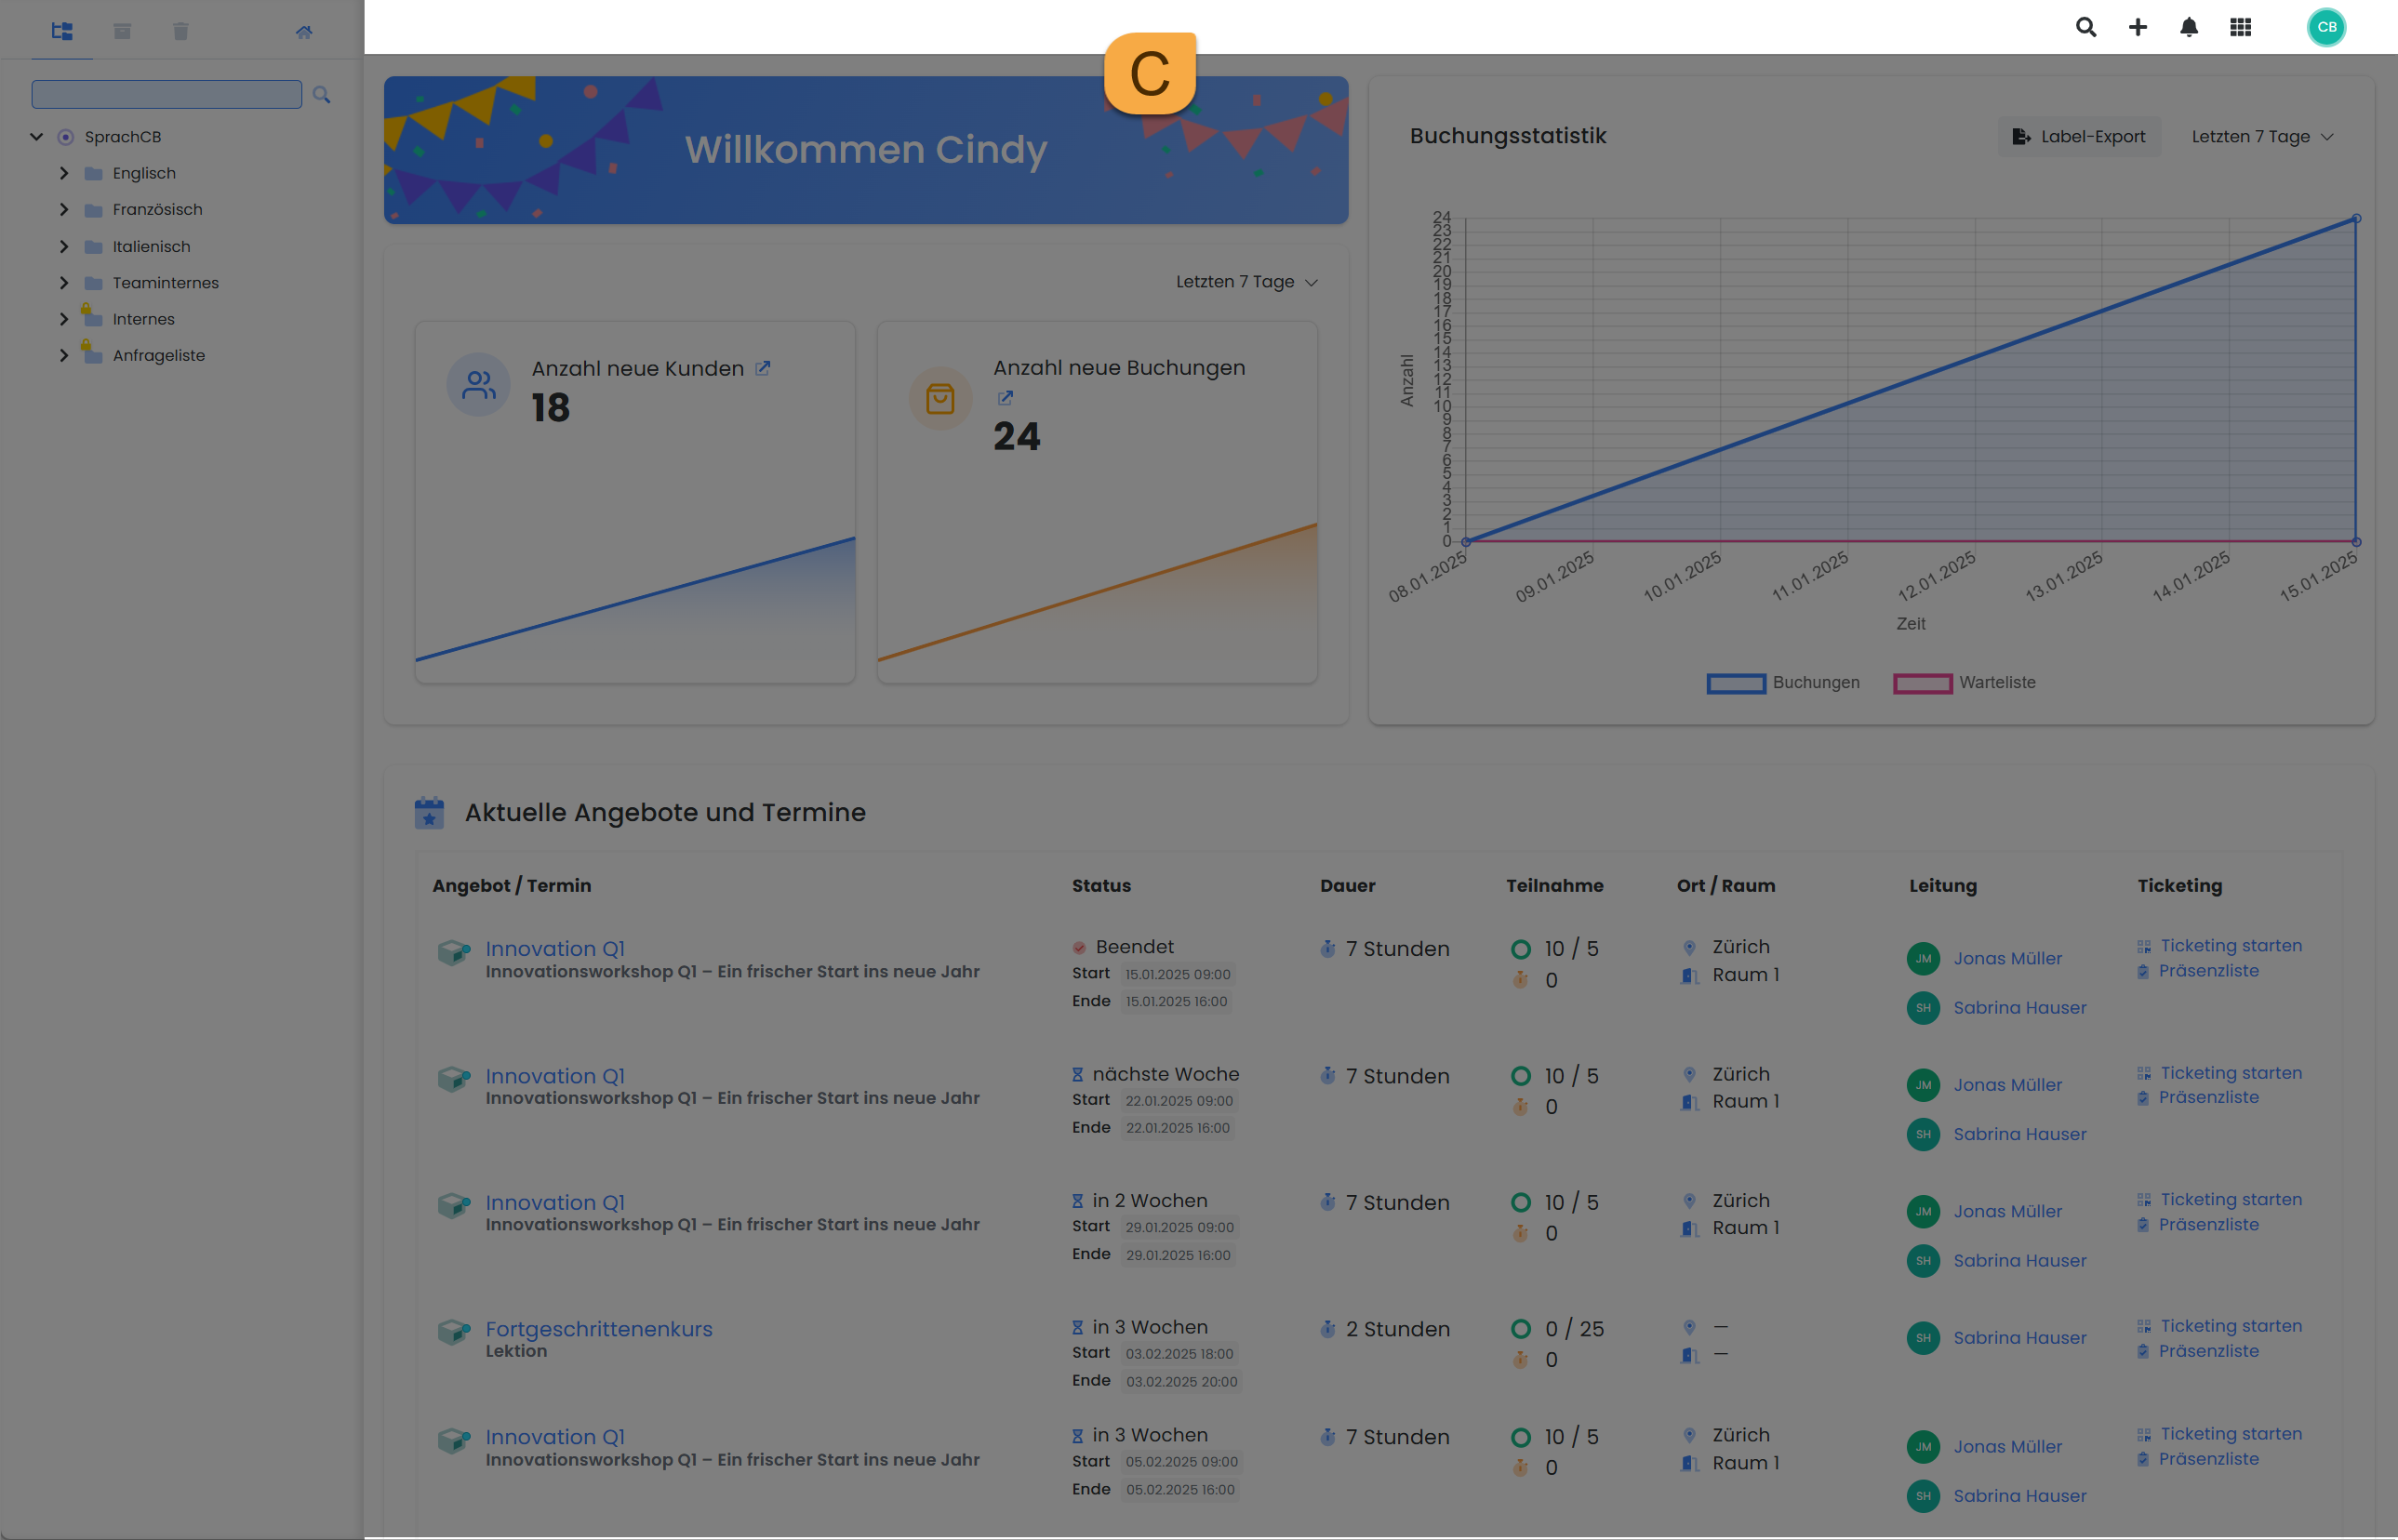
The edoobox homepage is divided into three sections: the page navigation with the menu tree (A), the main window ( B), and the main navigation ( C).
Page navigation with menu tree A
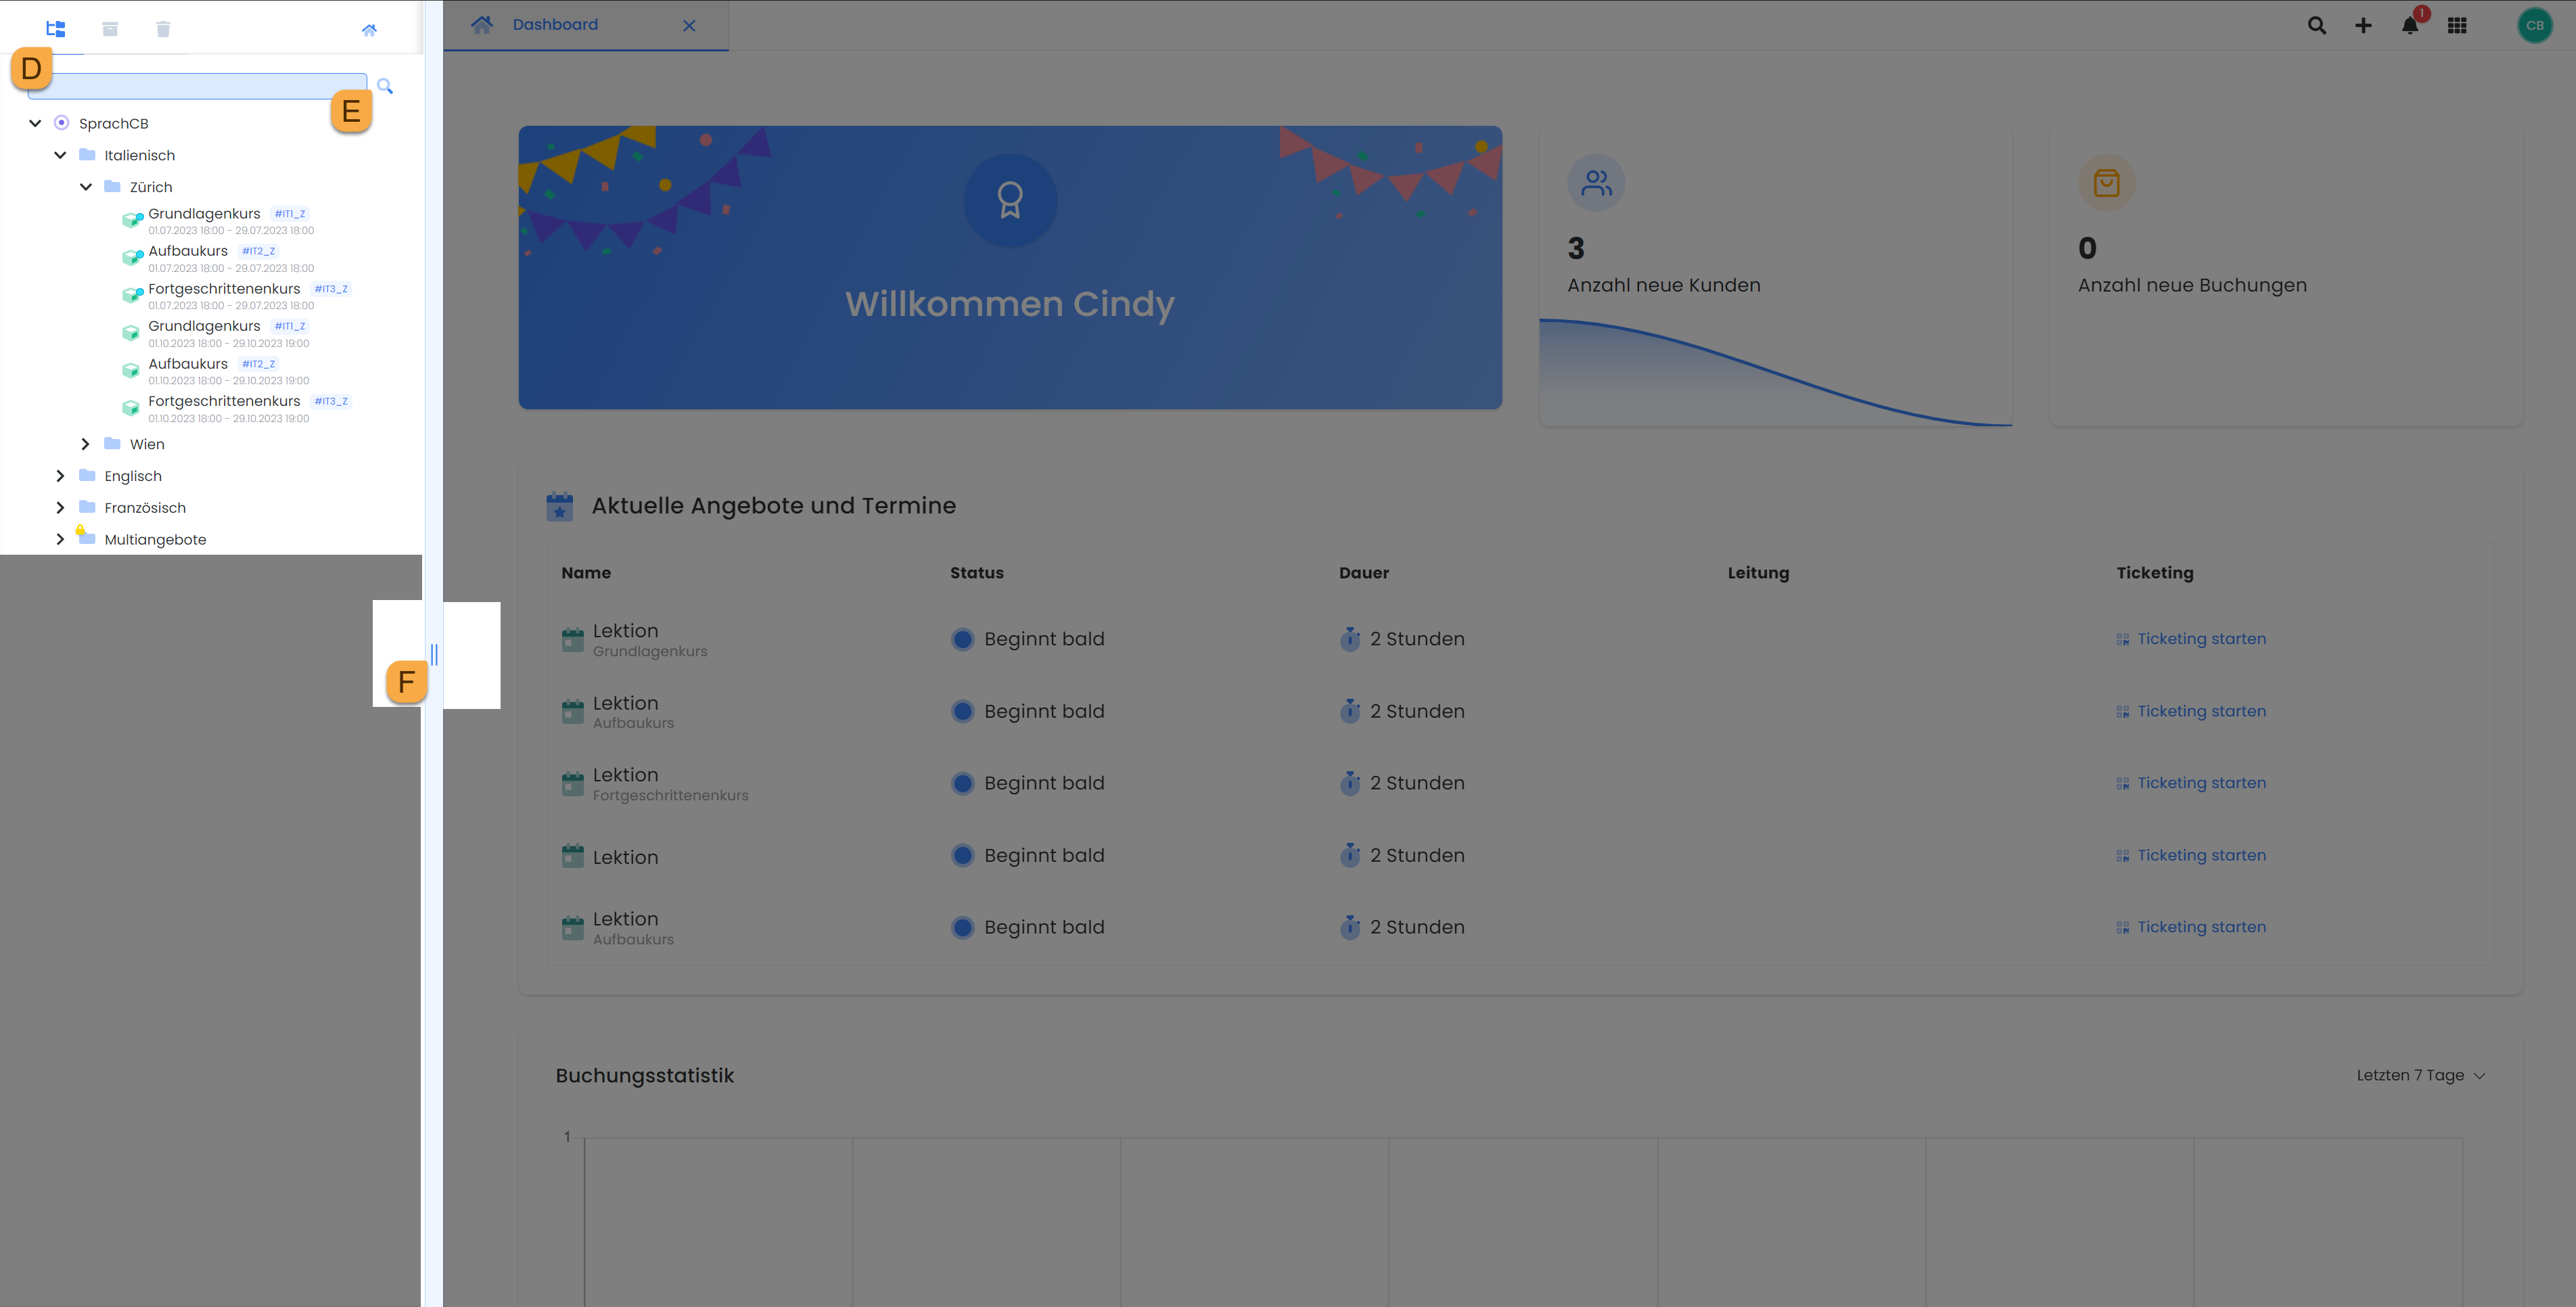
Page navigation tabs d
The following tabs are included here (from left to right):
|
Offer Tree |
Tree structure of all active categories and offers |
|
Archive |
Tree structure of all archived categories and offers |
|
Recycle Bin |
Tree structure of all deleted categories and offers |
|
Home Button |
Overview of various statistics and conversions |
Search bar E
The search bar enables targeted searching for a specific category or offer. It is available in all three tabs (Offer Tree, Archive, and Recycle Bin). It is important to note that the search is always limited to the current tab and is not applied simultaneously across all three tree structures.
Arrow keys F
Using the arrow slider, the width of the sidebar navigation or the main window can be adjusted as needed. The sidebar navigation can be minimized or maximized by double-clicking the arrow slider to create more space in the main window.
Main Navigation C
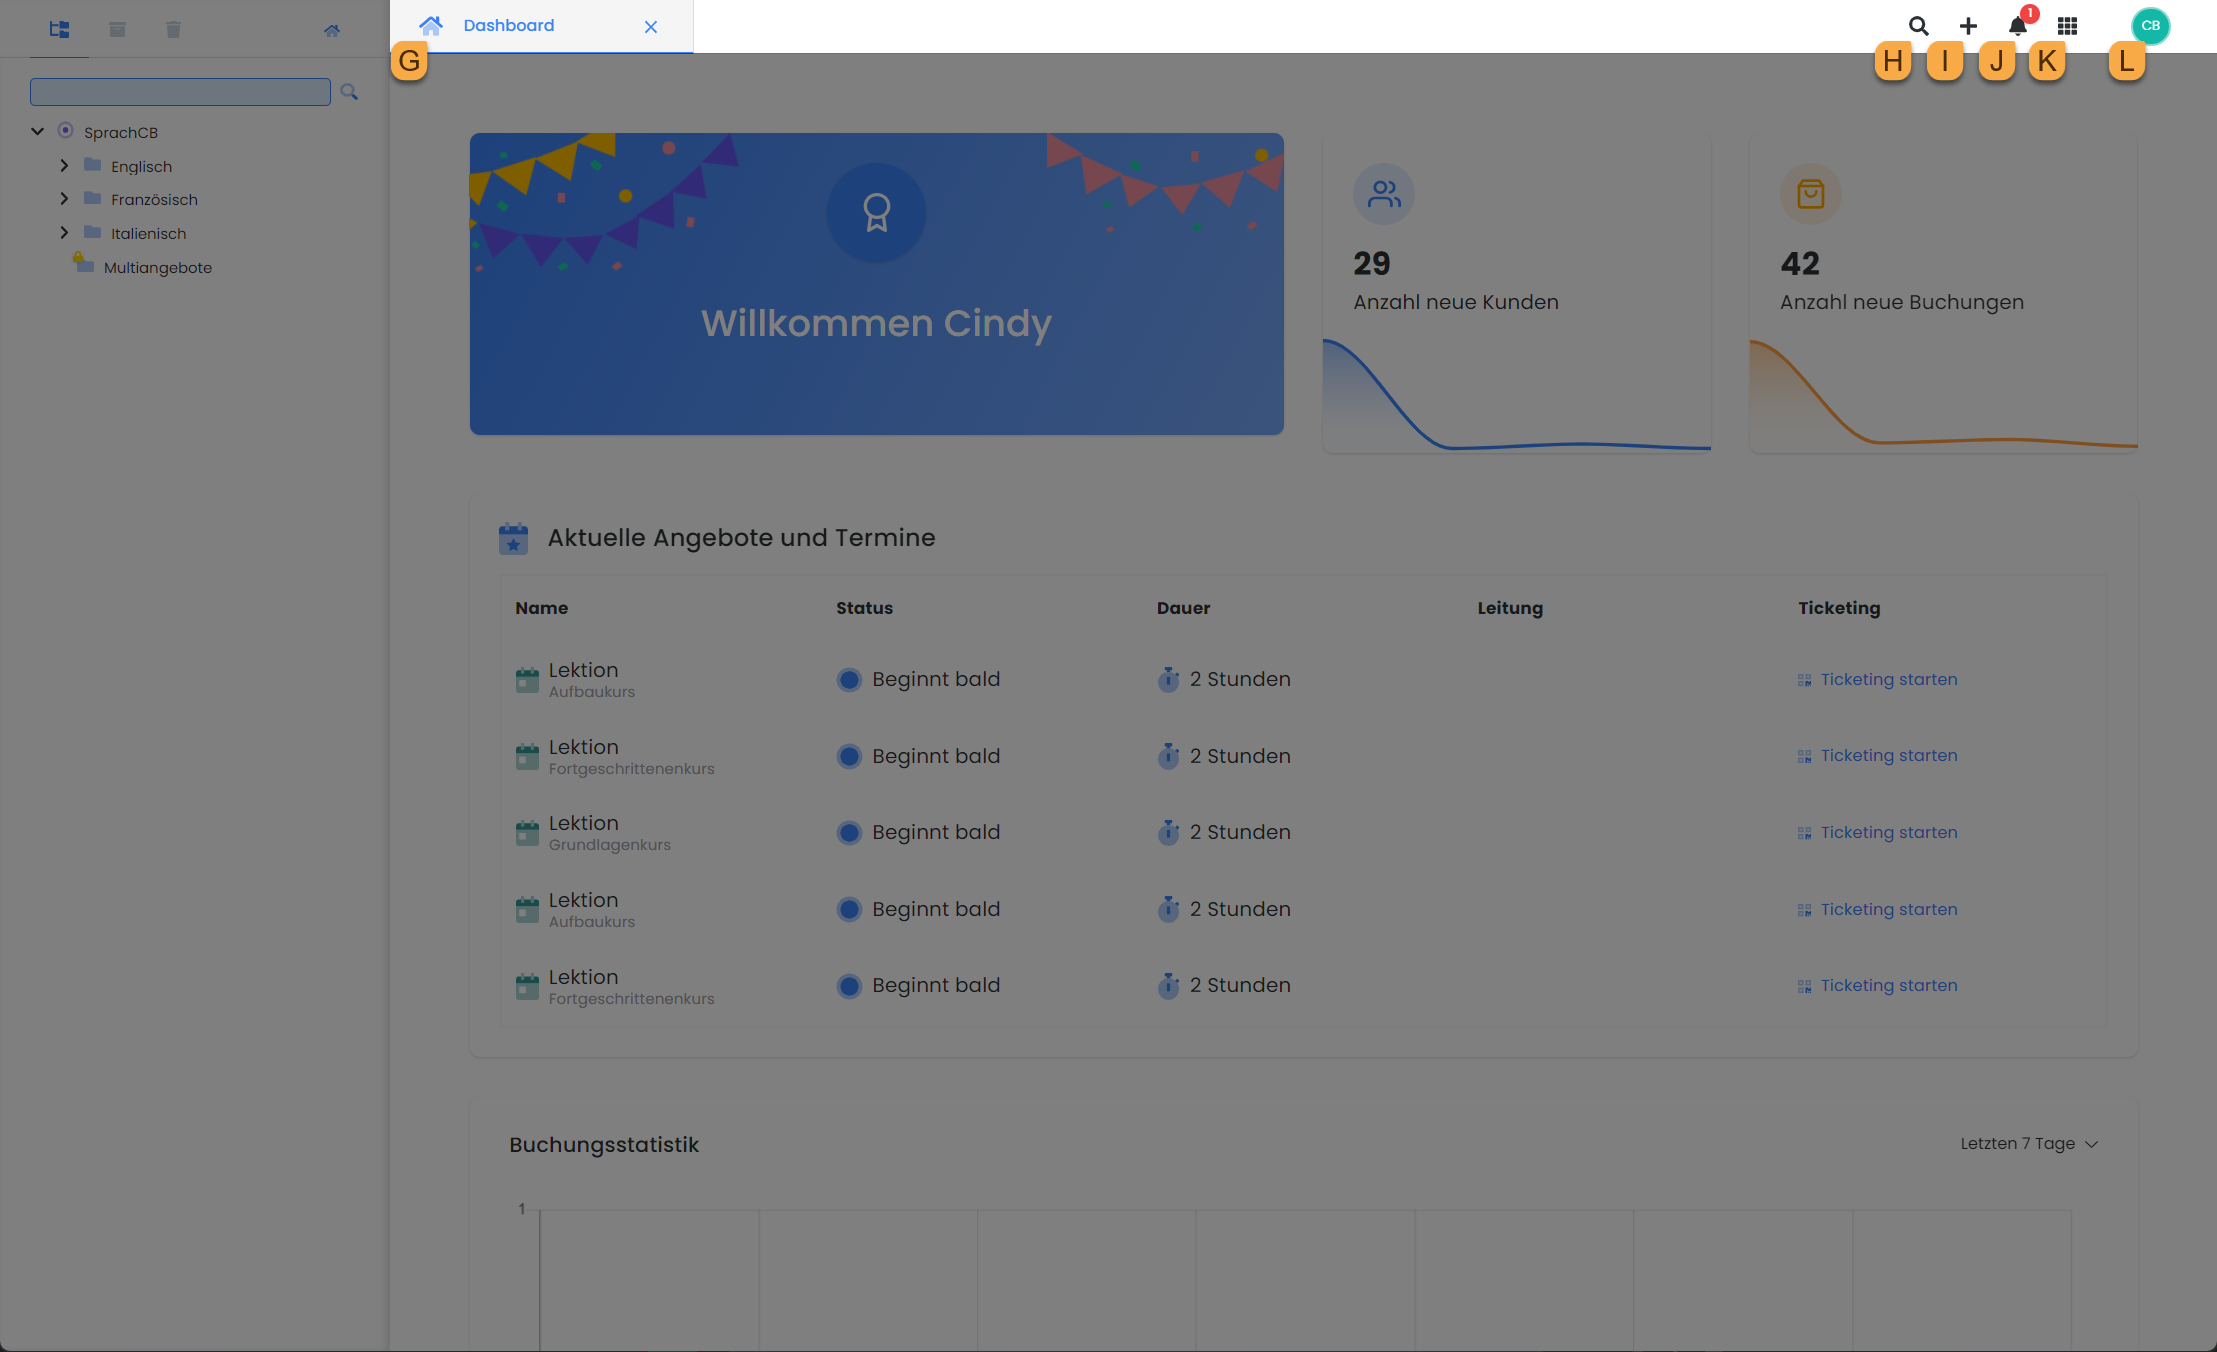
tab G
Clicking on various datasets such as participants, offerings, bookings, and settings opens a new tab for each. This allows for quick switching between different datasets. If numerous tabs are open simultaneously, a list menu appears (identifiable by a downward arrow icon), through which additional open tabs can be located and closed with a single click.
Global Search H
The global search allows you to search your entire edoobox account. For example, you can enter participant names, voucher codes, invoice numbers, booking numbers, transaction numbers, or offering names, and edoobox will provide corresponding search results.
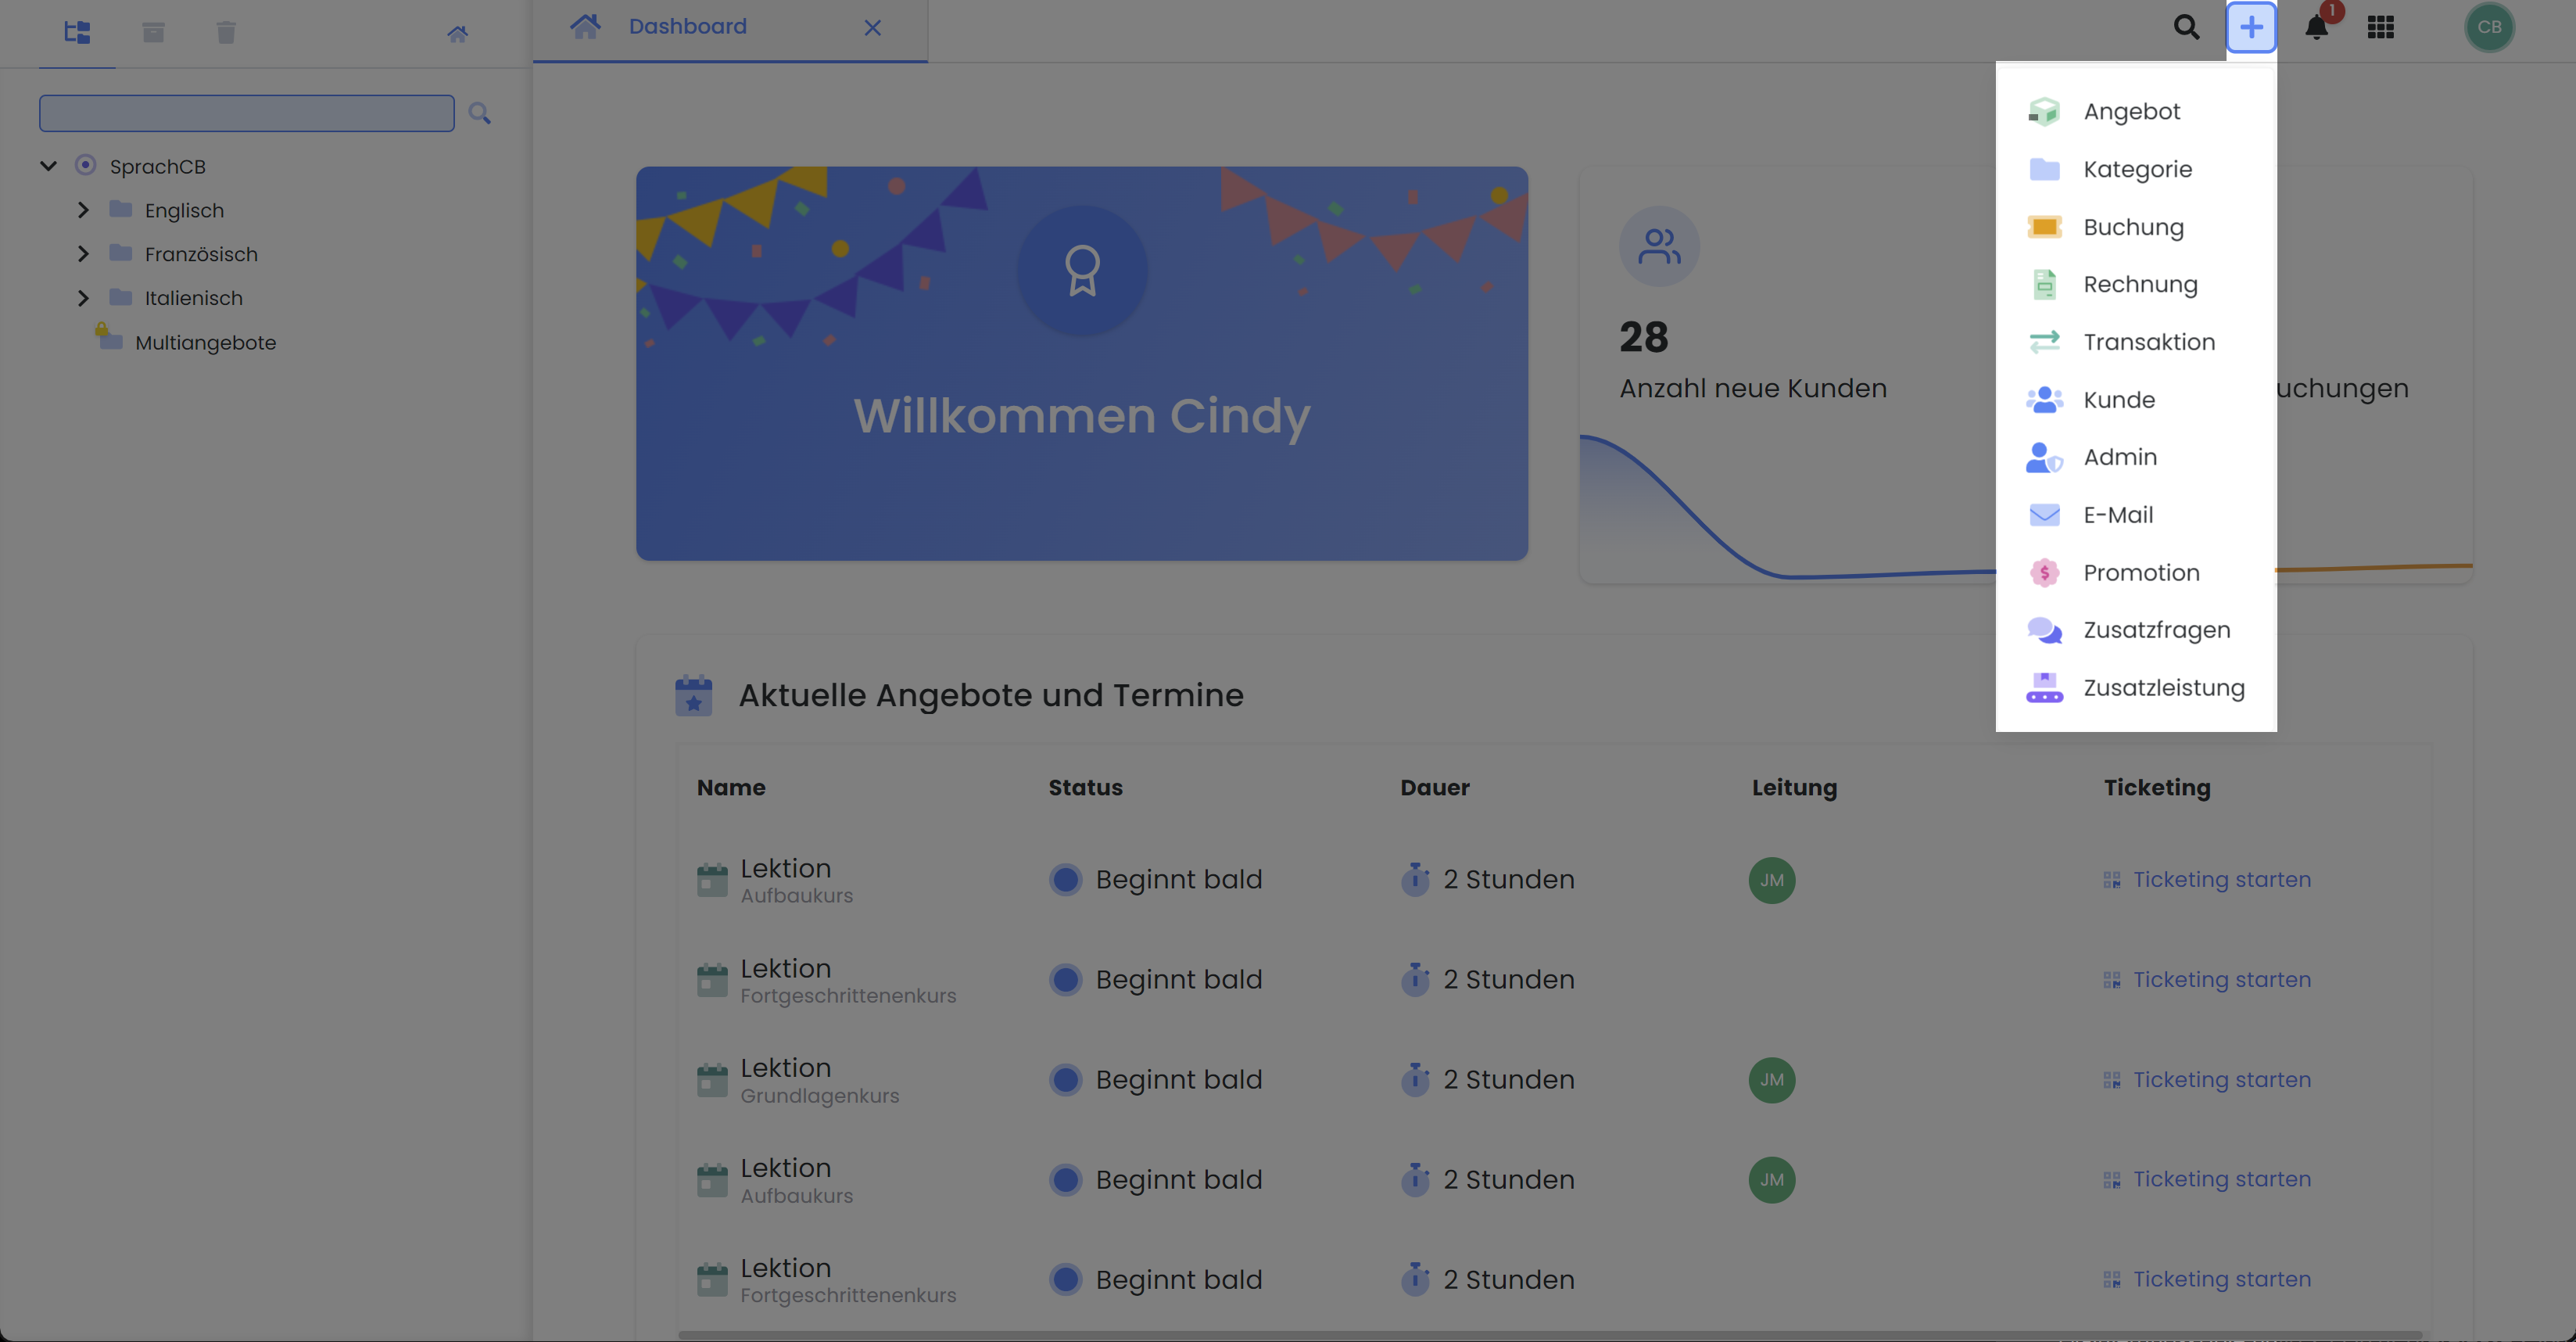
Quick Menu I
For quickly creating new datasets, such as offerings, participants, or promotional campaigns, the Quick Menu in the main navigation can be used. Clicking the plus symbol and selecting the desired resource initiates the creation process.
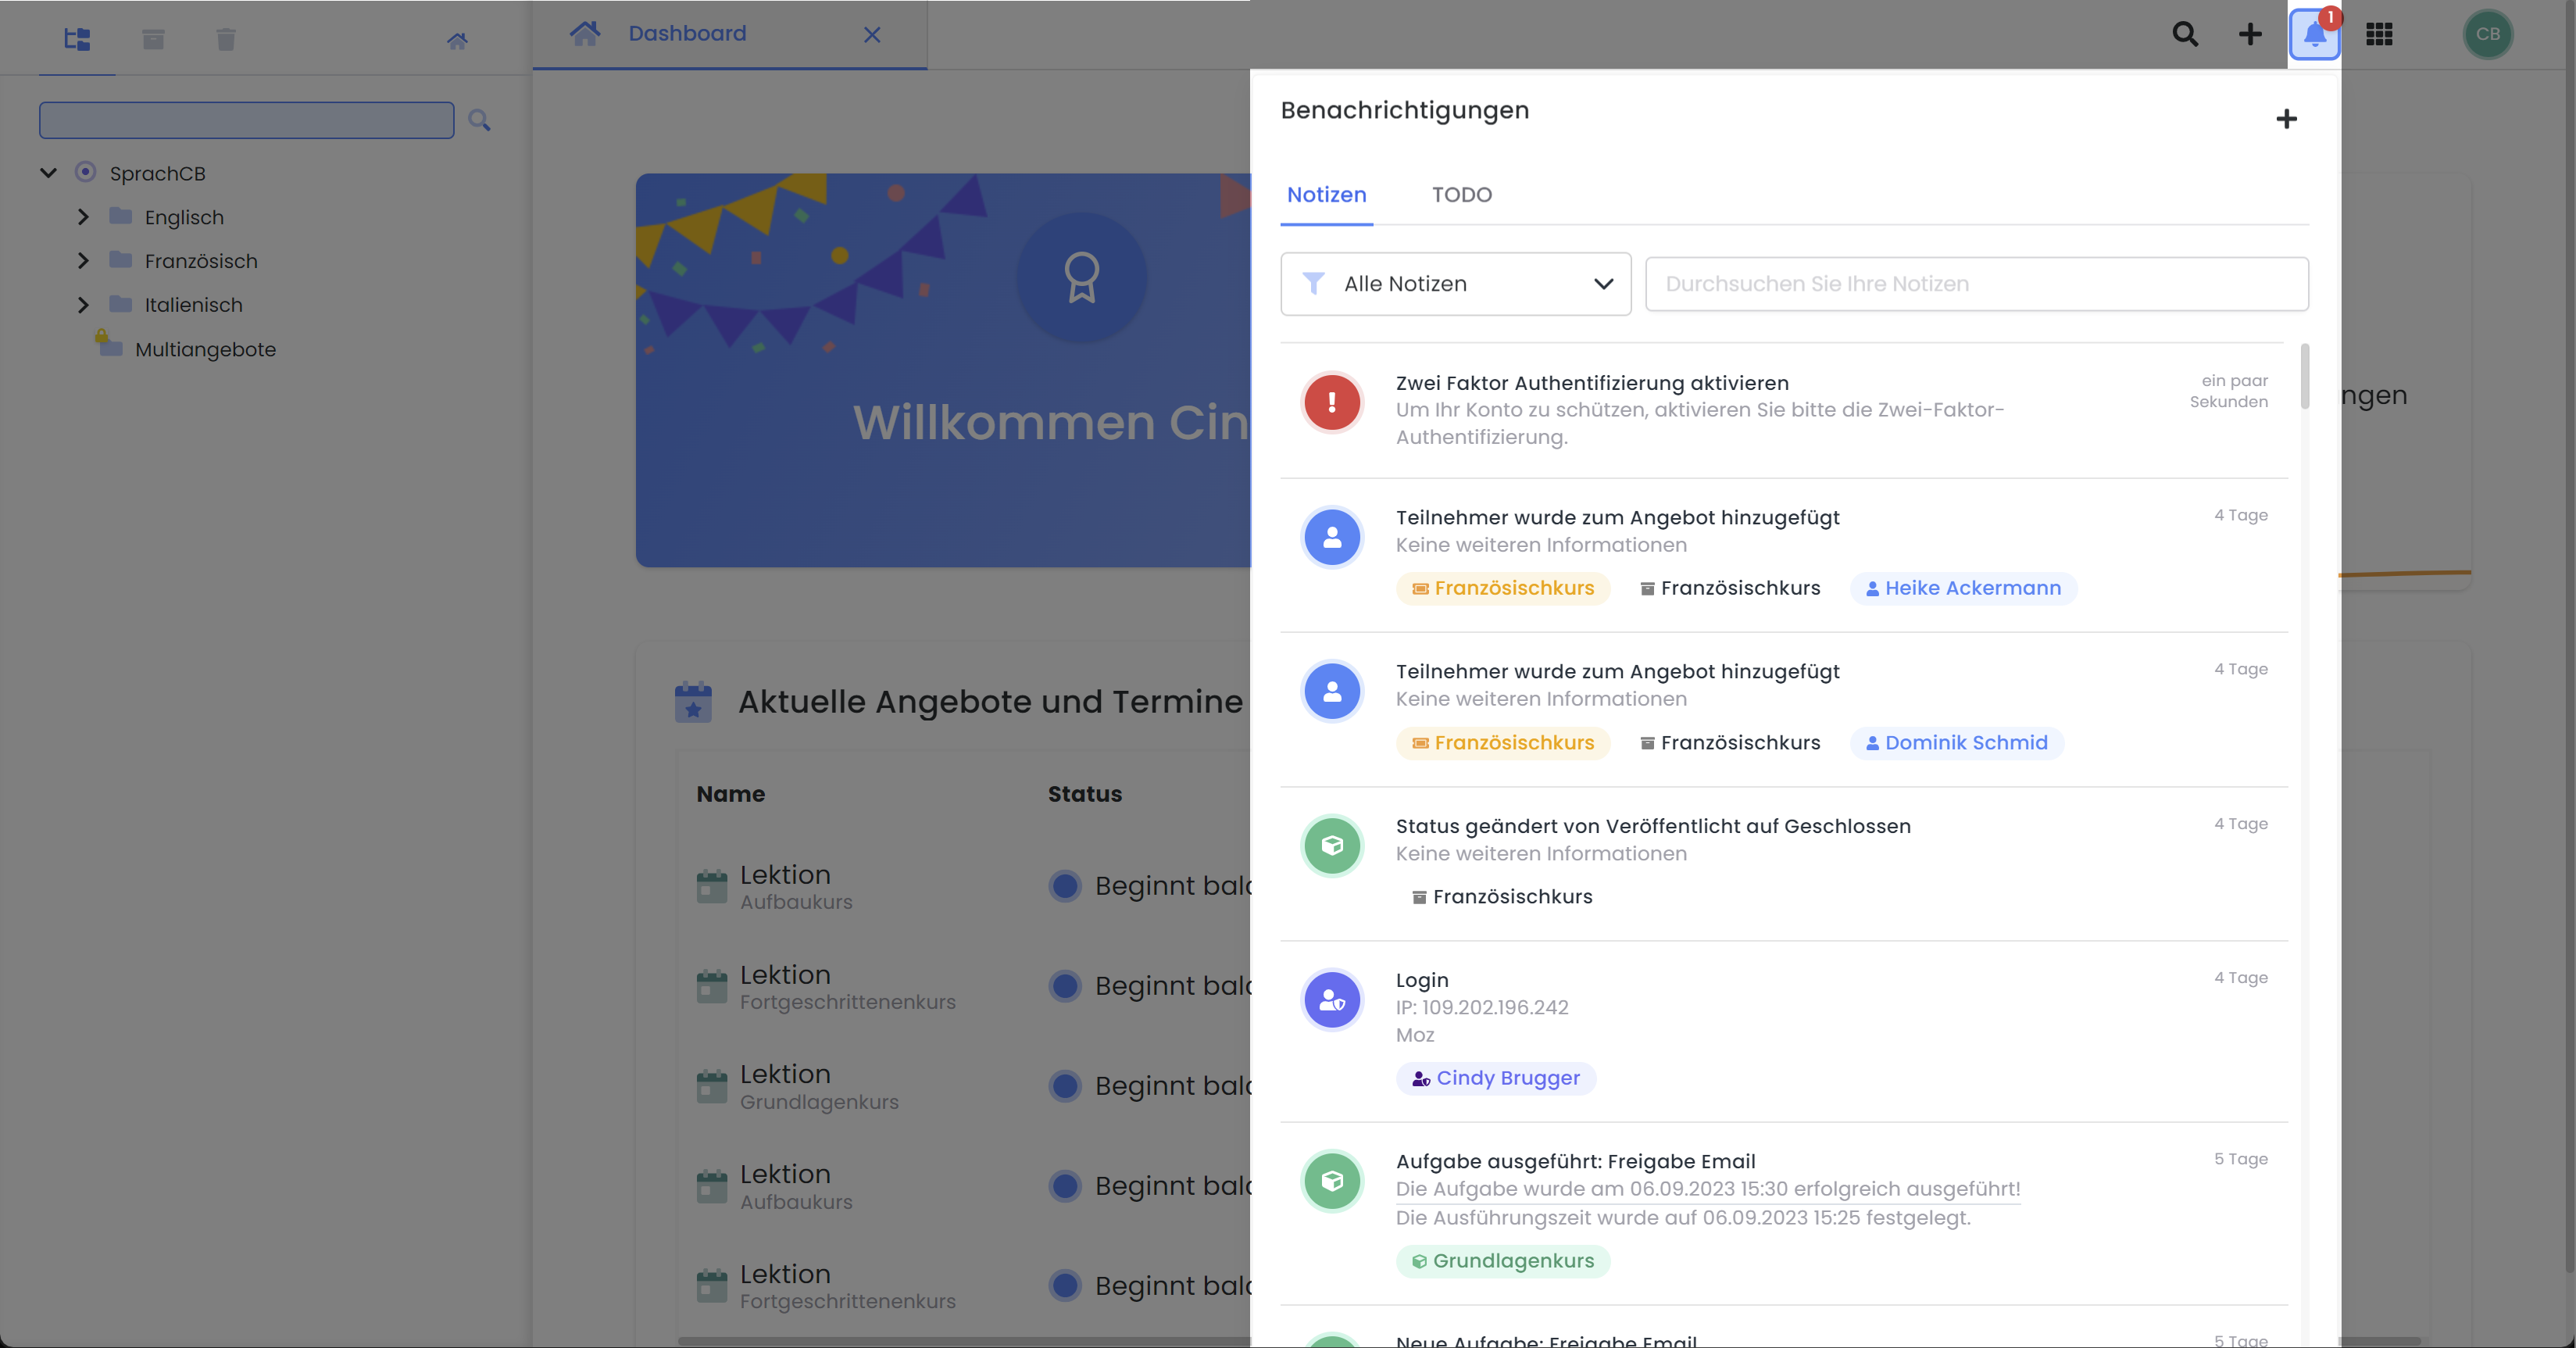
Notifications J
The notifications provide the administrator with an overview of all notes and open to-dos. By clicking the plus symbol, a new note can be created and, if necessary, linked to participants, offerings, administrators, and other datasets.
There are standard notifications that can be displayed when certain events occur. These include, for example, prompts to activate Two-Factor Authentication (2FA) and information regarding account funding. If the edoobox account shows a negative balance at the next billing cycle, a notification will appear here.
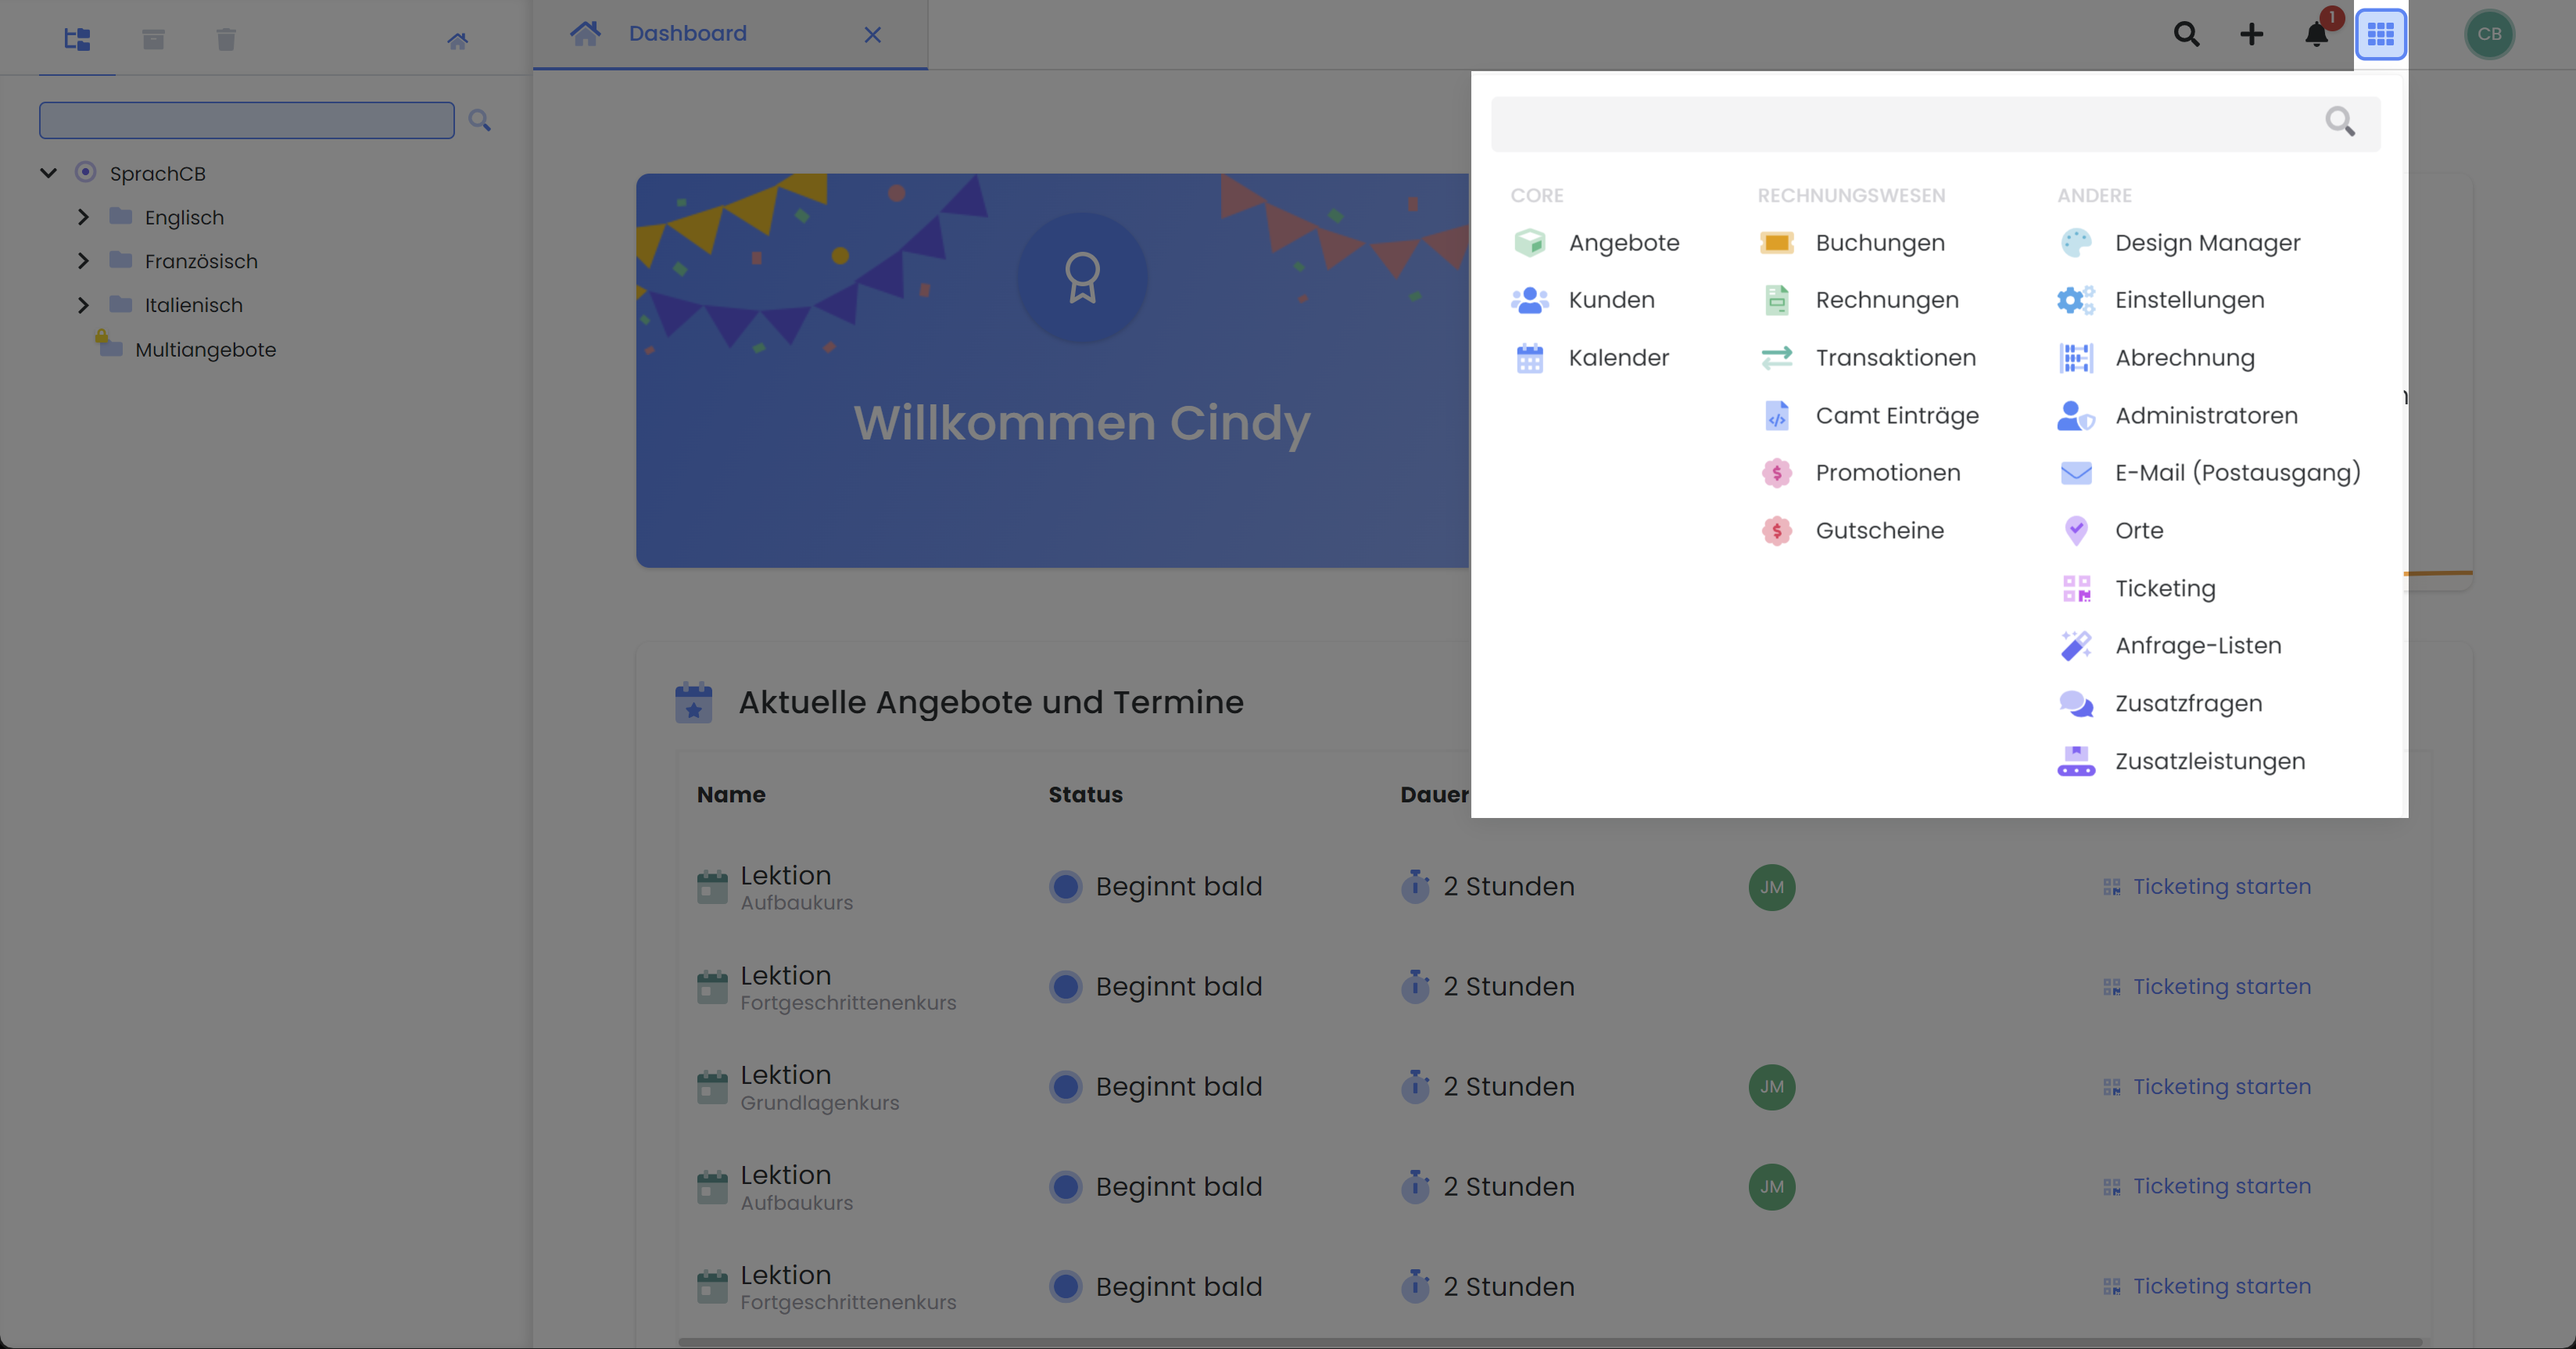
App Menu K
The App Menu includes the following menu items (from top to bottom):
|
Core |
|
|
Navigation to all offerings |
|
|
Navigation to all participants |
|
|
Navigation to the global calendar |
|
|
Accounting |
|
|
Bookings |
Navigate to all bookings |
|
Navigate to all invoices |
|
|
Transactions |
Navigate to all transactions |
|
Camt Entries |
Reconcile outstanding invoices via Camt file |
|
Navigate to promotion campaigns |
|
|
Navigate to sold vouchers |
|
|
Other |
|
|
Navigate to the Design Manager to customize the booking process |
|
|
Navigate to global settings such as email settings, rights management, payment systems, or subscription management |
|
|
Navigate to your edoobox account statement |
|
|
Navigate to account administrators |
|
|
Email (Outbox) |
Navigate to the global outbox |
|
Navigate to event locations and room planning |
|
|
Navigate to admission control |
|
|
Navigation to Inquiry Lists |
|
|
Navigation to Additional Questions |
|
|
Navigation to Additional Services |
Logged-in admin L
This section displays the admin account currently logged in. The dropdown menu initially shows the user profile of the logged-in admin, where admin data can be adjusted as needed. If an admin is asked for their Support ID when contacting edoobox support, it can be sent to edoobox support by clicking 'Send Support ID'. If the admin manages another edoobox account, it can be added here. The admin can then flexibly switch between the two edoobox accounts. Finally, there is an option to log out of the currently active edoobox account.
Offer Table
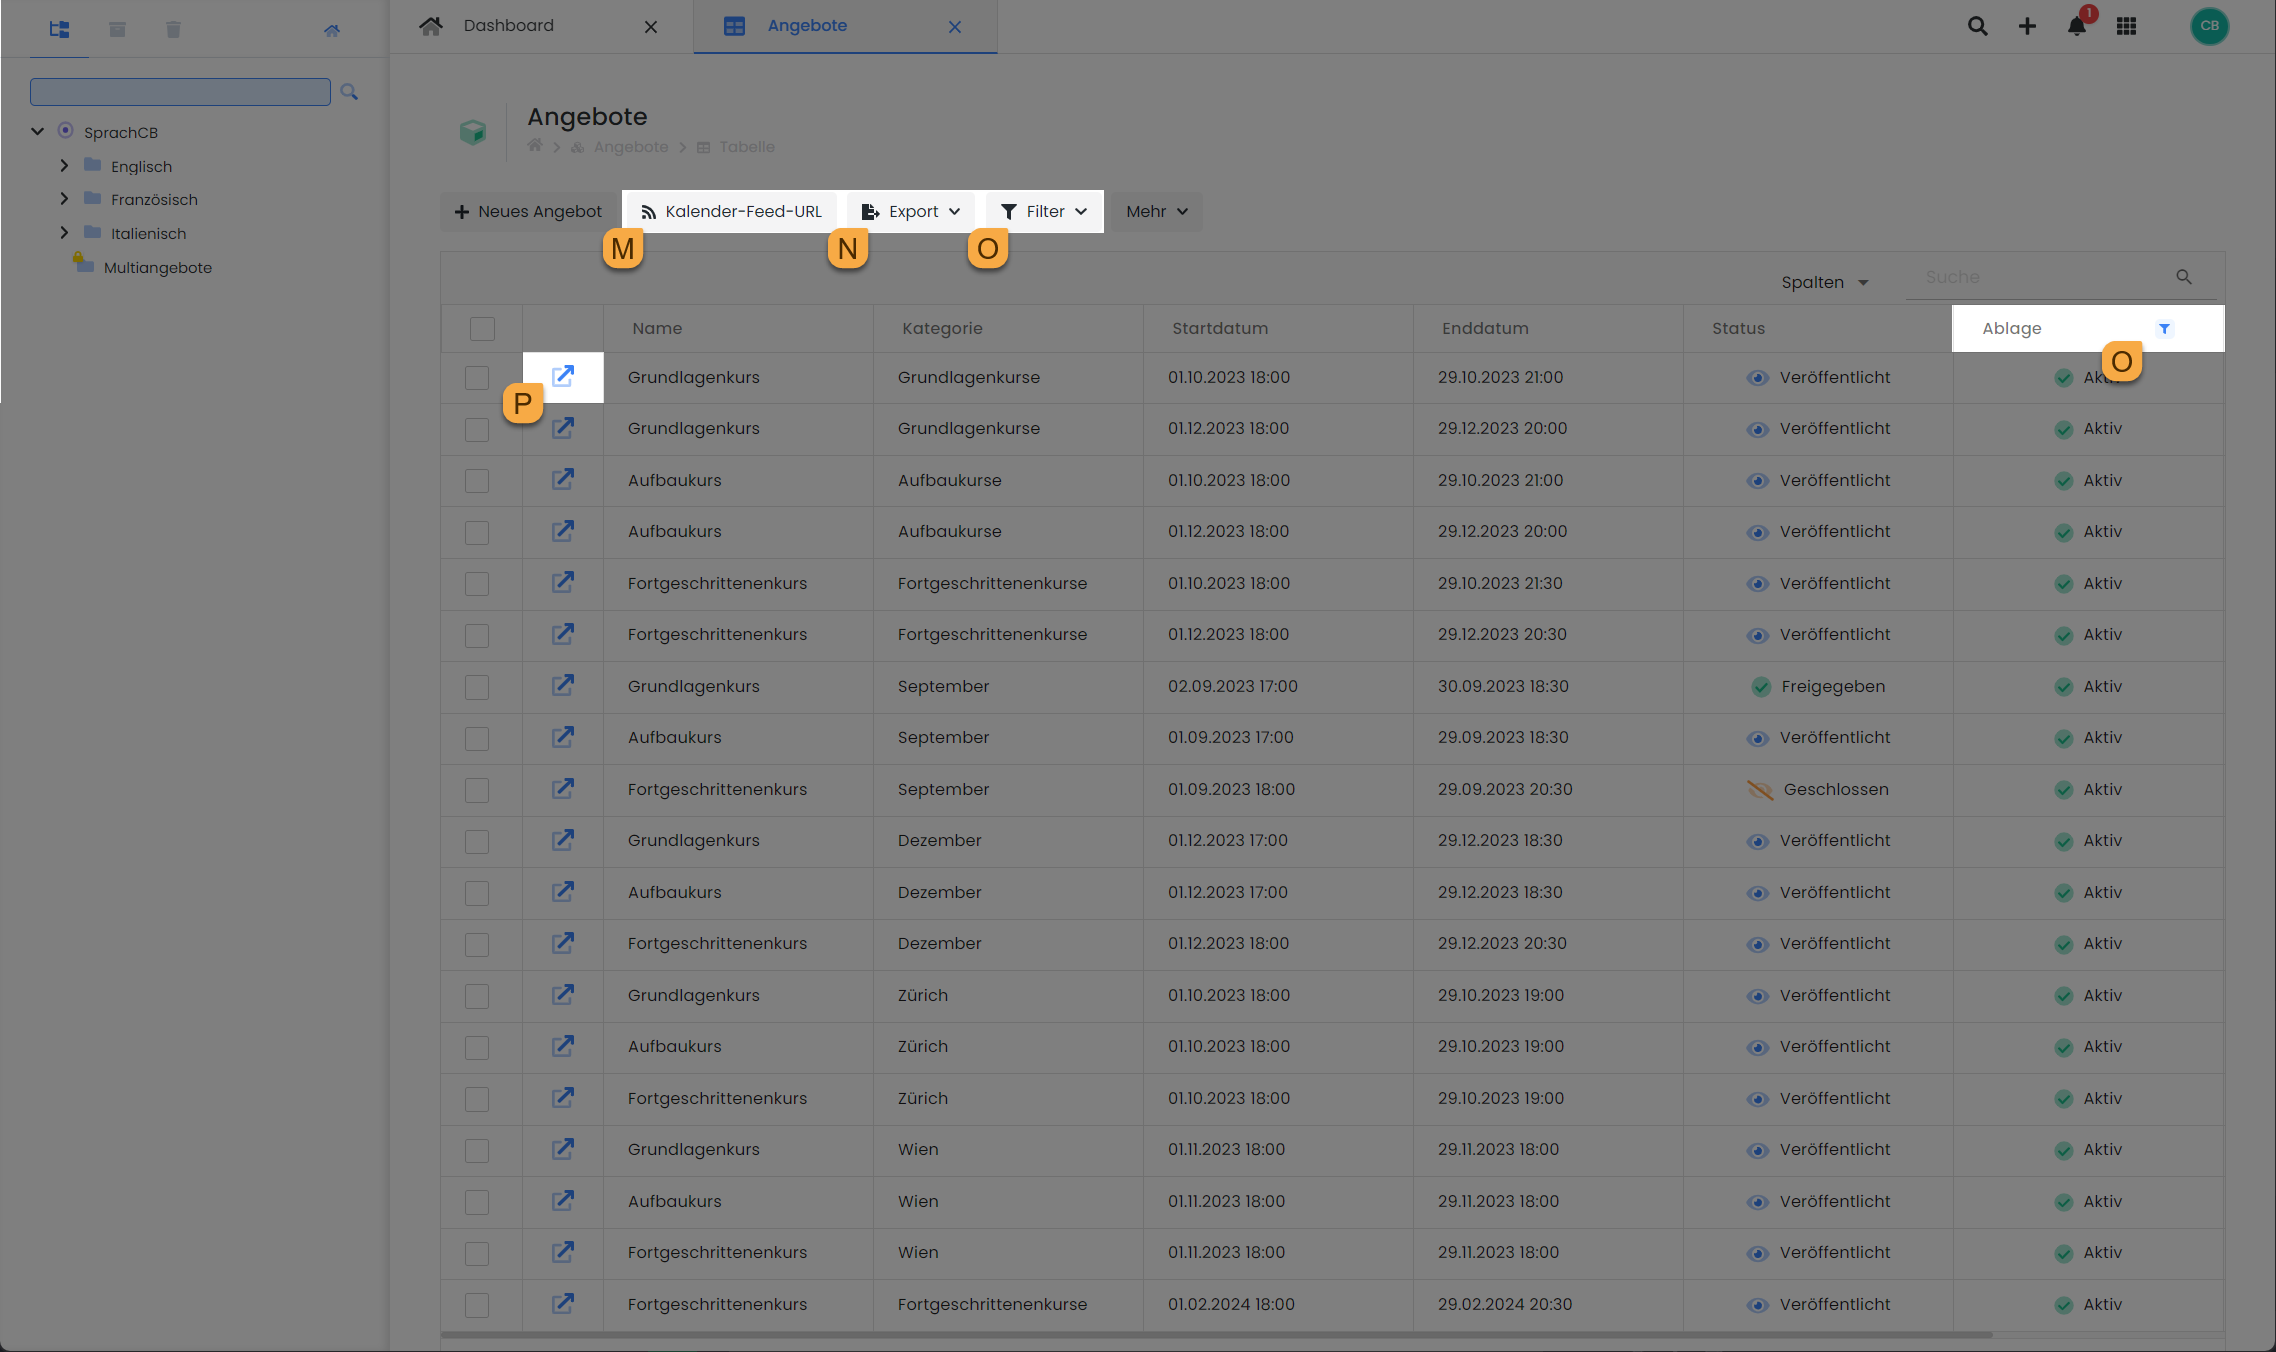
Calendar Feed URL M
To display edoobox appointments in an external calendar, a Calendar Feed URL can be generated and subscribed to in the external calendar (e.g., Outlook, Google, iCal).
Export icon N
edoobox offers various export options across different sections. After the desired information has been added and arranged in the table, an export can be performed in three different formats (CSV, Excel, or PDF).
Filter icon O
The filter function in edoobox allows users to filter existing tables based on specific criteria and extract desired data records.
To display offers in the offer table that are already in the archive or trash, the 'Storage' column can be shown. By clicking the filter icon next to the 'Storage' column title, the desired storage locations can be selected to display the corresponding offers.
Link icon P
Clicking the link icon always opens a new tab, providing quick access to the corresponding data record.
Tip: Table Functions
The table views offer a comprehensive range of functions, which are described in detail in the guide Tables and Export Options.
Offer Dashboard
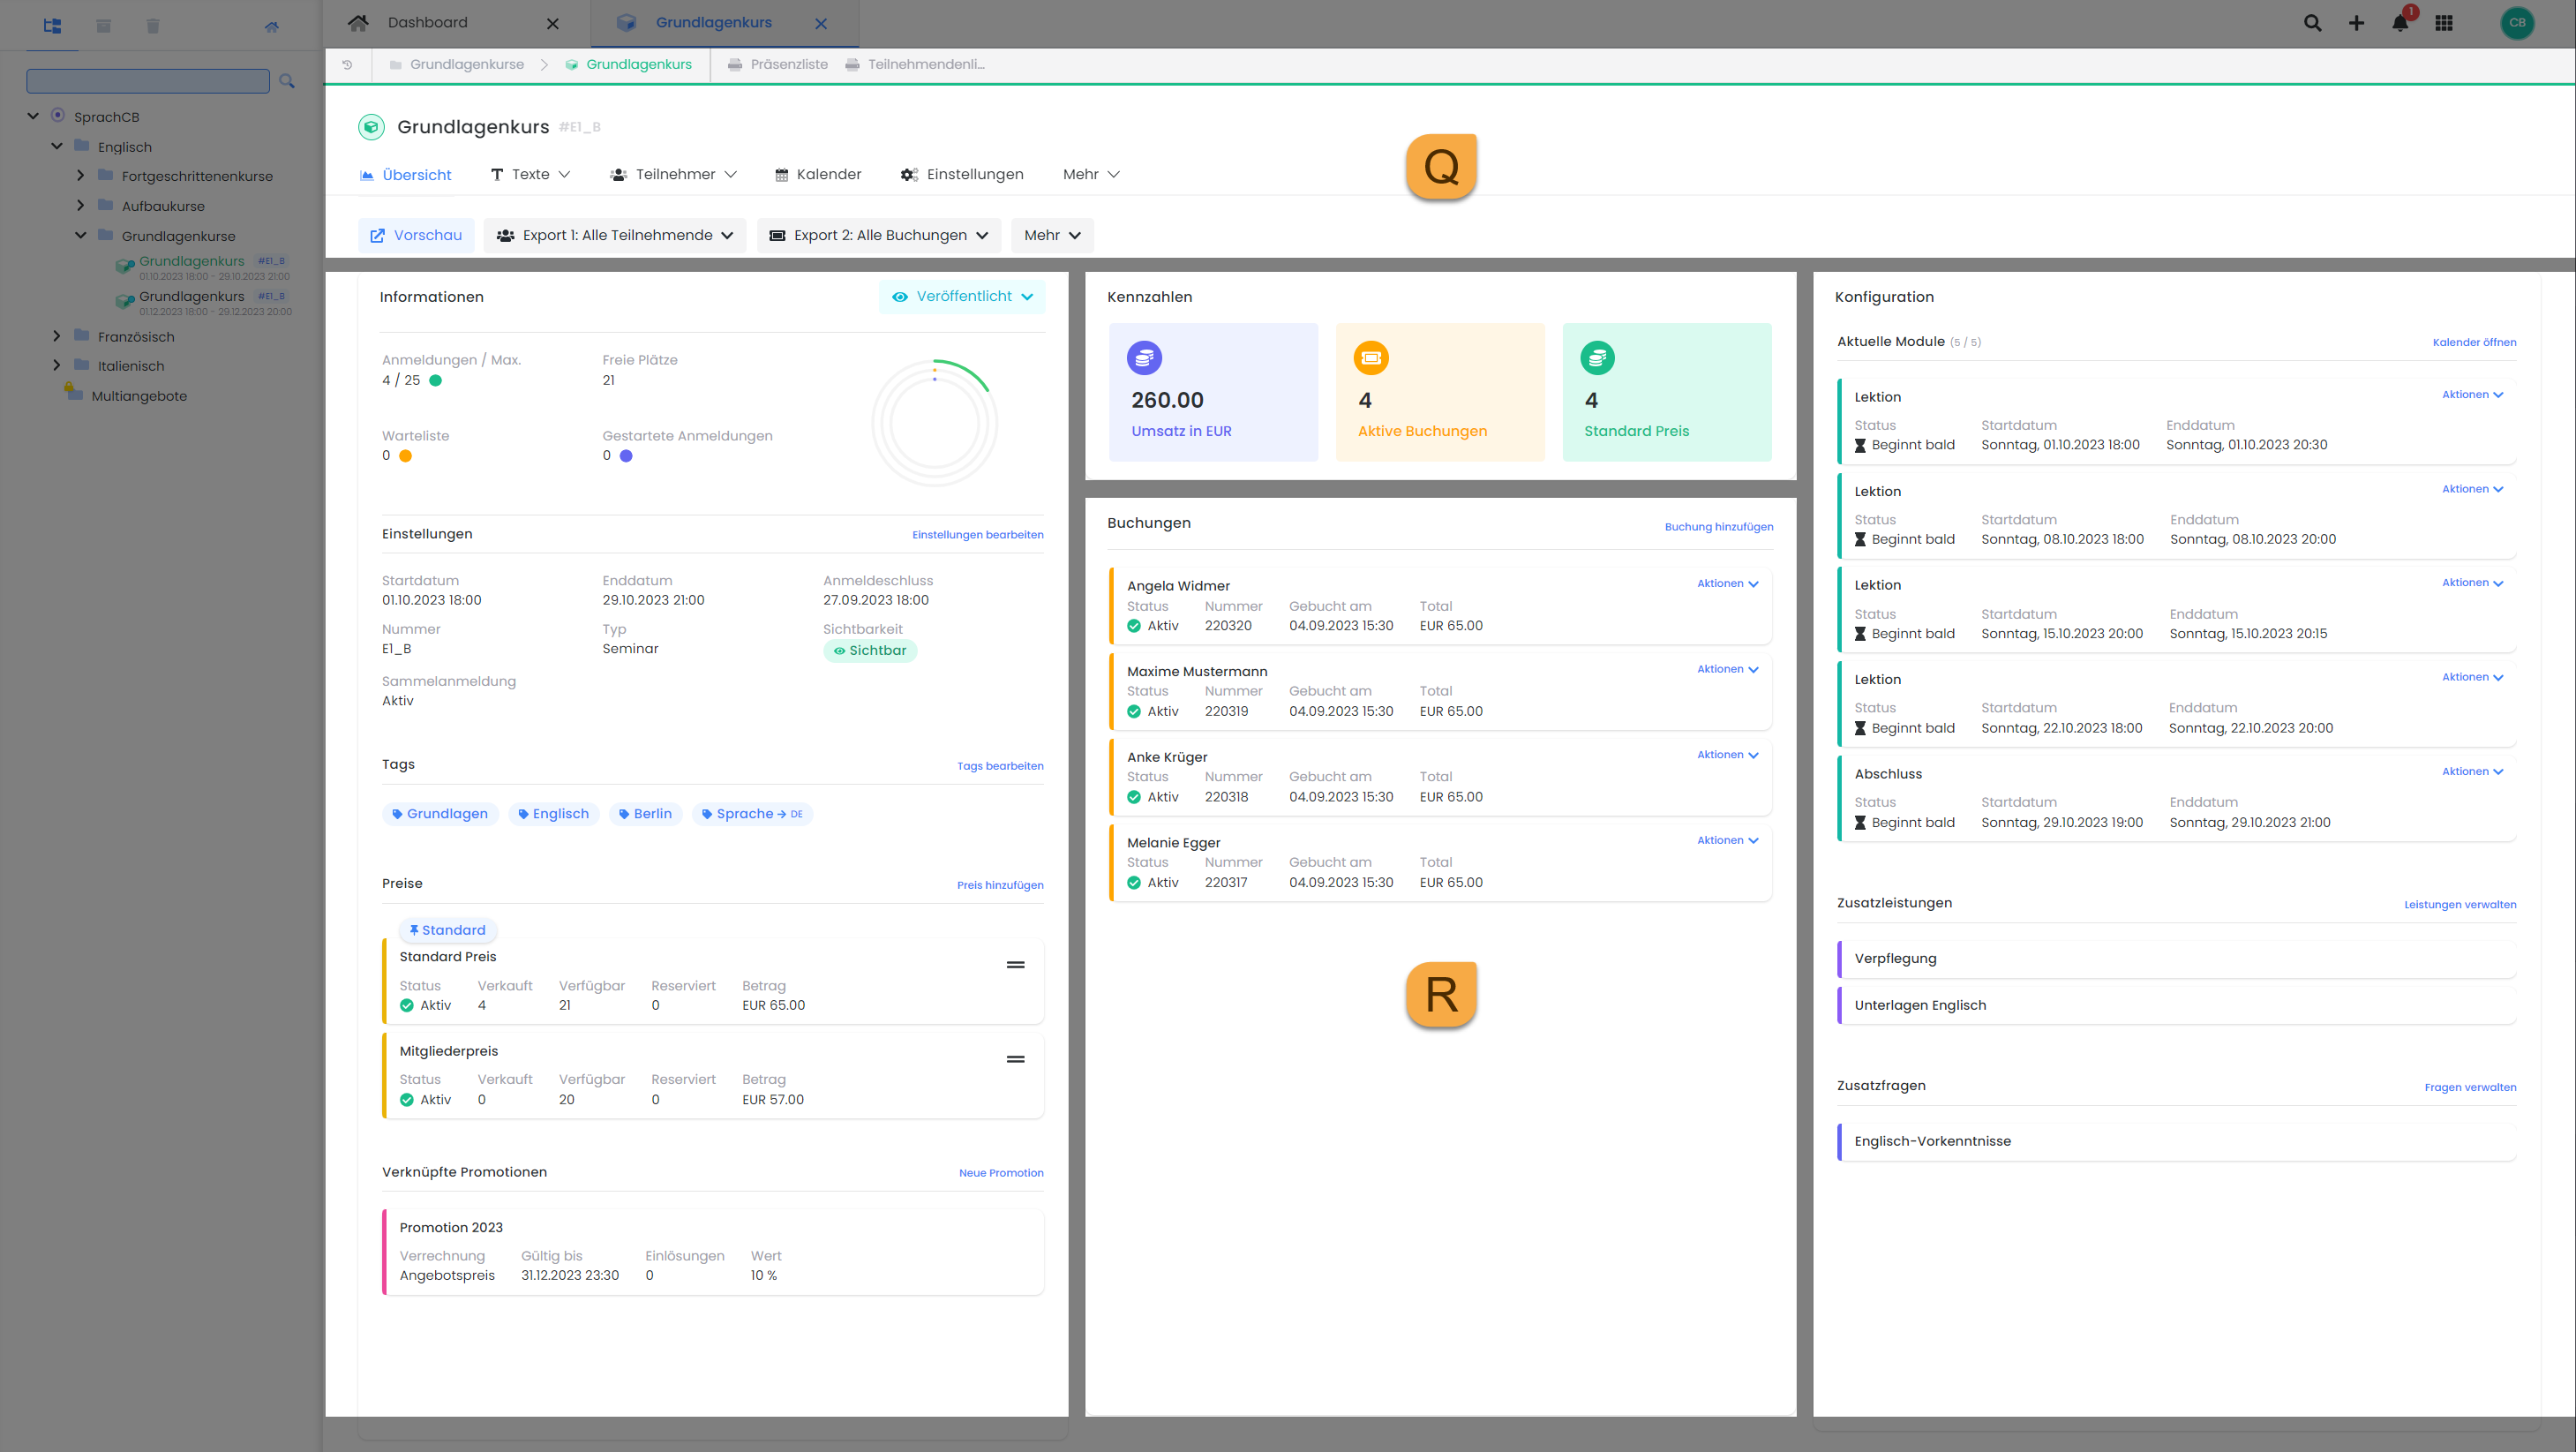
Header section with navigation and shortcuts Q
The offer title and offer number are visible in the header area of the offer dashboard. Below this, you will find the offer's navigation and shortcuts.
|
Offer Navigation |
Activities |
|
Path |
Displays the path to the current offer, including shortcuts to print previews for attendance lists and participant lists. |
|
Overview |
This section contains the most important information regarding the current offer. |
|
Texts |
Under the 'Texts' tab, you will find the offer description and the additional texts. |
|
Participant |
|
|
Calendar |
Here, the offer calendar can be accessed, and new appointments can be created. |
|
Settings |
Under the 'Settings' tab, offer-specific settings can be defined. |
|
More |
Under 'More', you will find any active functions such as additional questions, additional services, and inquiry lists. |
Info: Responsive Display
In a smaller display (e.g., on mobile devices), navigation items are shown exclusively as icons. The page navigation, including the offer tree, can be accessed via the burger icon in the top left corner.

|
Offer Shortcuts |
Activities |
|
Preview |
This opens the preview share function, allowing you to review an offer in the standard view or generate an integration link or code. |
|
Export 1: All Participants |
This export provides all participants for an offering. |
|
Export 2: All Bookings |
This export includes all bookings with their associated data. |
|
More |
|
Property ranges R
The offering dashboard is divided into various sections. When creating a new offering, the checklist is always displayed, indicating what still needs to be done before the offering can be published. This checklist remains visible as long as the offering is in Draft status. This view changes once the offering has been published, and the checklist is replaced by the 'Key Figures' and 'Bookings' sections. Additionally, the 'Notes' section appears in the lower part of the offering dashboard.
|
Information |
|
|
Key Figures |
|
|
Bookings |
Booking history, including all active, cancelled, and waitlist bookings |
|
Configuration |
|
|
Notes |
System-generated notes and user-created notes. Custom notes can also be created directly from this table. Click 'Add Notes'. |
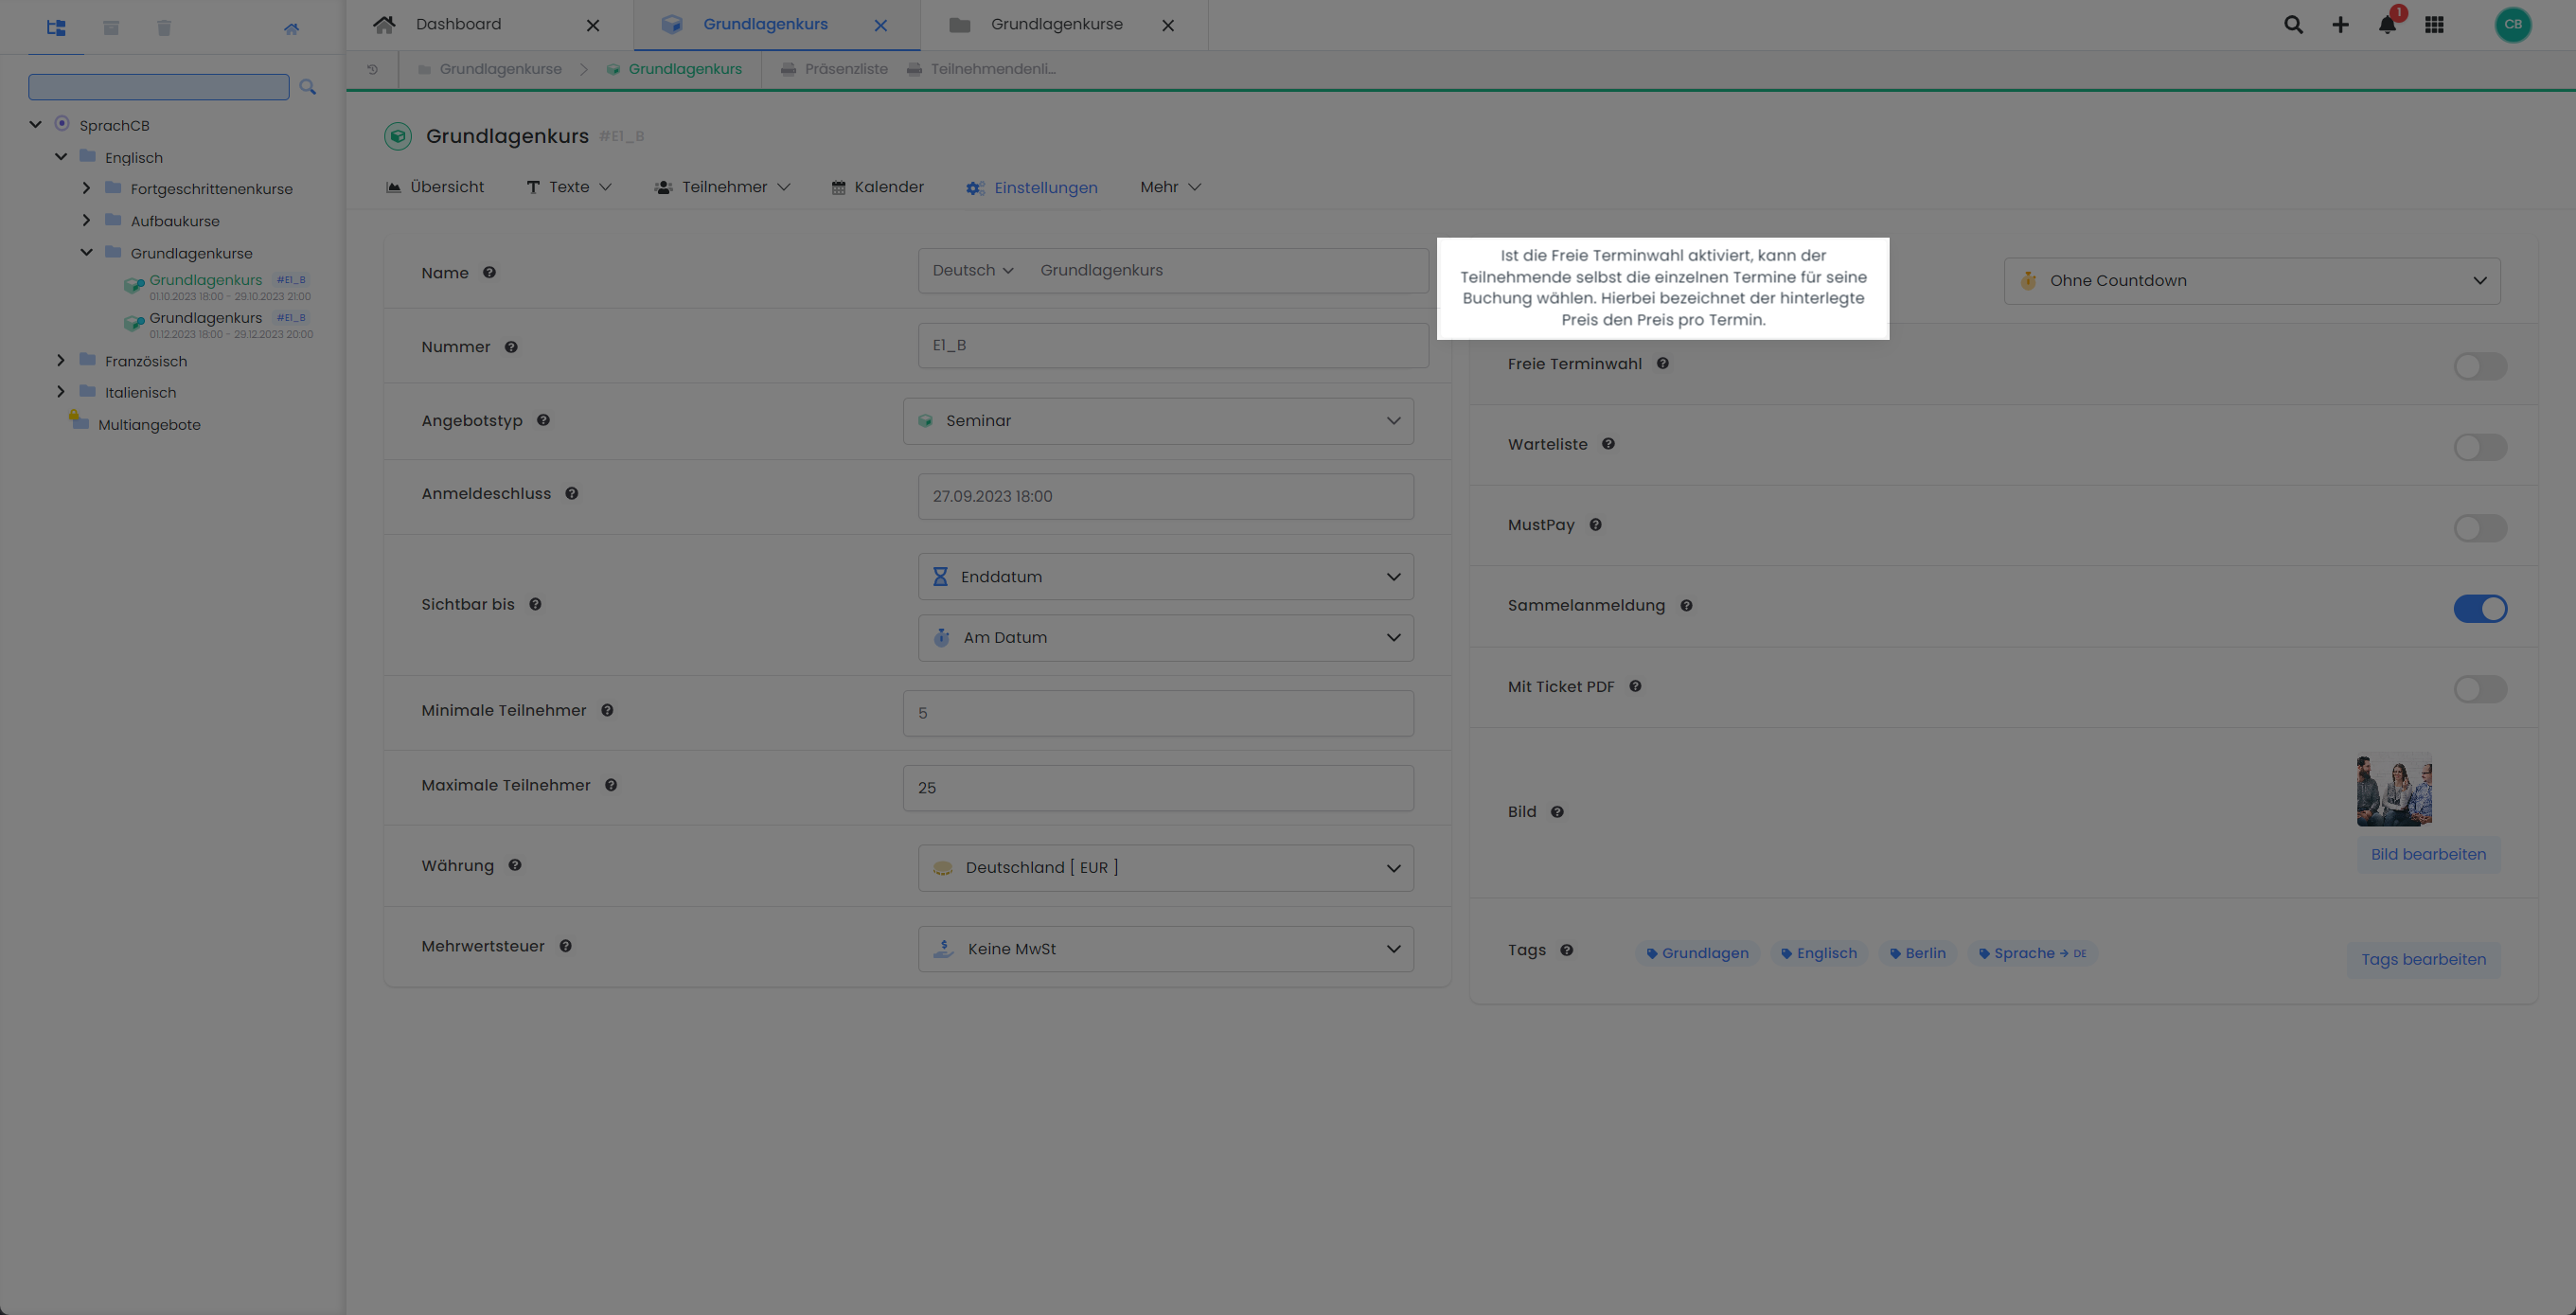
Tips
Throughout edoobox, contextual hints or operational instructions for specific settings are available. These indicators are marked by a question mark icon and appear when the mouse cursor hovers over it.
Related Guides
Keywords for this guide
View | Dashboard | Naming | Navigation