Tip: First, record Admins and Locations
First, store your event locations and instructors in the system before creating an offering. This allows you to directly add them to the appointments during the offering creation process.
Create an Offering with Appointments
1. Create a Category
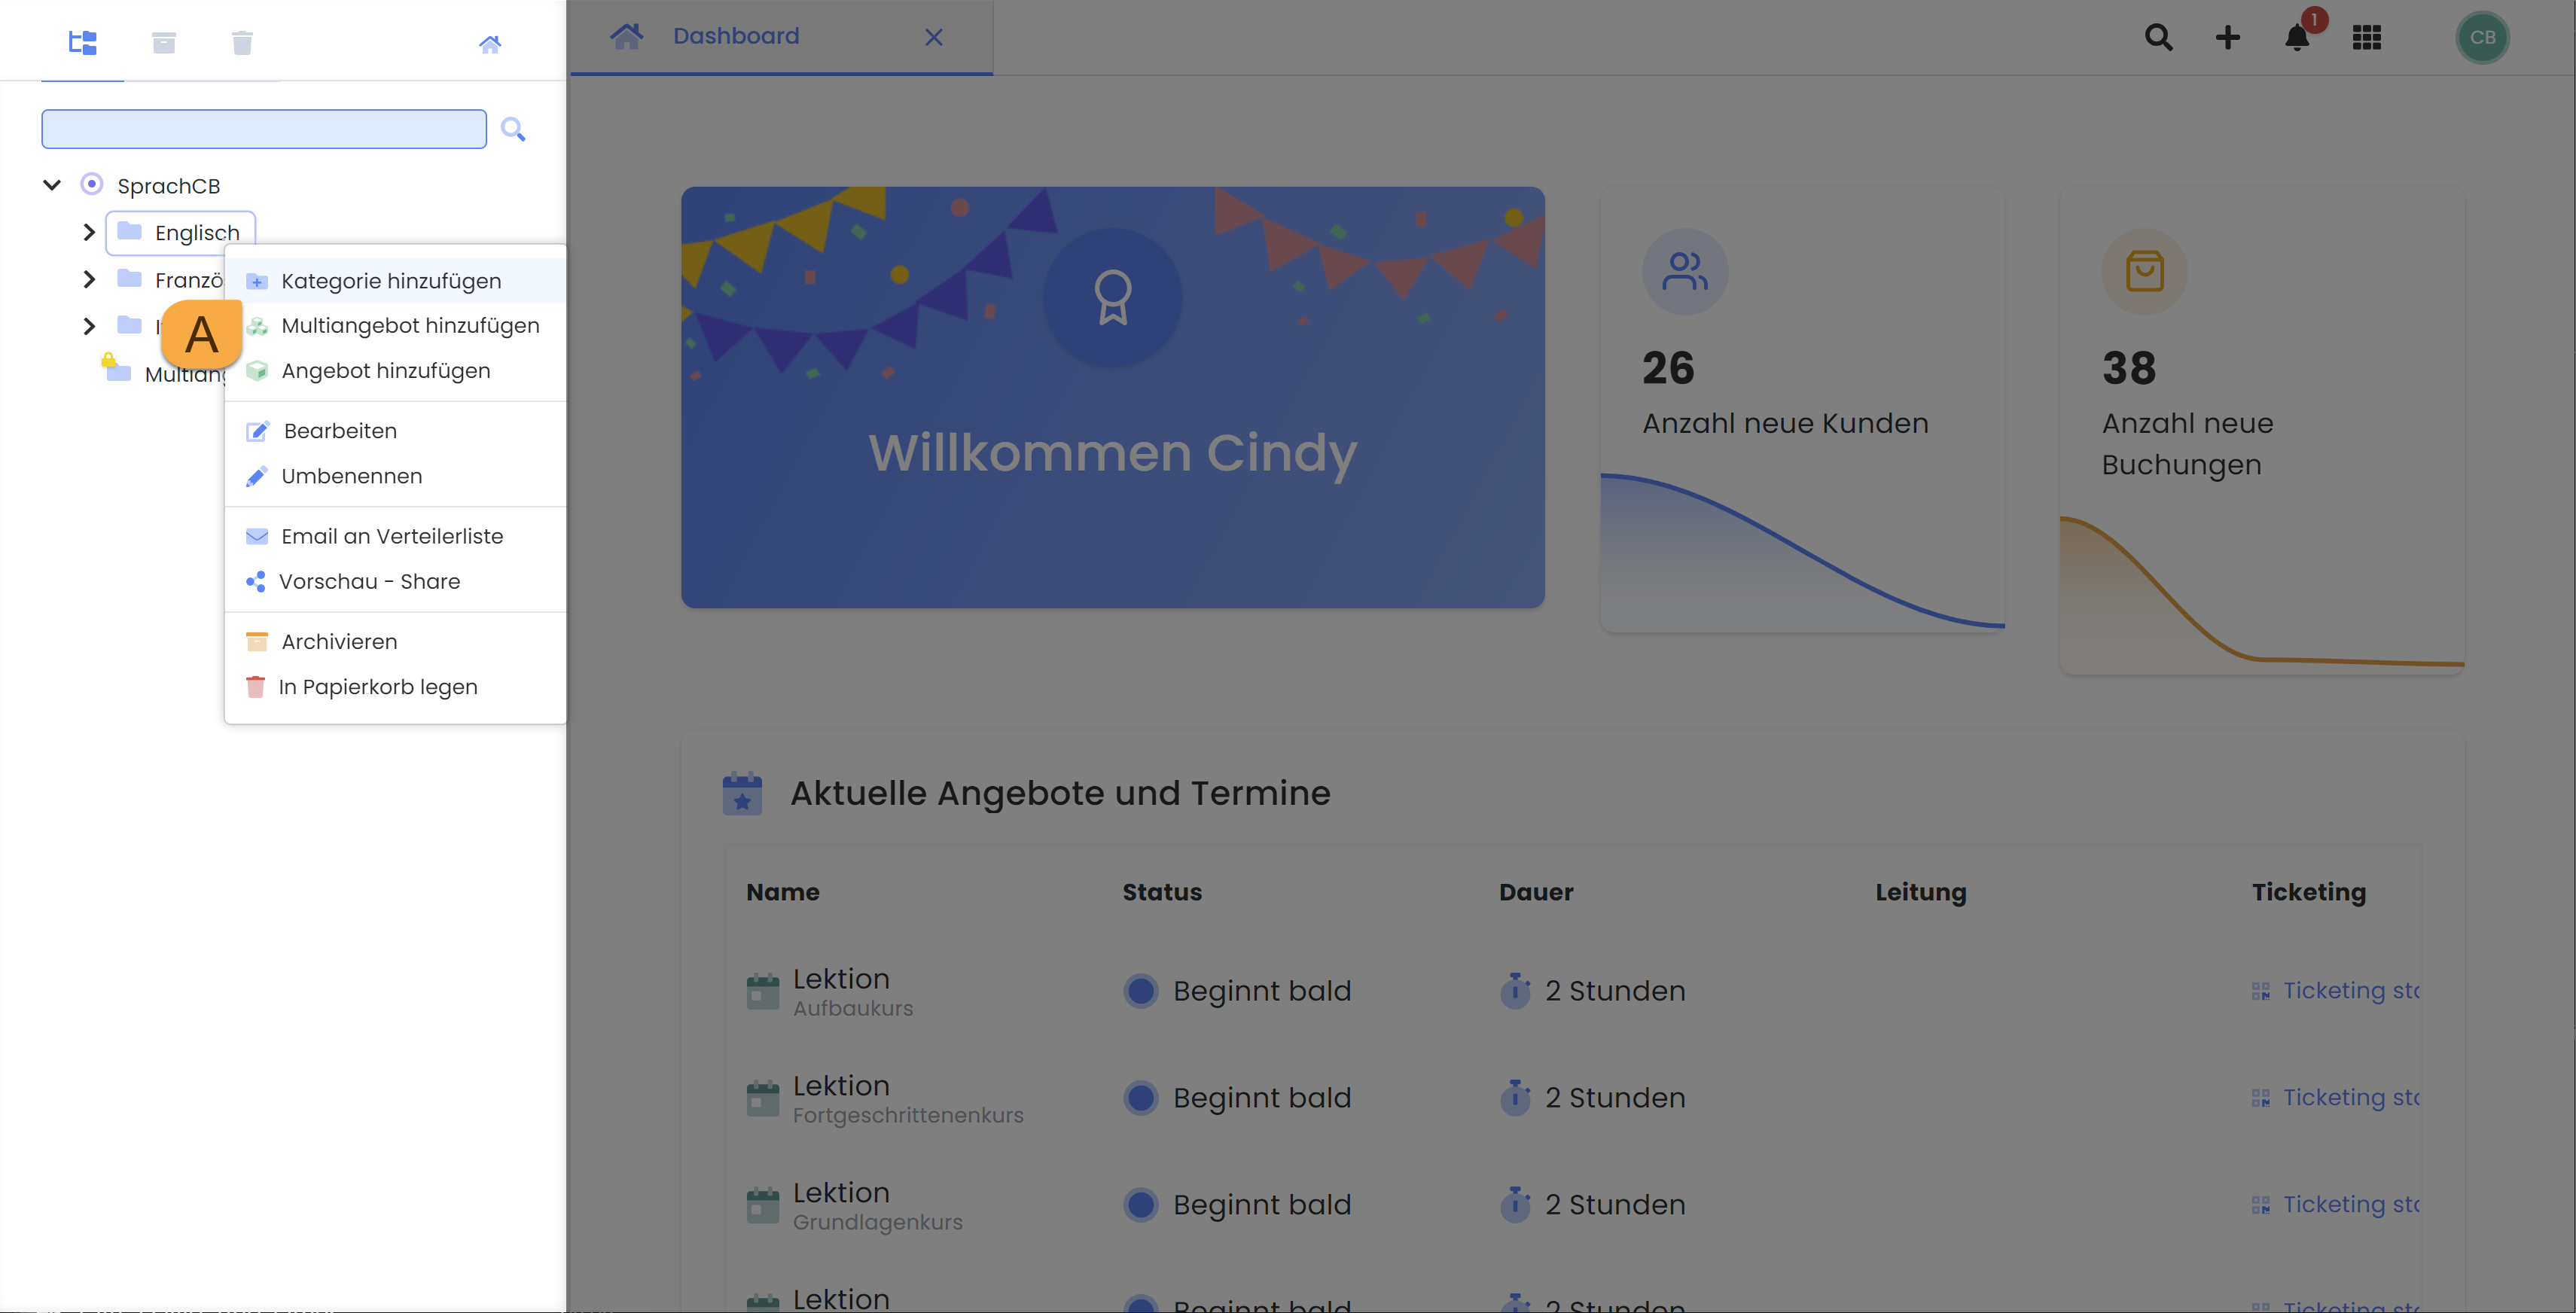
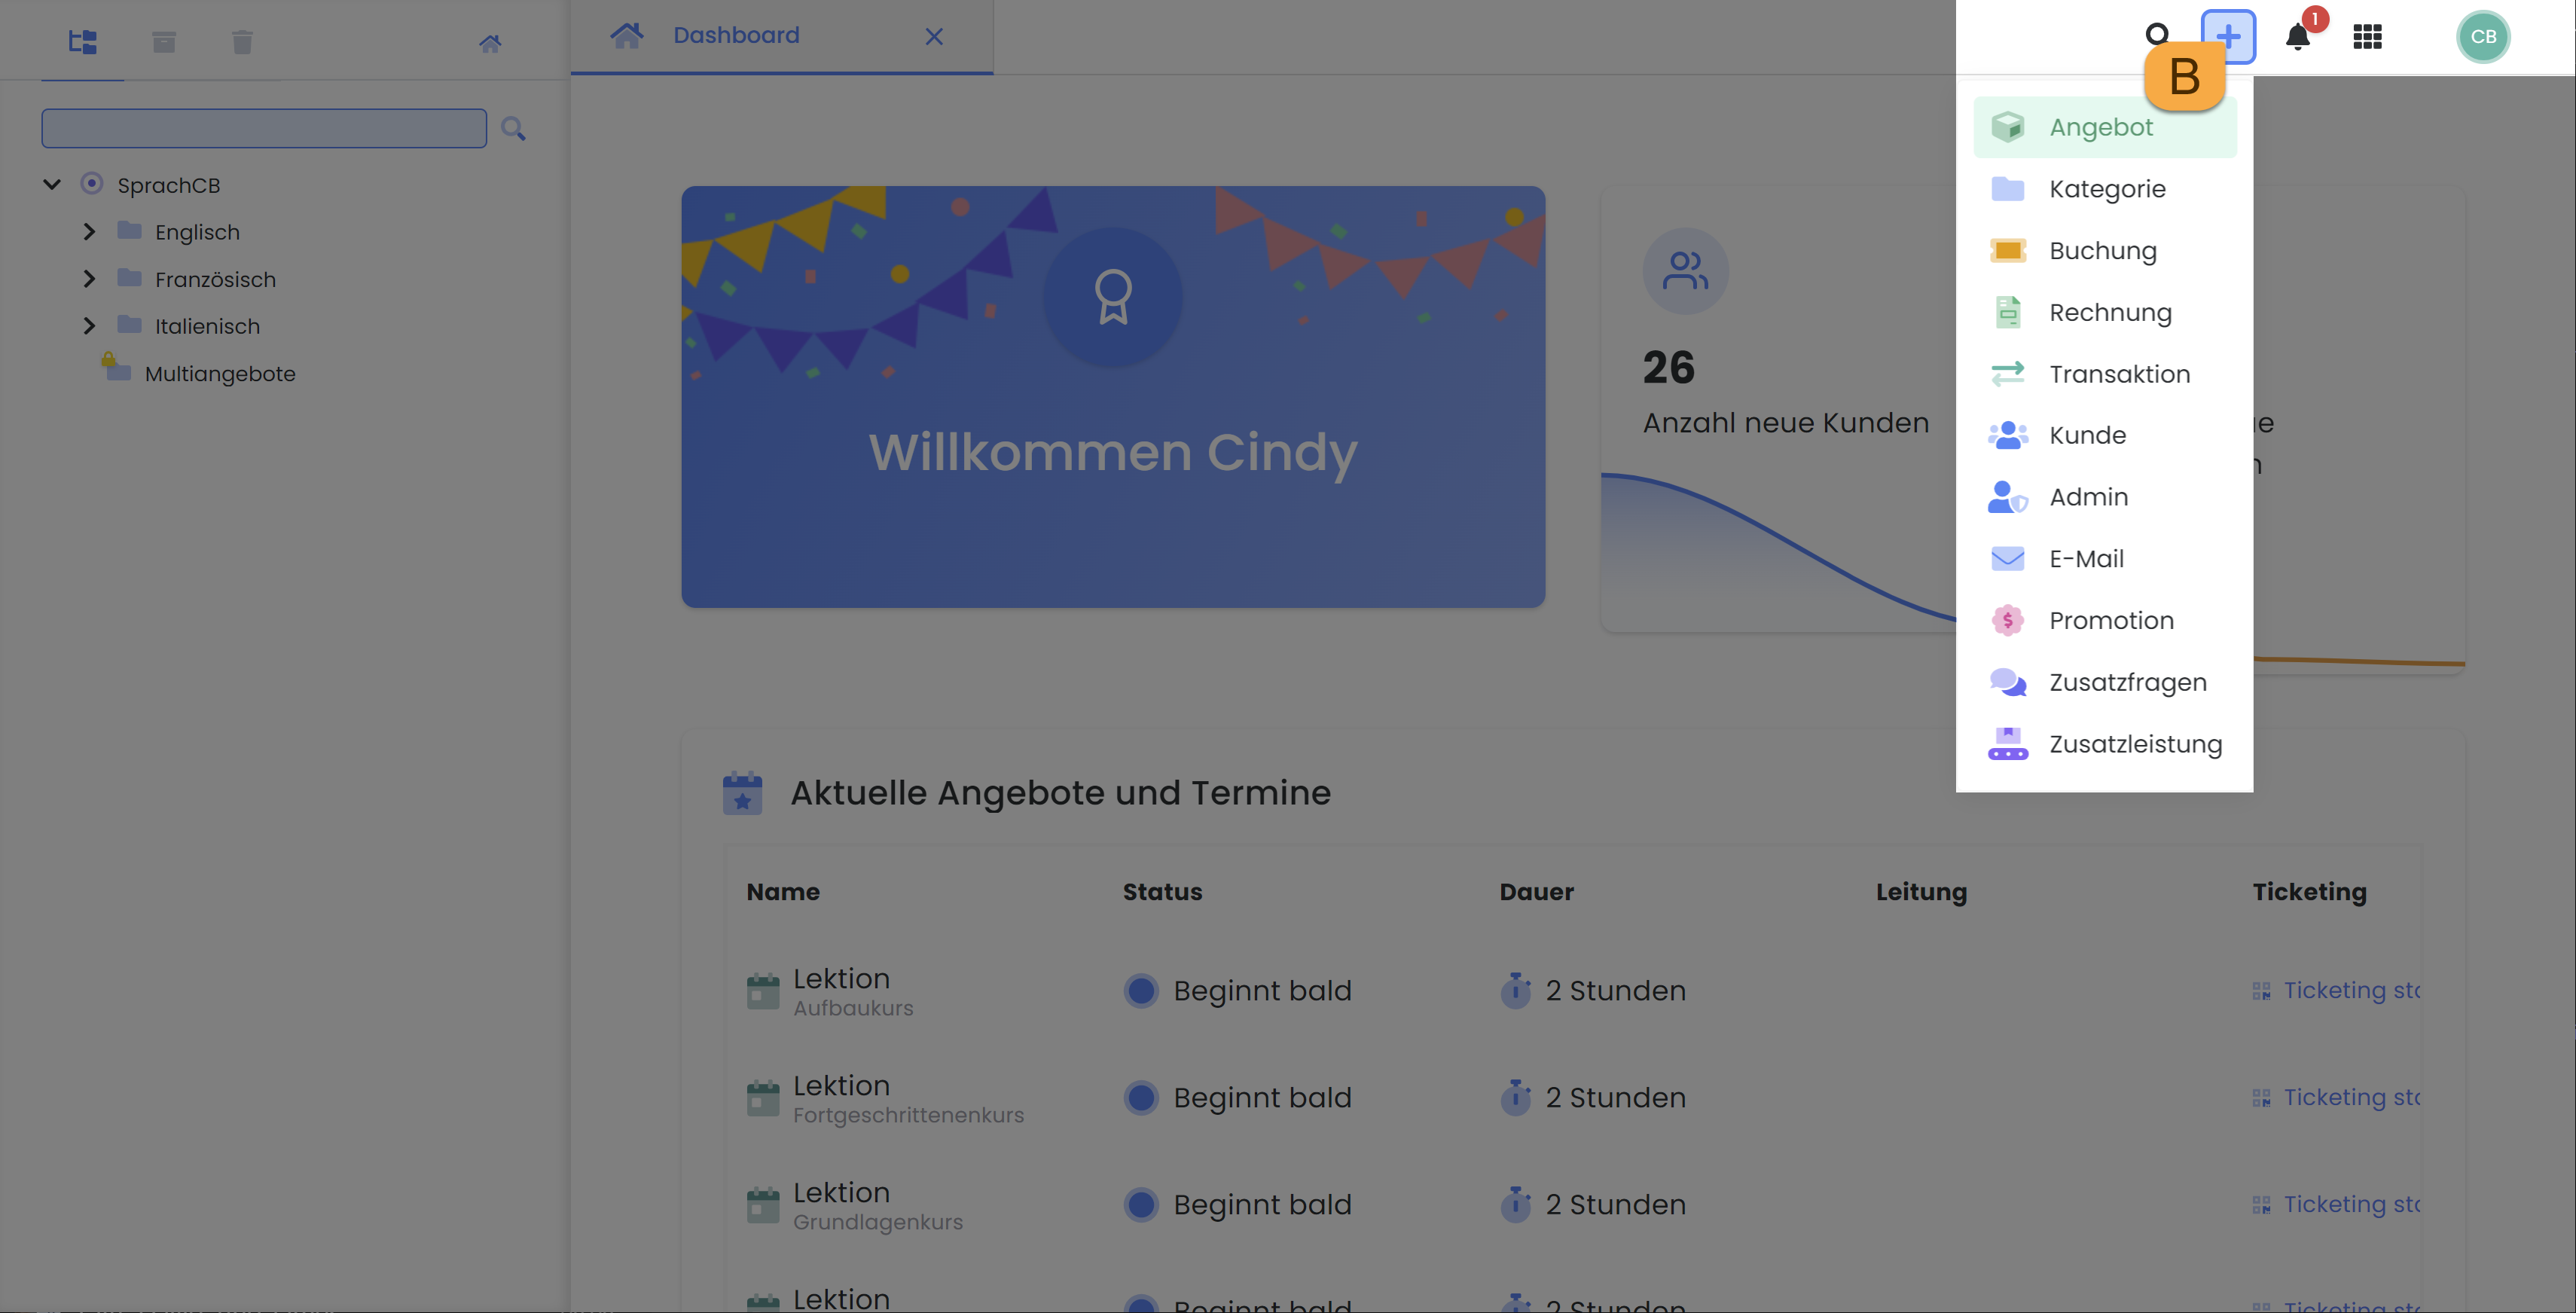
To create a new category, right-click on your account abbreviation or an existing category in the offer tree. In the context menu that appears (A), select the "Add Category" option. Alternatively, you can create a new category by clicking the plus icon in the main navigation ( B).
2. Create an Offering
Right-clicking on an existing category opens a context menu A. From this menu, select “Add Offer.” Alternatively, you can create a new offer in the main navigation by clicking the plus icon B. This option allows you to choose from all available categories where the offer should be created.
3. Enter Offering Name
Here, you define a descriptive offering name.
Note: Special Characters
Erlaubte Sonderzeichen im Angebotsnamen sind: , . – _
Nicht erlaubt sind: : + / & % * ? ! < > ^ ( ) { } = ` ~ £ $ € § ° # “
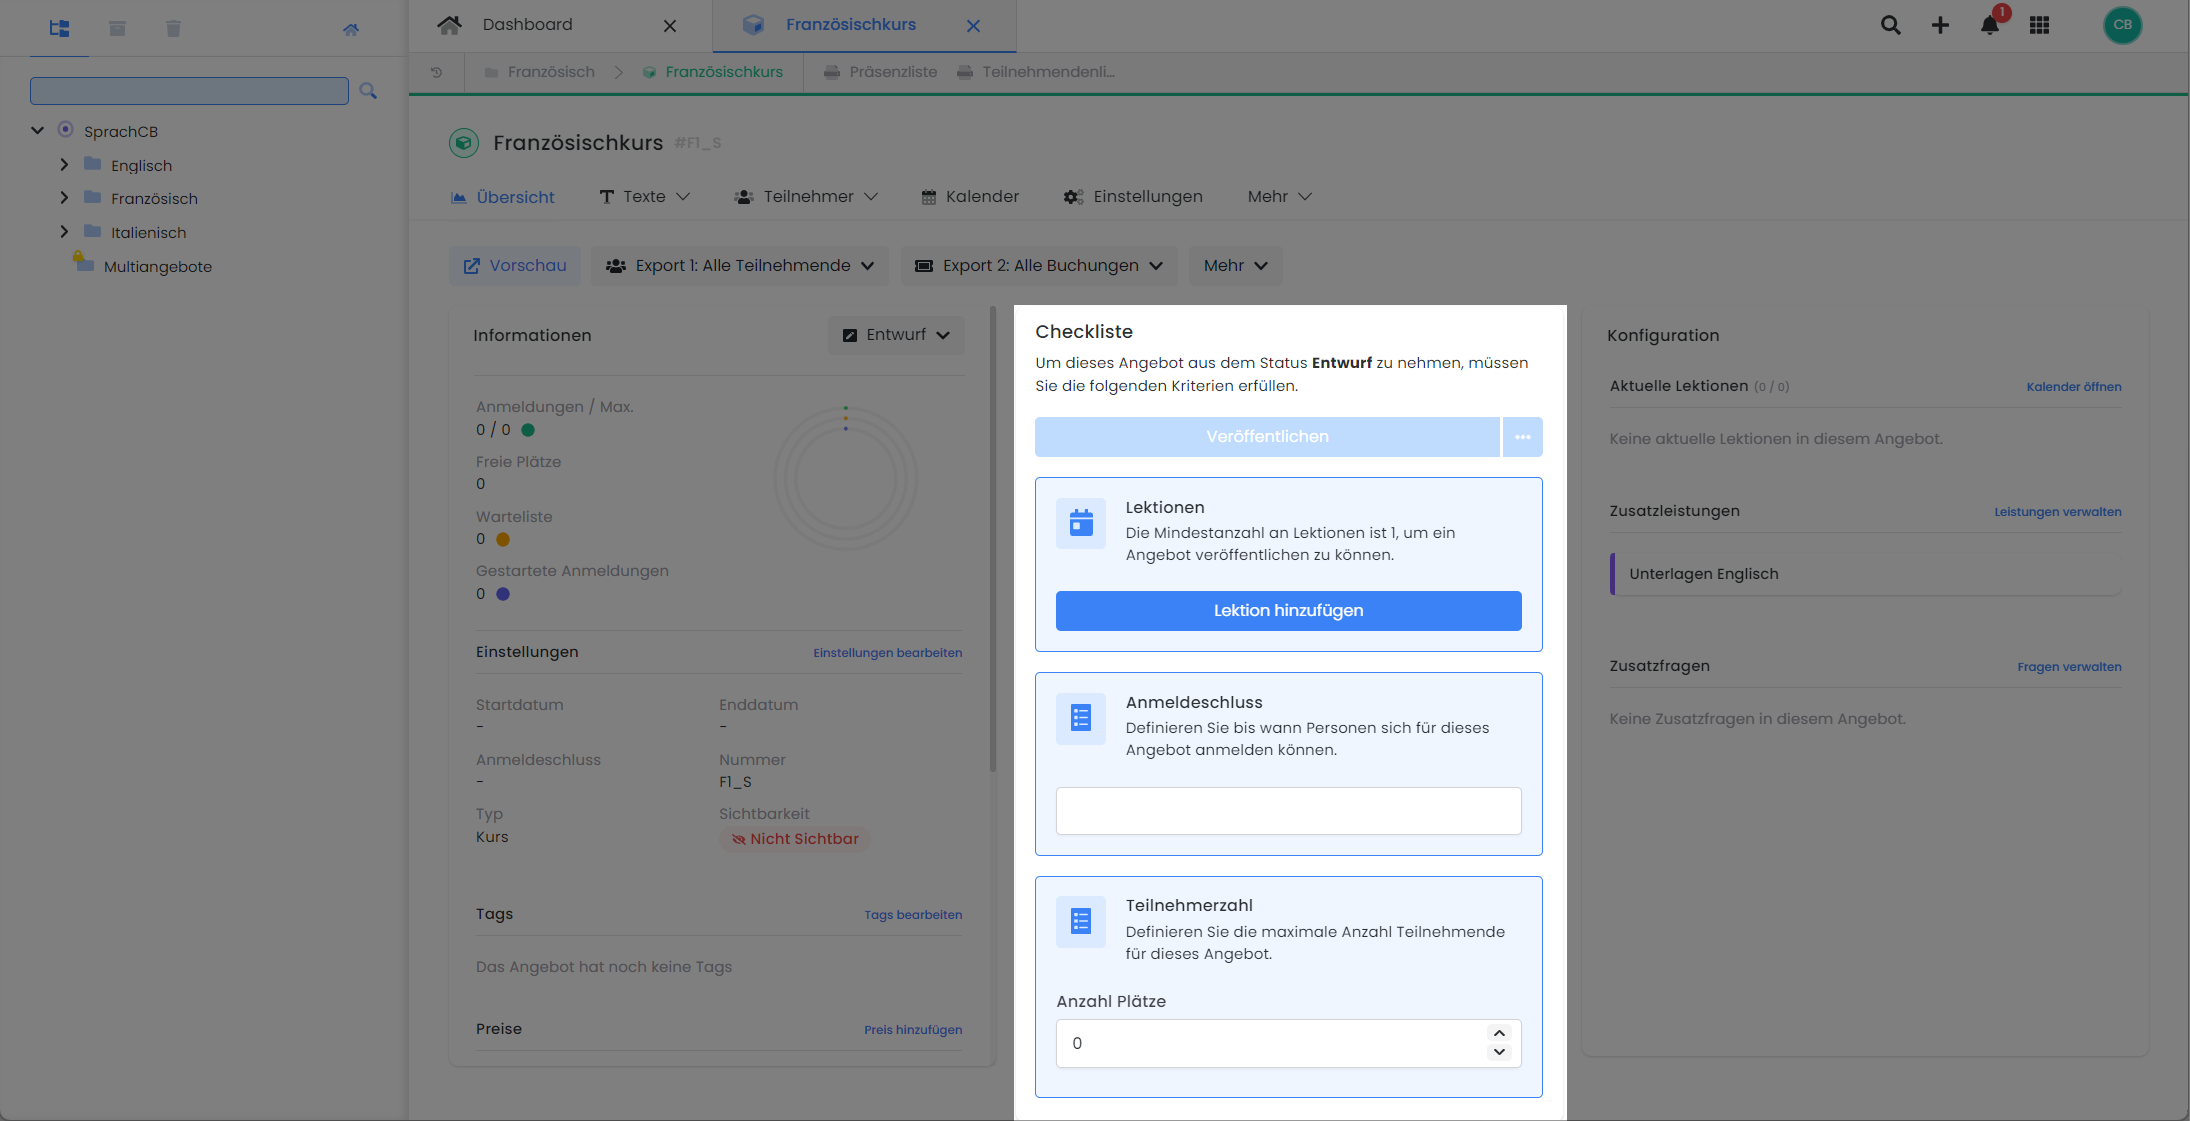
4. Complete the Checklist
You can now configure the fundamental settings required to publish your offering. This includes adding at least one appointment, defining a registration deadline, and specifying the maximum number of available slots for your offering.
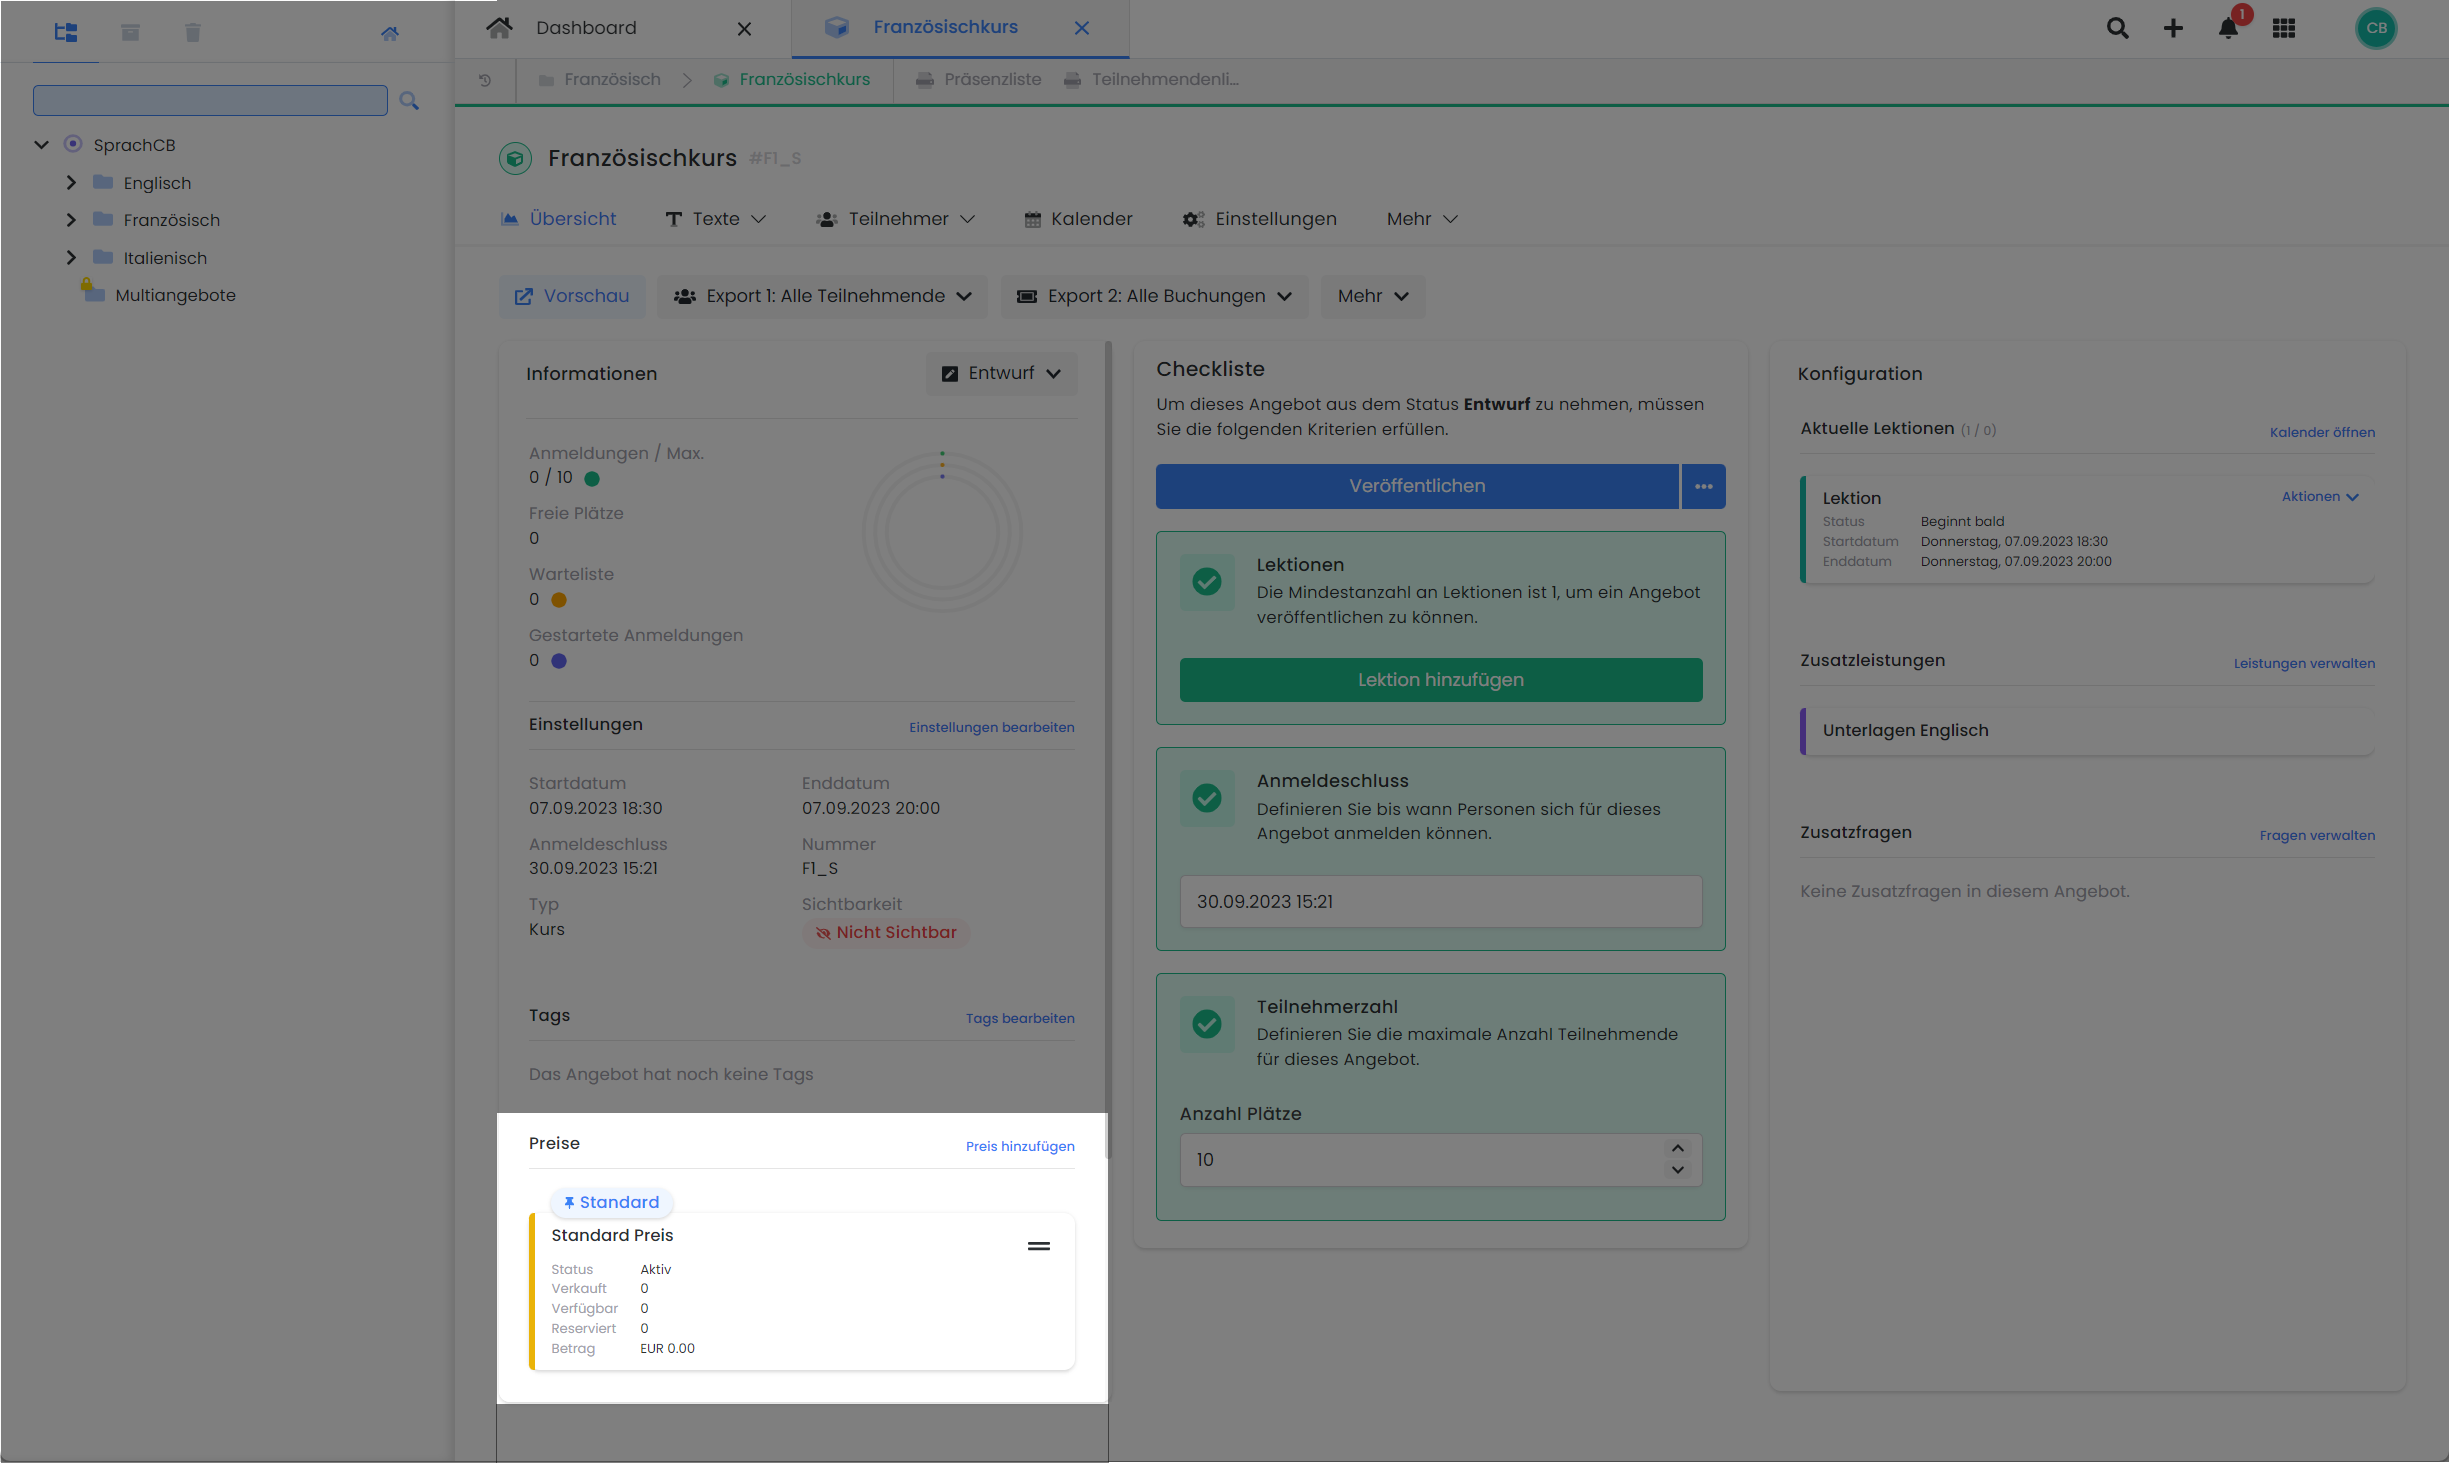
5. Define the Prices
Within the relevant information box on the offering dashboard, you can enter up to 10 different price categories. The number of available price categories depends on your current subscription.
6. Enter the Offering Description
If you wish to provide a more detailed description of your offering or add supplementary information for email templates, the 'Texts' tab contains both the offering description and three potential additional texts. Clicking on 'Description' or 'Additional Texts' will open the respective page where you can input the desired texts, images, and links.
7. Publish the Offering
Once you have entered all the necessary information for the offering and wish to make it available for booking, change the offering status from Draft to Published. This action makes the offering bookable for your customers.
Tip: Preview Share
Using the Preview Share function in the context menu A or on the offering dashboard, you can review the newly created offering in its standard view. We recommend performing a test booking to familiarize yourself with the booking process and, if necessary, optimize it via the Design Manager.
Related Guides
Keywords for this guide
Create Offering ¦ Offering ¦ Publish ¦ Lesson ¦ Module ¦ Course ¦ Training ¦ Seminar