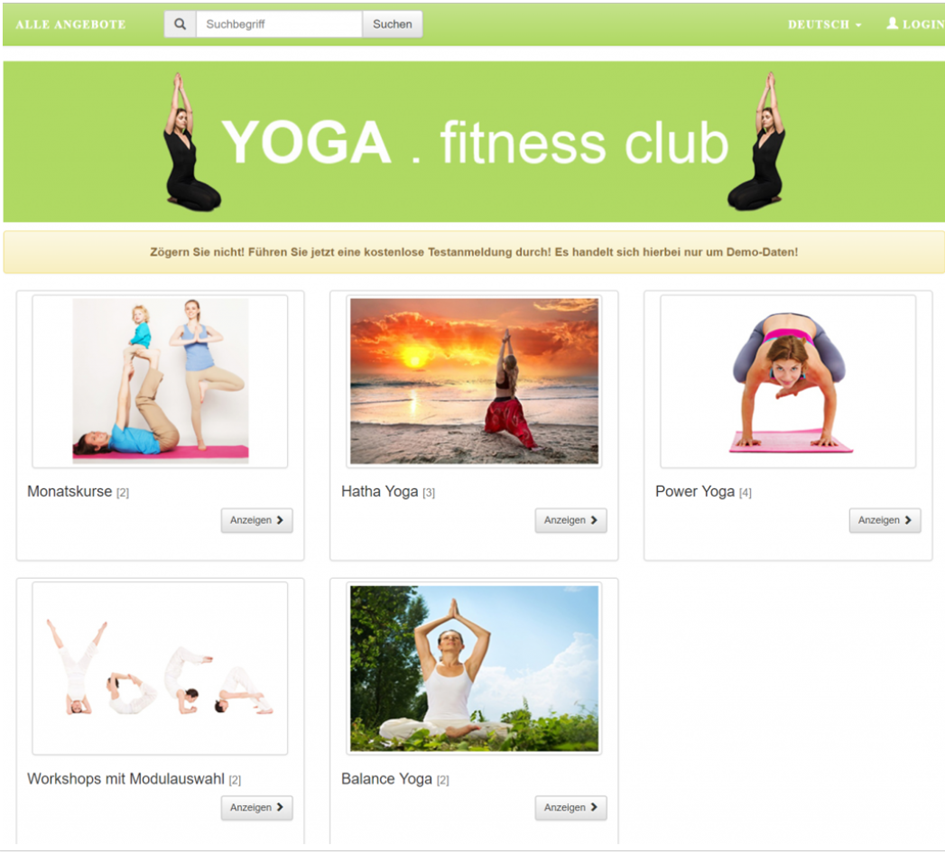
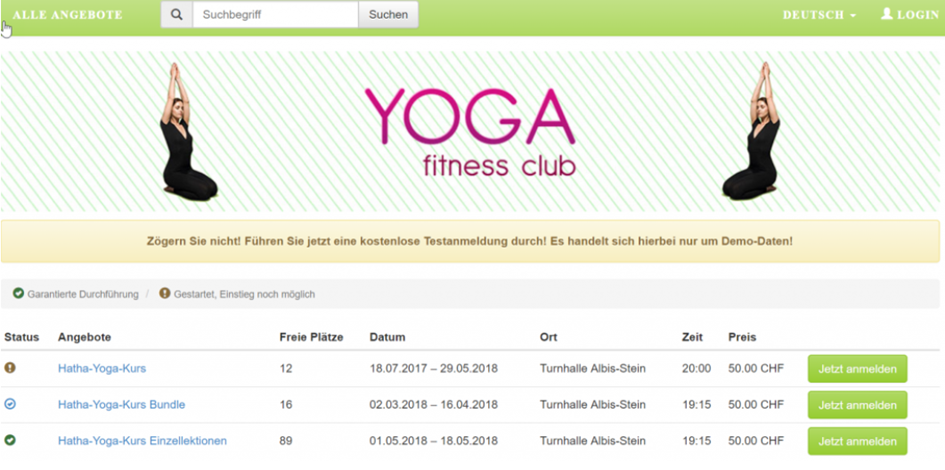
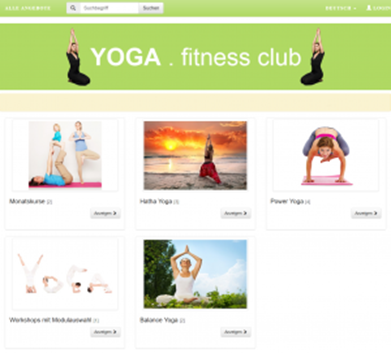
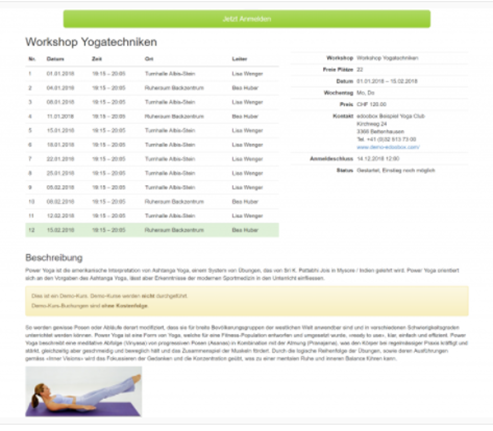
You can first present your visitors with offer categories using images (tile view), allowing them to select a category, after which only the specific offers within that category will be displayed. We have created an example with a yoga page for you.
Instructions for Implementing the Tile Design
-
In the Design Manager, copy an existing design using «New Design» and assign a suitable name to the copy (hereinafter referred to as Kachelansicht_main ). Ideally, select a design as the copy template that already incorporates many desired settings (e.g., an extended registration form). If no design has been created yet, please use the edoobox Start Design as the copy template.
-
Now, set the Kachelansicht_main design as the default and assign it to no category.
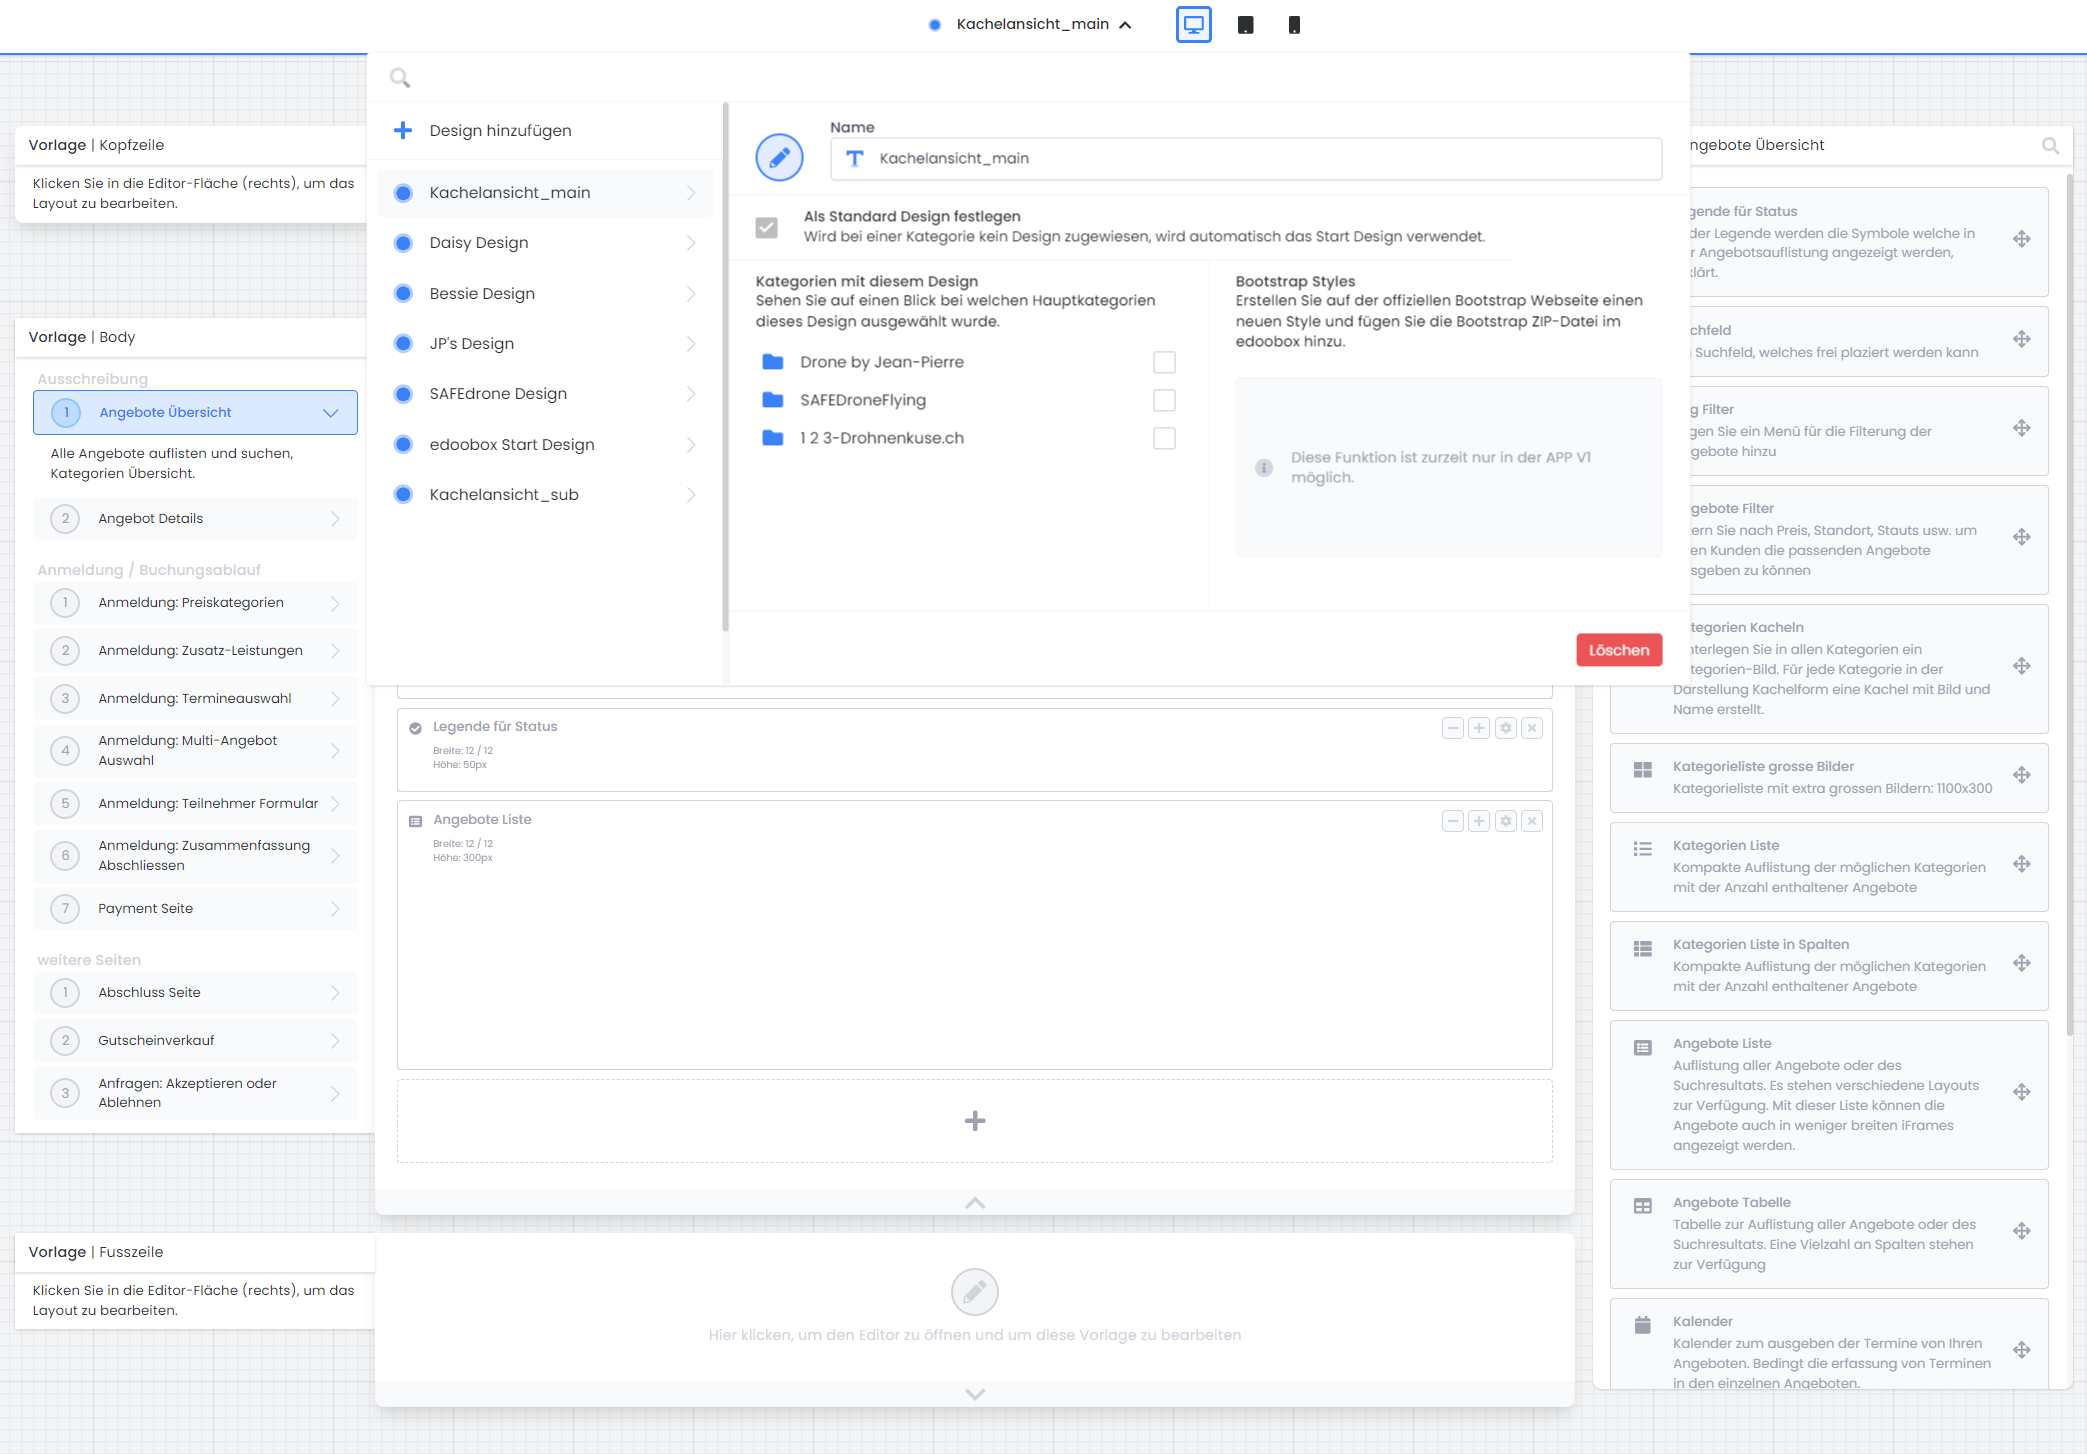
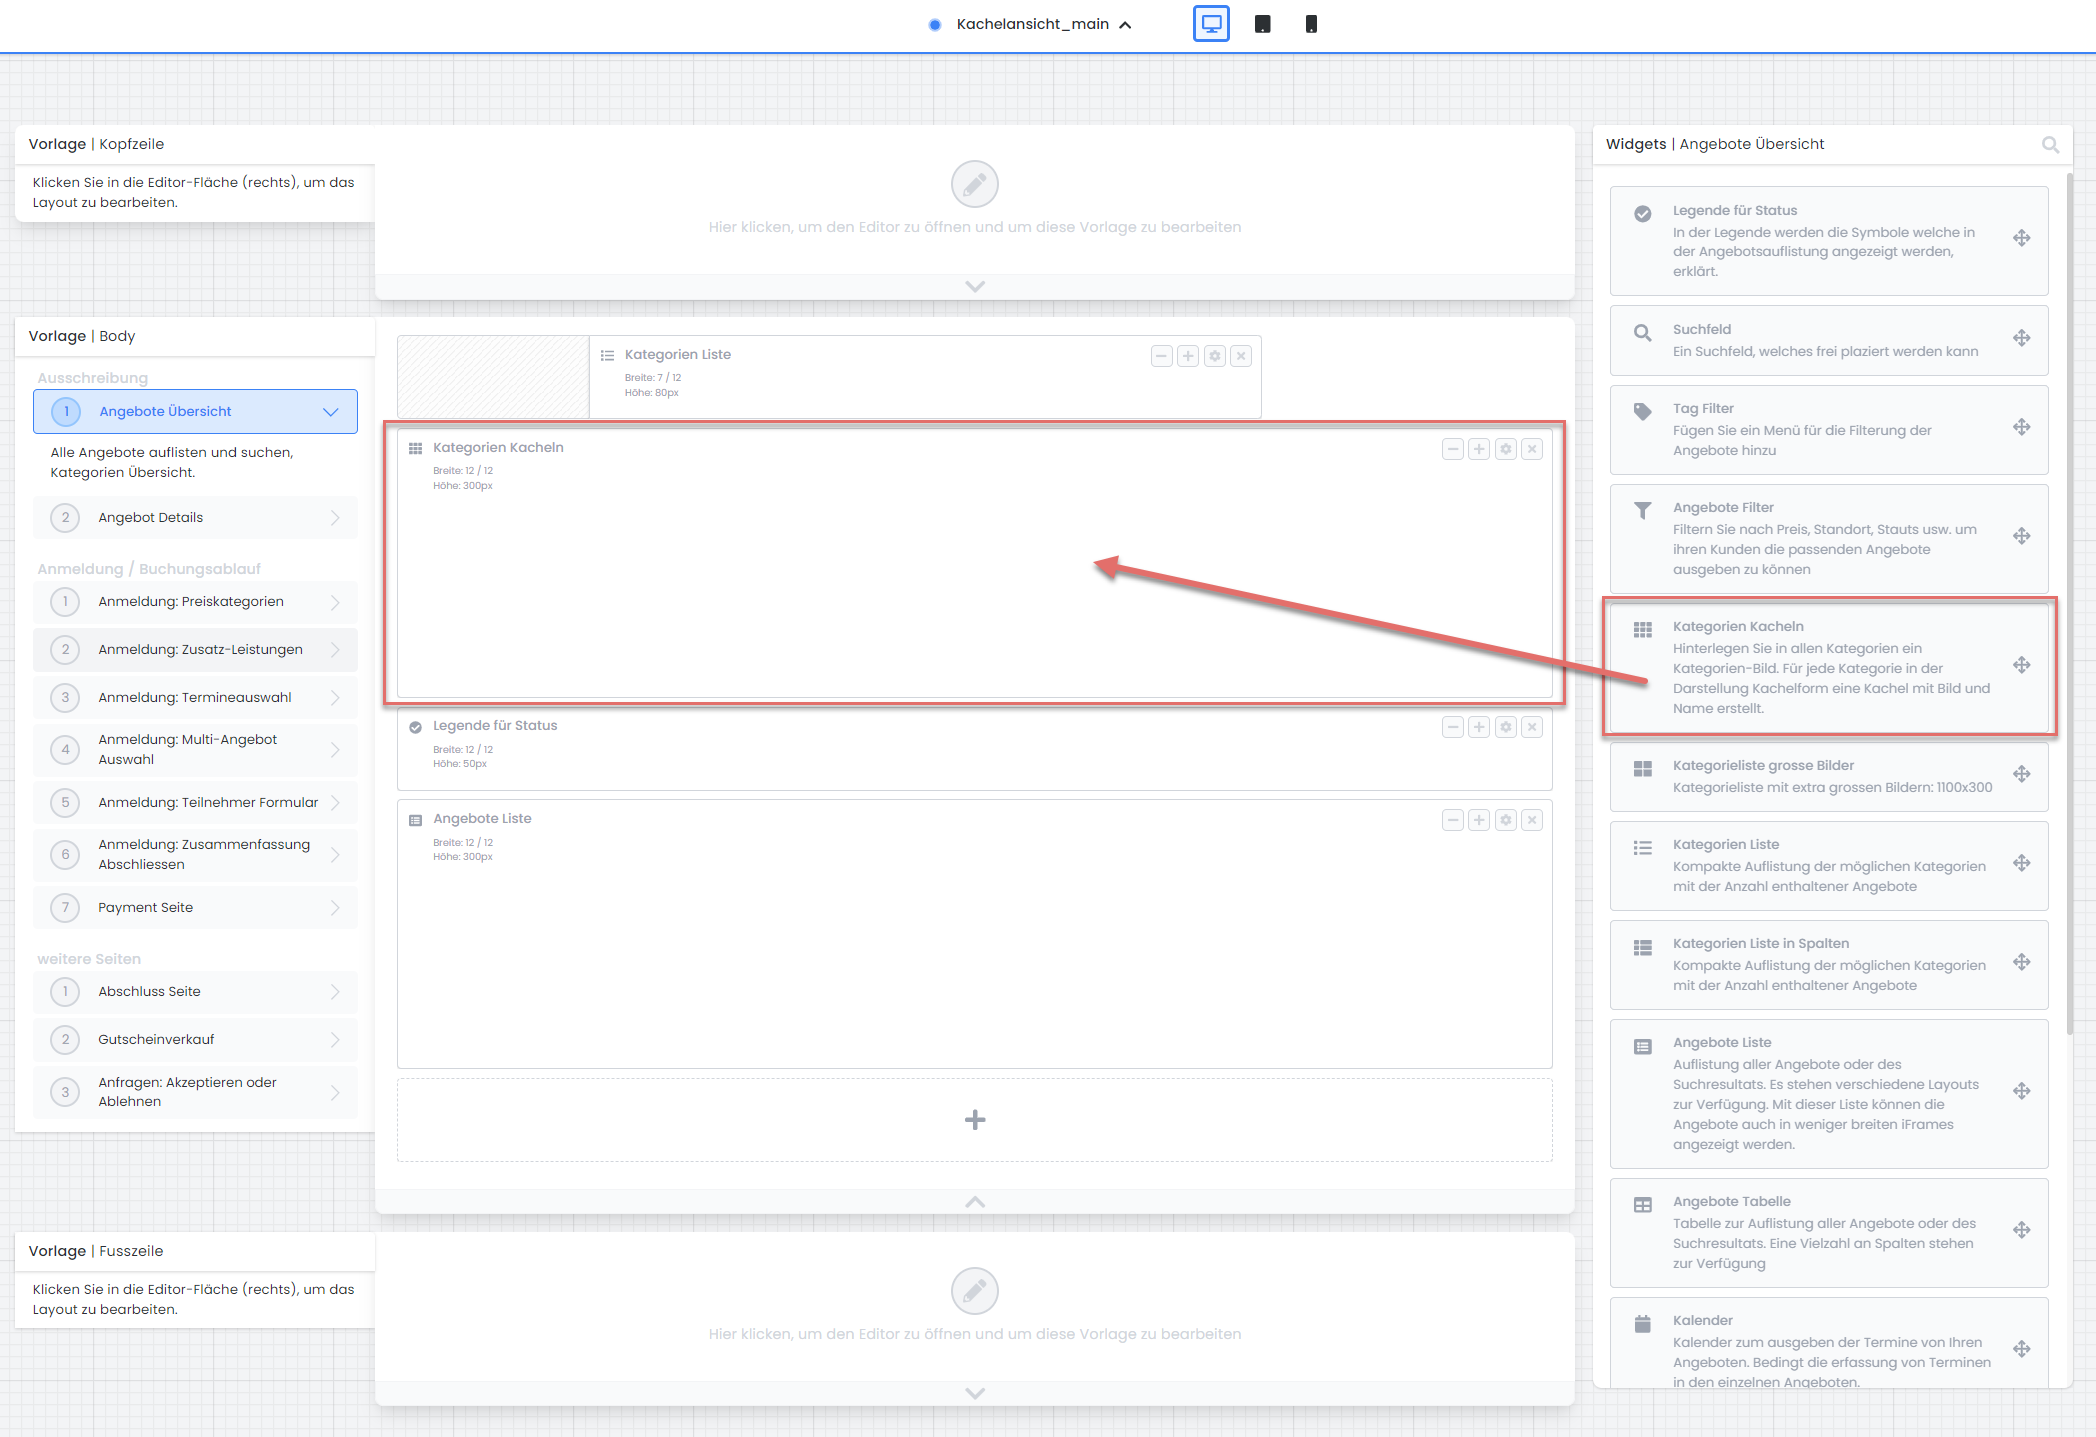
3. In the Kachelansicht_main design, within the «Offer Overview» template, drag the «Category Tiles» widget into the workspace and save the design.
-
Now, create another new design, based on the Kachelansicht_main design, and name it, for instance, Kachelansicht_sub.
-
Do not select this design as the default; however, assign it to all (desired) categories.
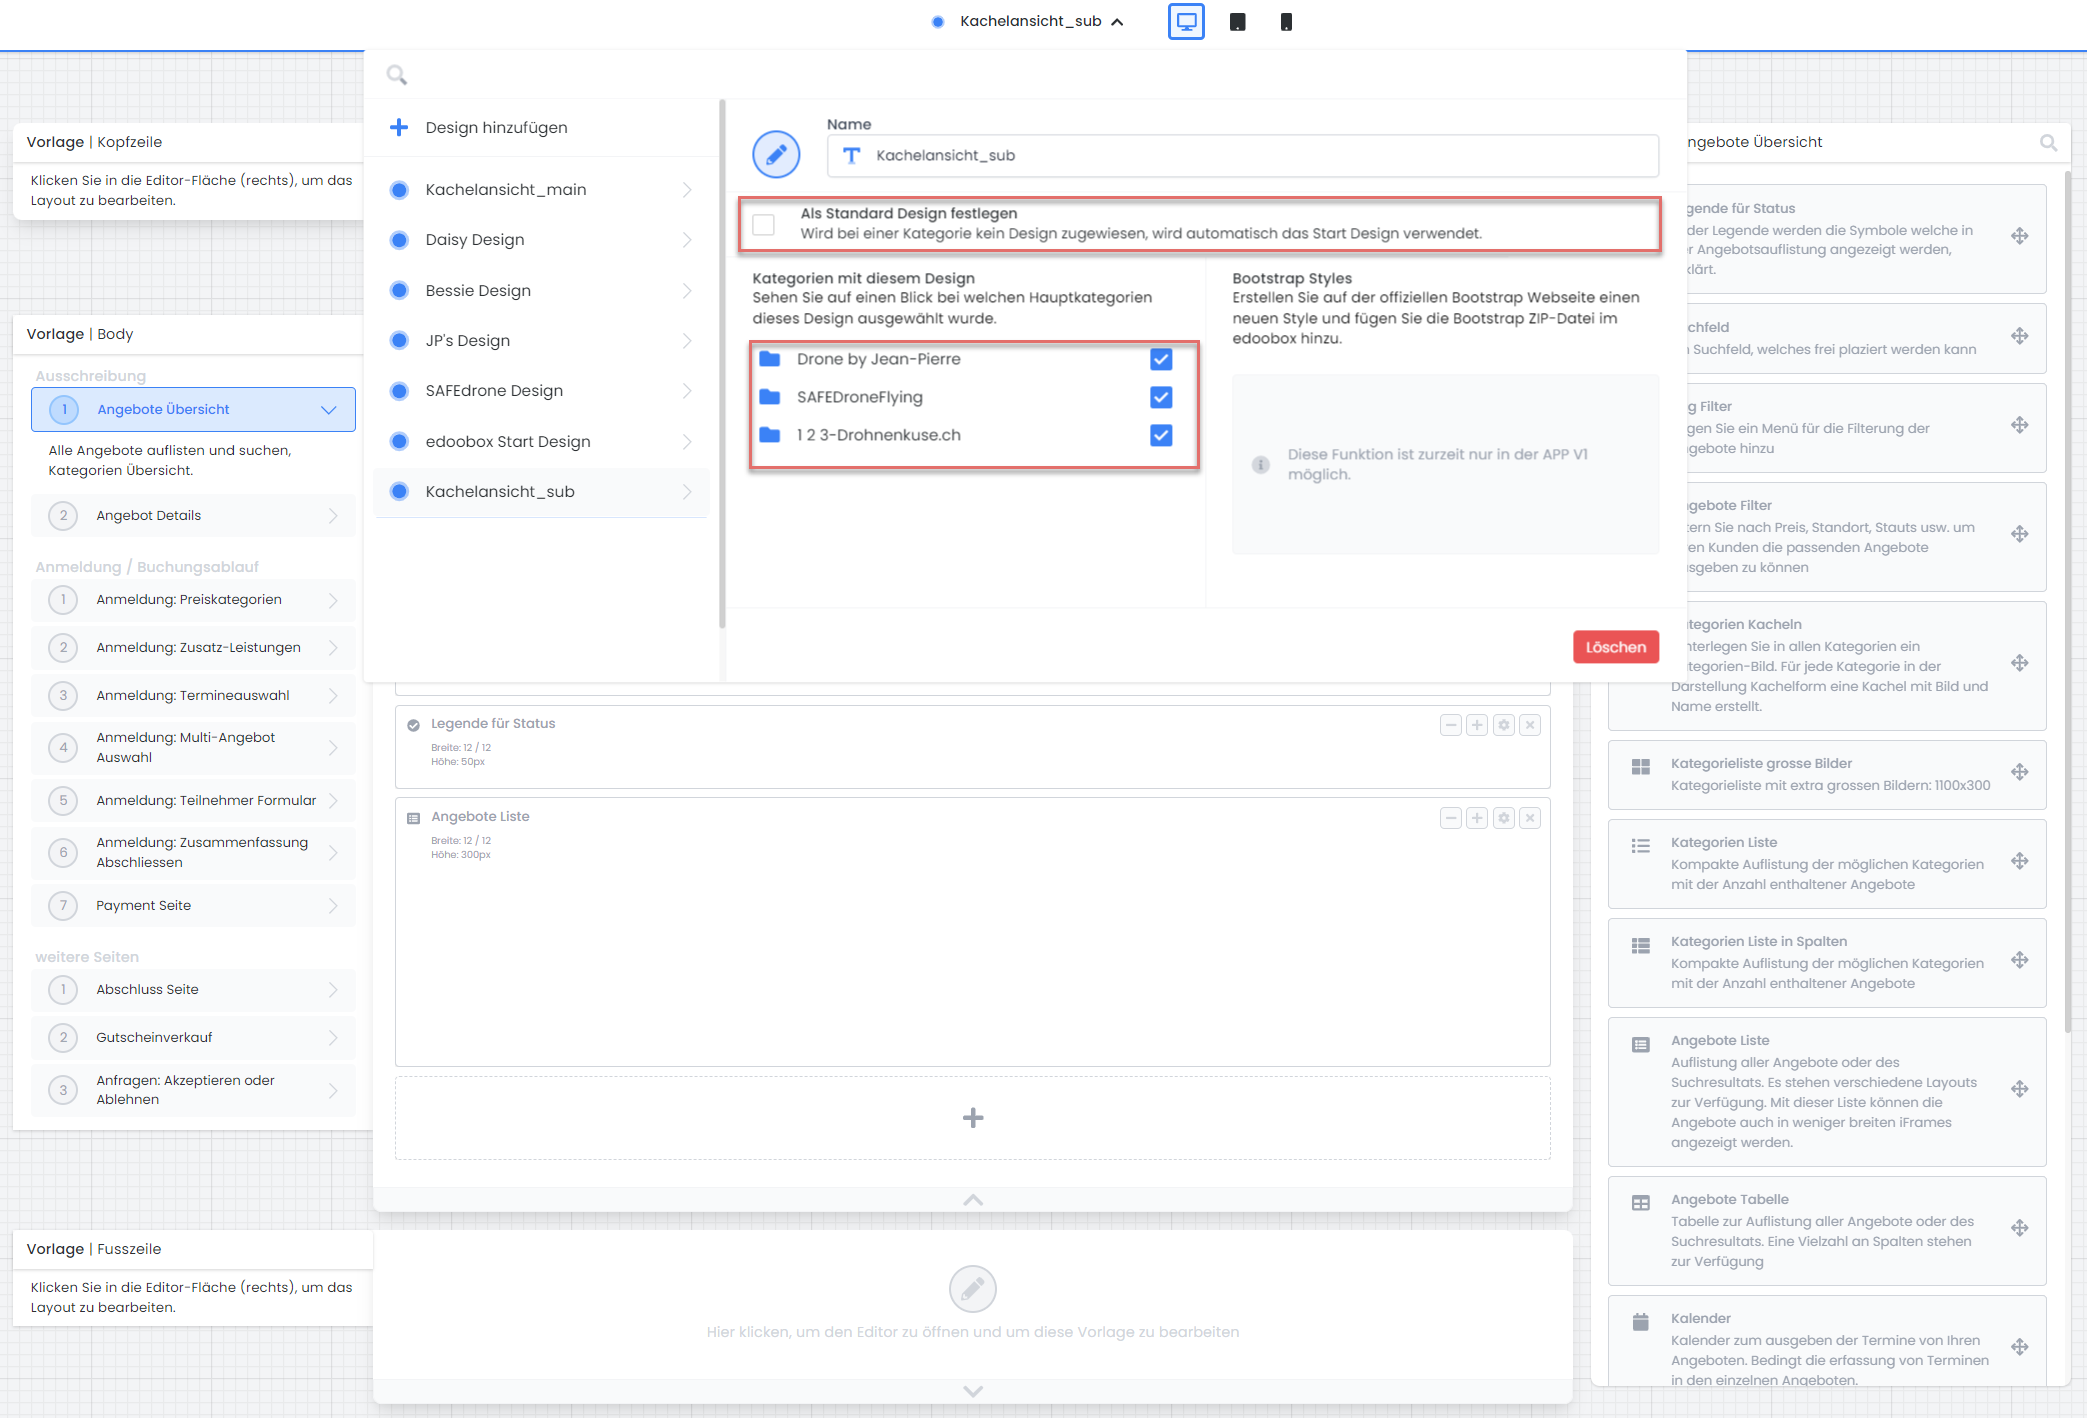
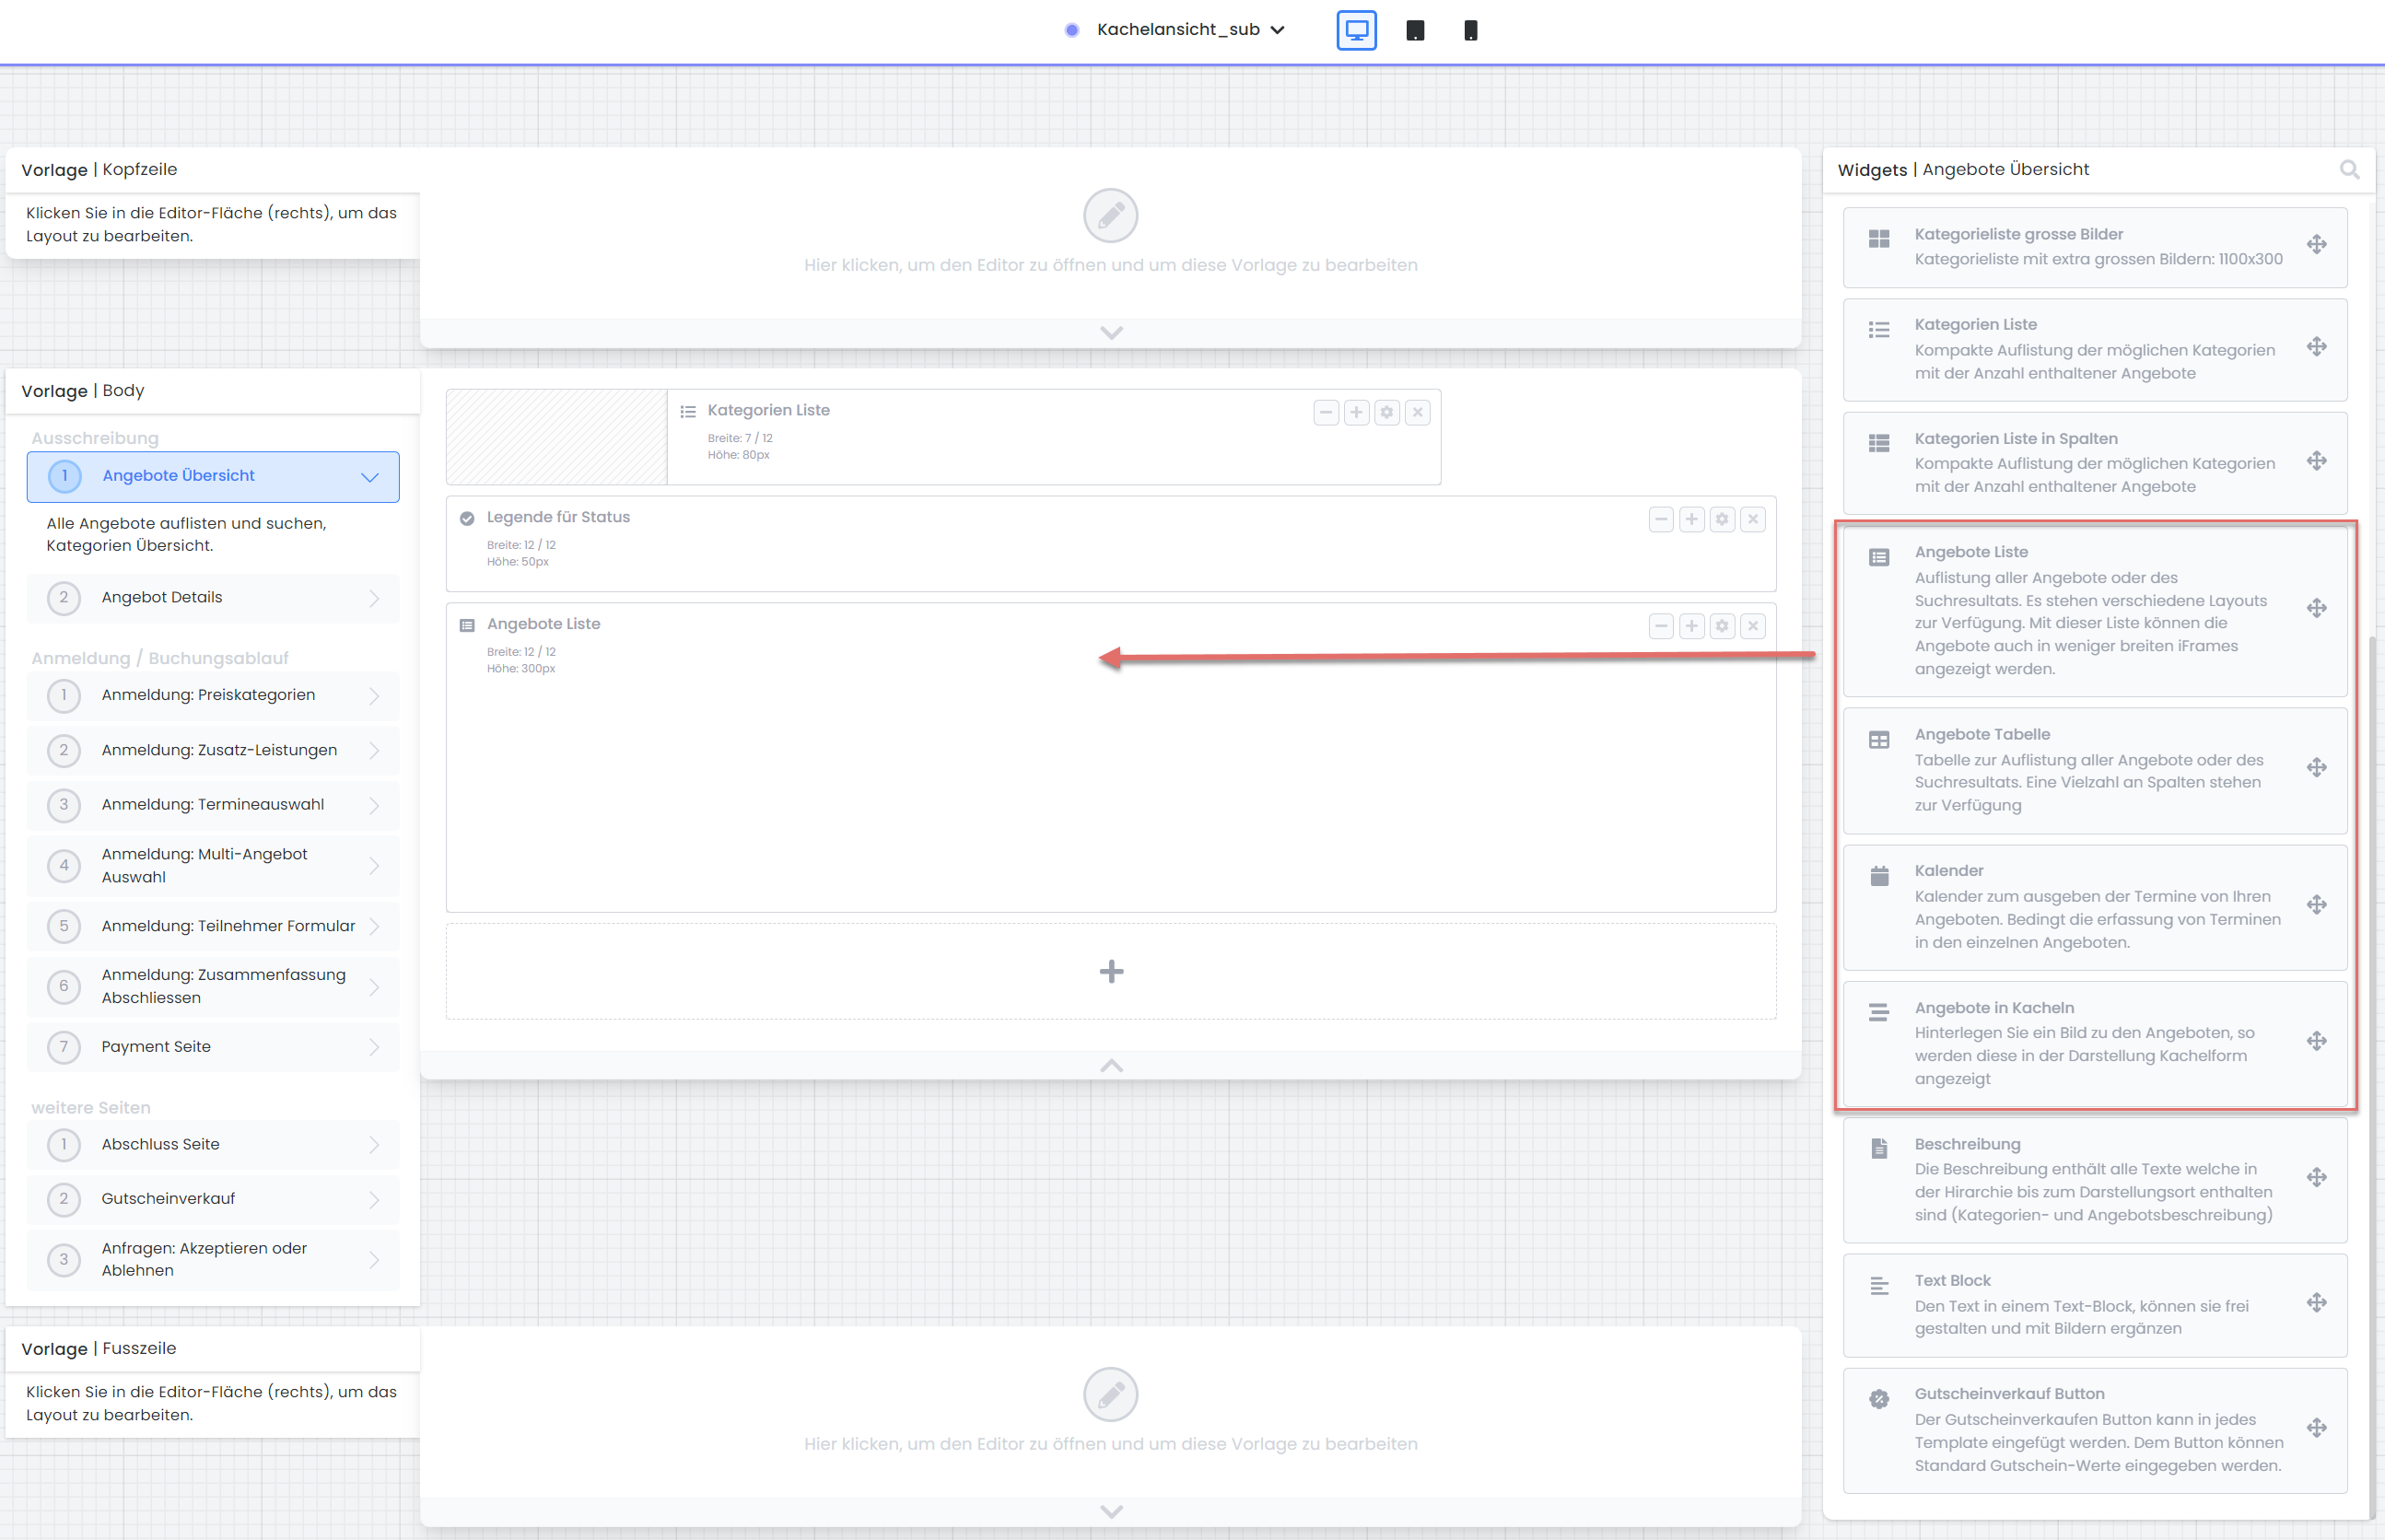
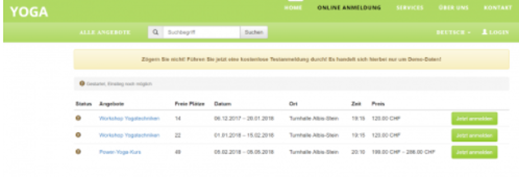
In the Kachelansicht_sub design, within the «Offer Overview» template, remove the «Category Tiles» widget and insert an offer overview widget. Possible widgets include «Offer List», «Offer Table», «Calendar», and/or «Offers in Tiles».
-
For an appealing presentation across all categories, add appropriate images (optional).
-
Verify your result by opening the default view from your account shortcut in the offer tree using the preview share function.
Overview of Hierarchy and Designs:
|
Level |
Output Design |
Template |
Display |
|
Root Directory (Account Shortcut) |
Design Set as Default (Kachelansicht_main) |
Offer Overview |
|
|
Categories |
Design assigned to categories
|
Offer Overview |
|
|
Offerings |
Design assigned to categories
|
Offer Details |
|
Related Guides
Keywords for this guide
Tile Design ¦ Designs ¦ Design Manager