Tip: Admission App (iOS and Android) simplifies attendance control
Alternatively, the edoobox Admission App is available for your iOS or Android tablet or smartphone.
With the admission scan in edoobox, you record participant attendance directly on-site by scanning the code on the ticket PDF. This allows you to verify in real-time whether an individual is correctly booked and simultaneously automatically maintain the attendance list for the associated offer. The selected attendance status (e.g., present, left early) is immediately stored in the system.
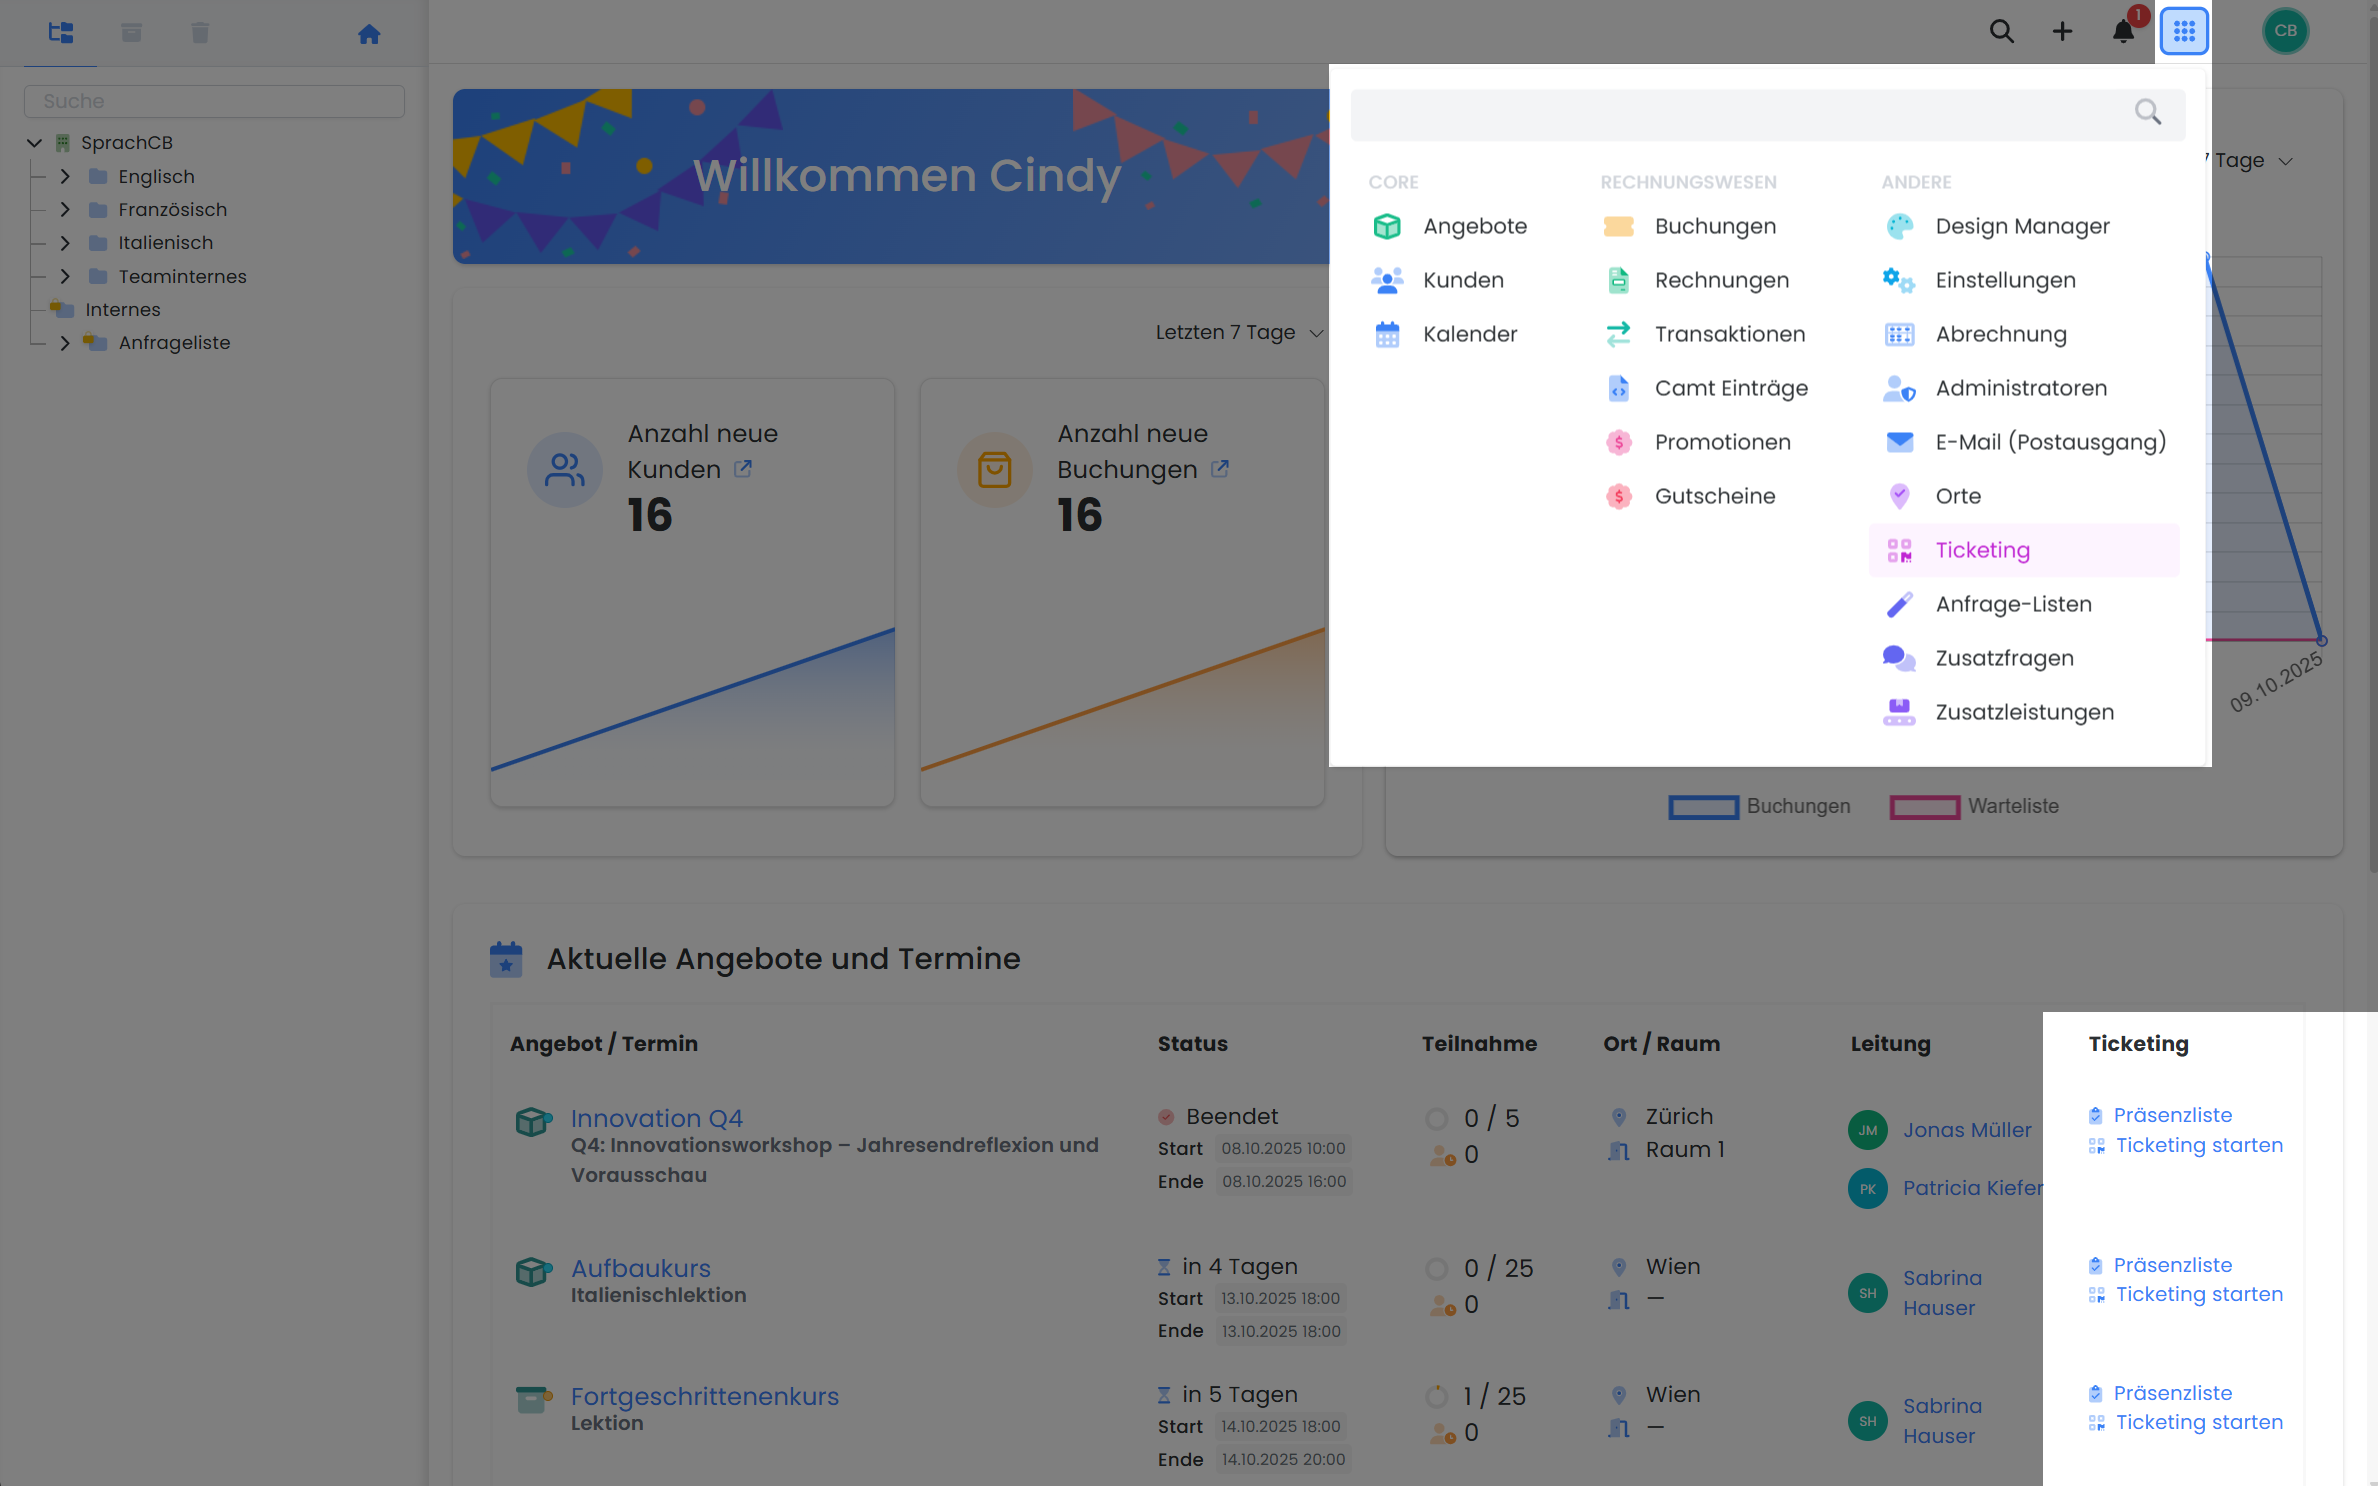
Access to Ticketing
You have two options to initiate the admission scan:
-
Via the App Menu (cube icon): 'Ticketing'
-
Directly via the Homepage: 'Current Offers and Dates' > Click the 'Ticketing' button for the desired offer
Step-by-Step: Using the Admission Scan
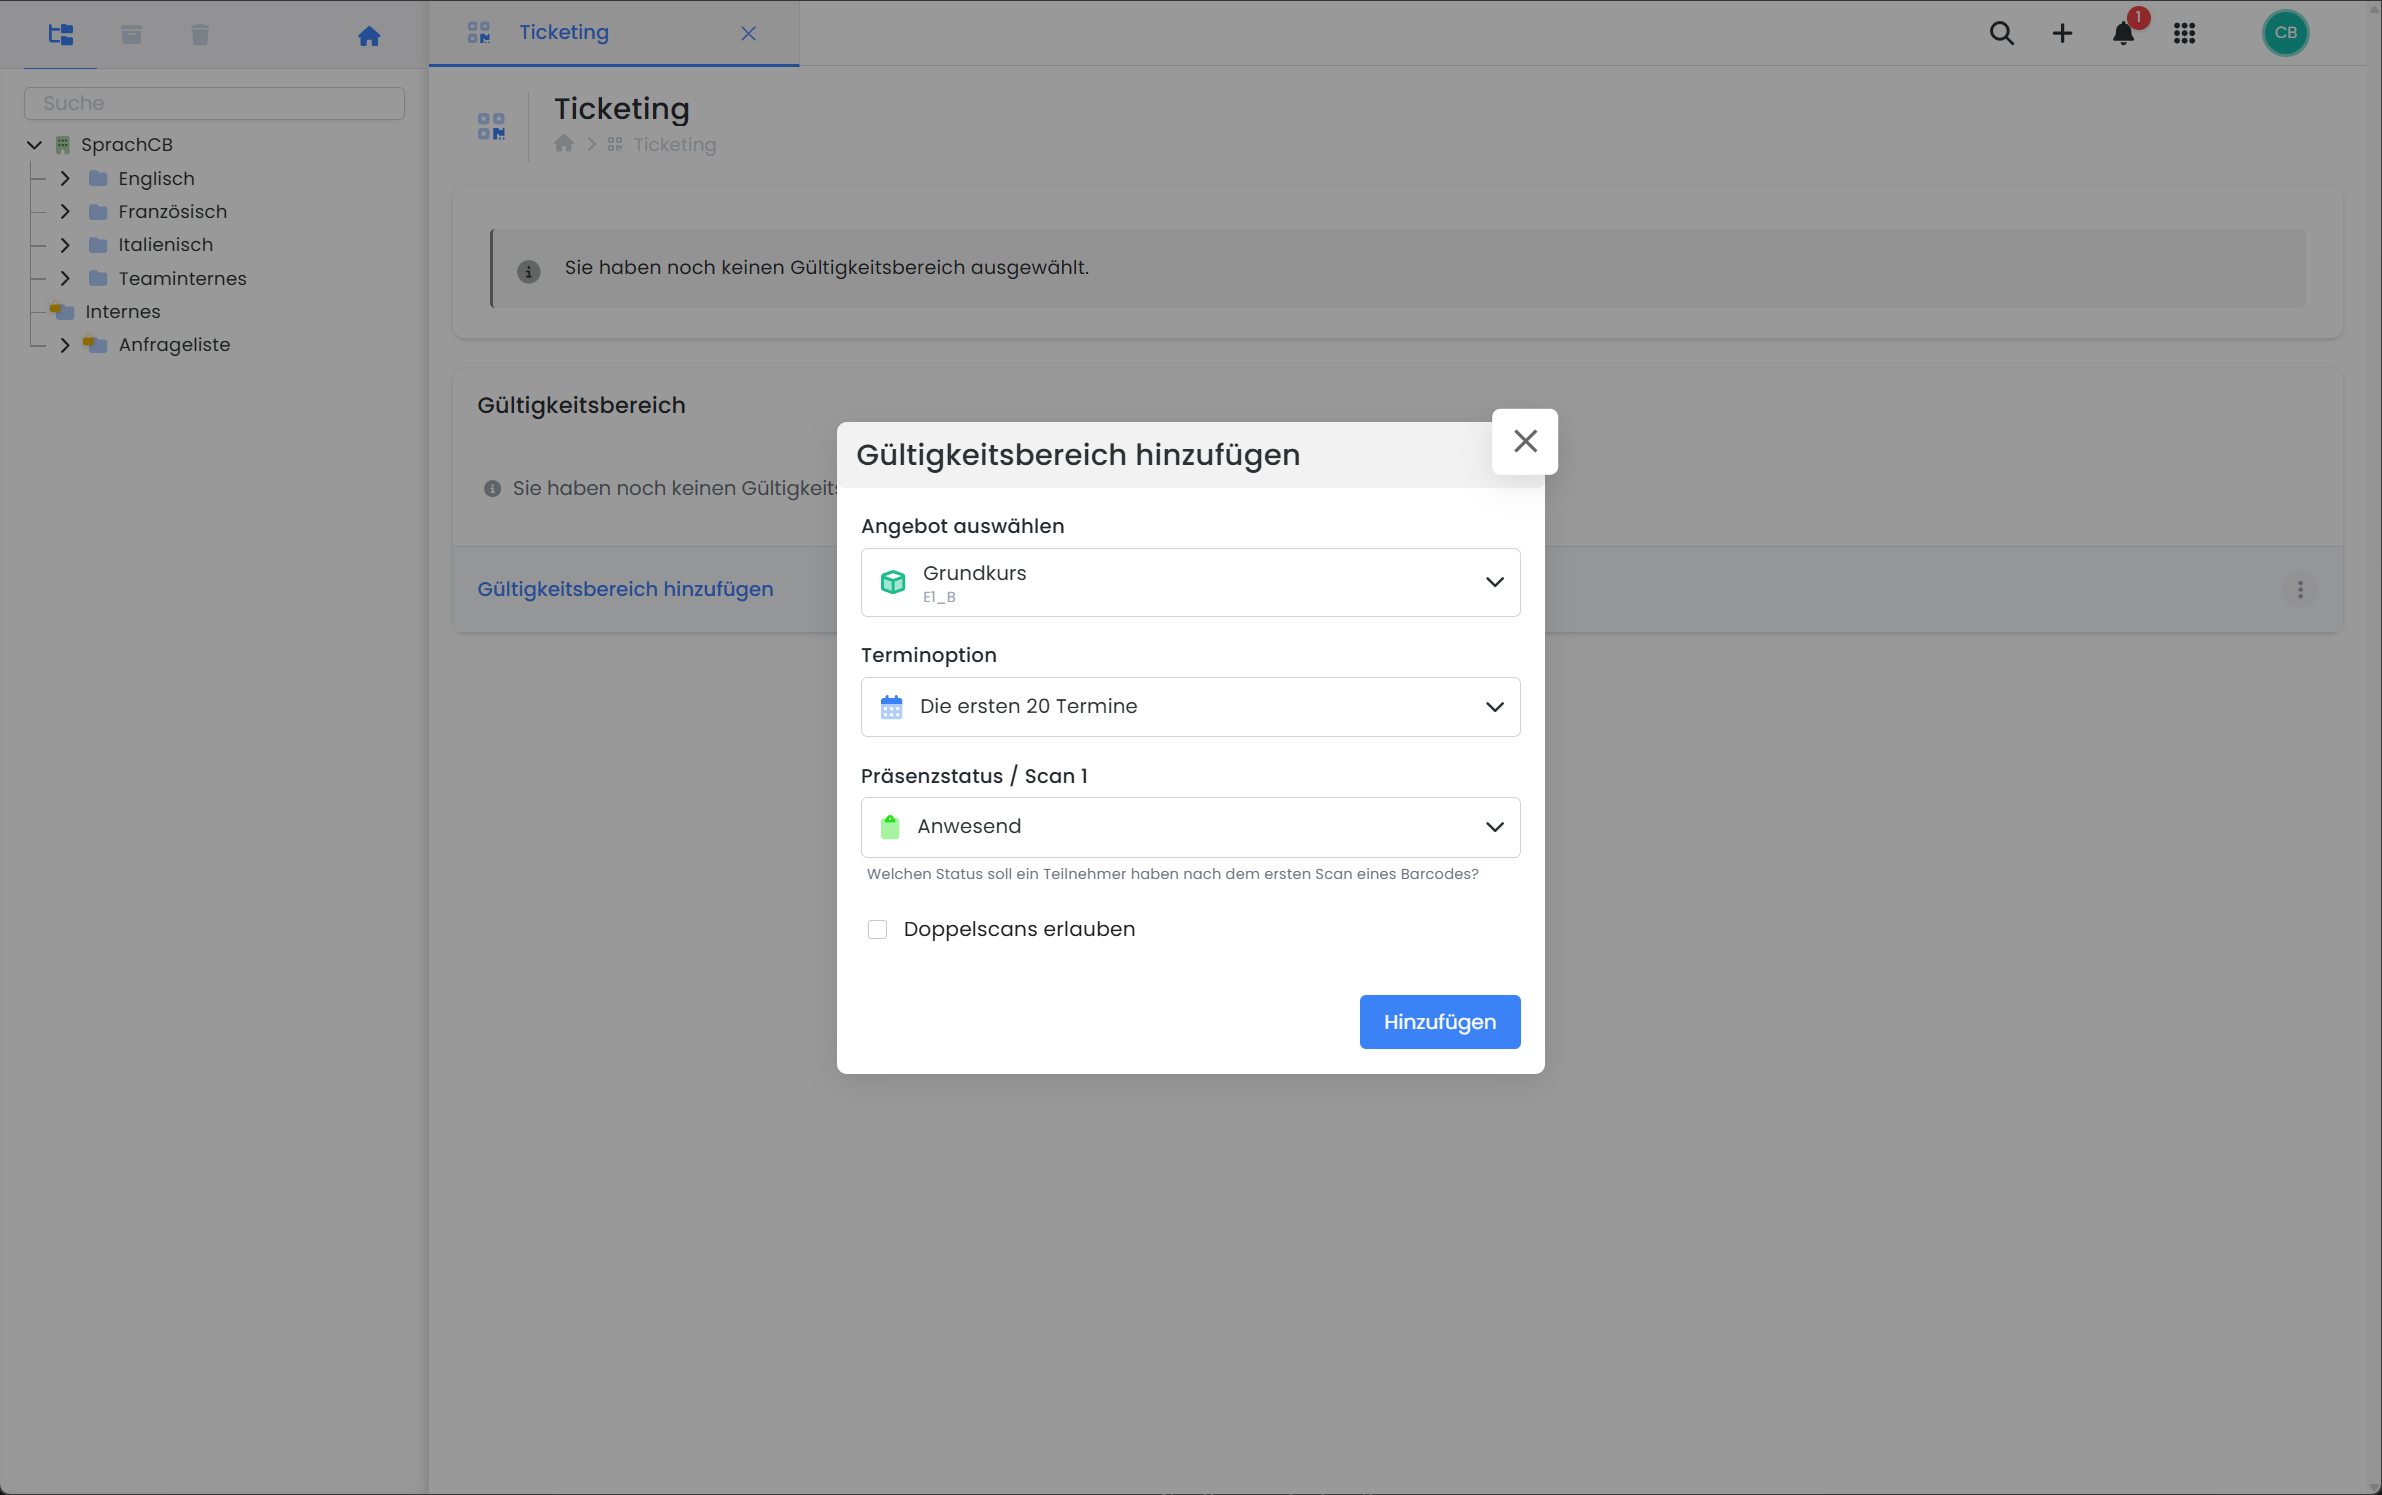
1. Define Validity Scope
Before initiating the admission scan, a validity scope must be configured. This scope determines for which offerings and dates barcodes will be recognized and processed as valid.
Procedure:
-
Click on «Add Validity Scope».
-
Select the desired offering.
-
Select Appointment Option
-
The first 20 appointments (automatically predefined)
-
Individual appointments (manual selection of multiple specific appointments via an additional input field)
-
-
Set attendance status for Scan 1
Select the status to be set after a successful first scan (e.g., Present, Excused). -
Allow Double Scans
-
Inactive: Each code can only be scanned once.
-
Active: A second status is prompted (Scan 2), which is assigned during the double scan. The second status must not be identical to the first.
-
-
Confirm your input by clicking «Add».
The validity scope will then be displayed below and automatically activate ticket control for the defined parameters.
For multi-offerings, each sub-offering must be scanned separately to ensure accurate presence documentation per module.
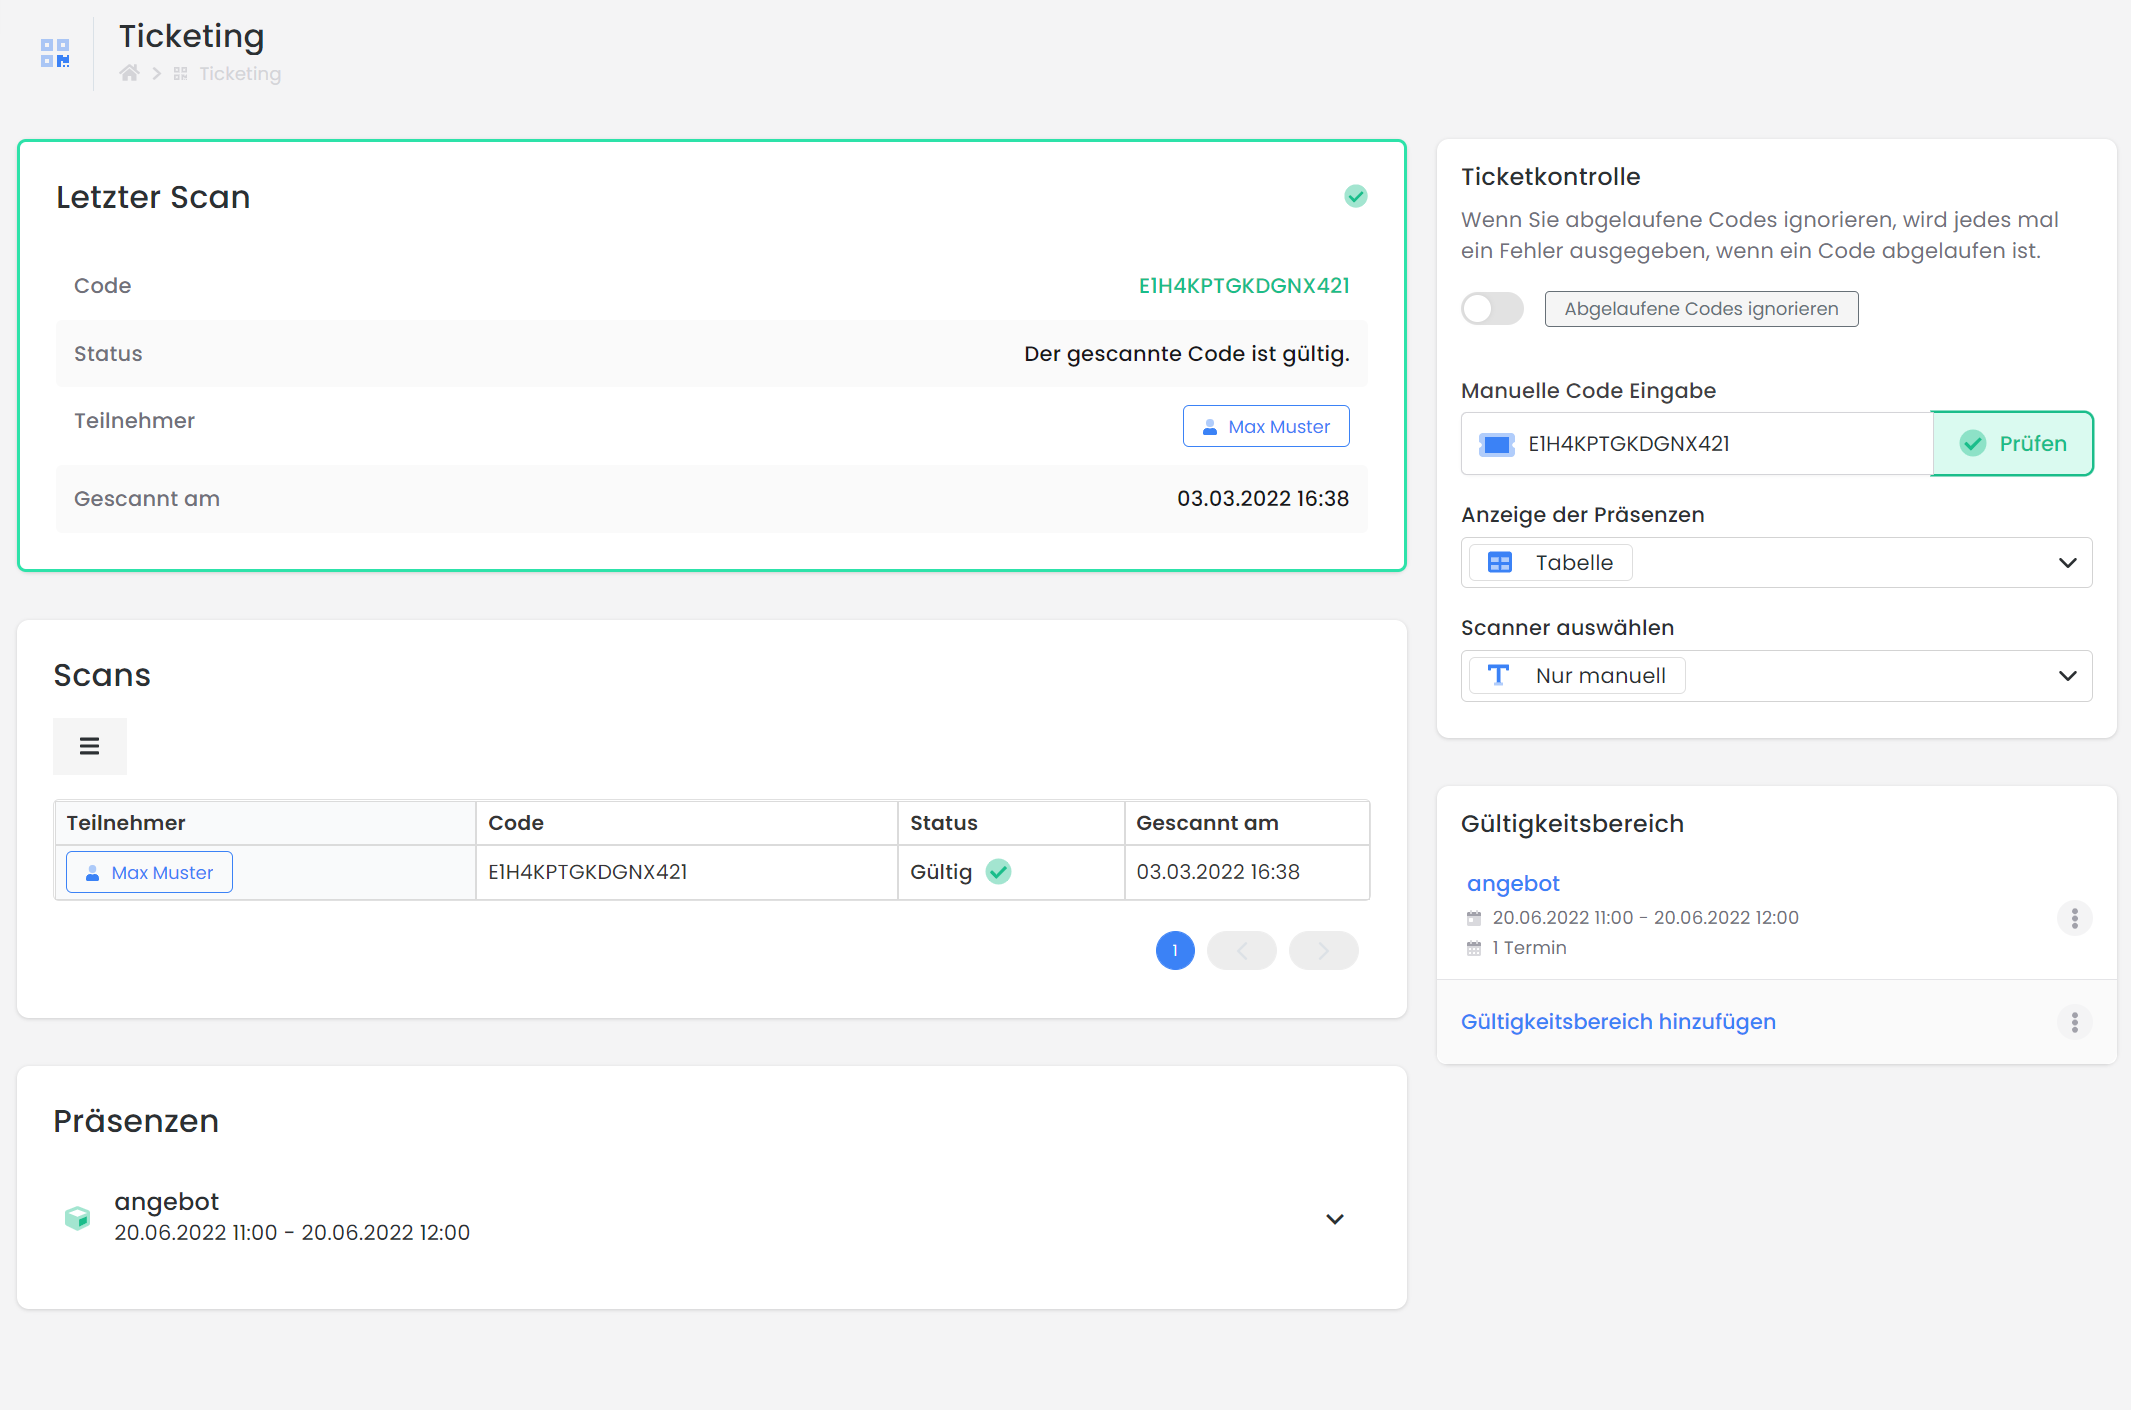
2. Configure Ticket Control
The following settings are available in the Ticket Control section:
-
Ignore Expired Codes: When active, outdated codes are marked as invalid.
-
Manual Code Entry: Barcodes can be manually entered and verified here if required.
-
Presence Display
-
Table (for devices without a touchscreen, e.g., laptop)
-
Swipe View (for smartphones or tablets with touch operation)
-
Info: Swiping
Swipe left to mark the participant as Present/Excused or right for Left Early/Unexcused.
-
Select Scanner
-
Manual Entry Only: No scanning device connected; input is performed via keyboard.
-
External Scanner: The USB scanner must be correctly connected and recognized by the system.
-
Webcam/Smartphone/Tablet: Camera access must be permitted in the browser.
-
Tip: Scan Multiple Tickets
To capture multiple barcodes consecutively, disable the CR and LF suffixes in the scanner (Disable CR/LF Suffix).
3. Specifics for Multi-Offer Structures
Each sub-offer within a multi-offer structure has its own attendance list. Therefore, scans must be performed per offer, enabling differentiated attendance evaluation and targeted access control.
Barcode Types and Dispatch
Supported Code Formats for Tickets:
-
PDF417 (Standard)
-
QR Code
-
Data Matrix
The barcode is automatically dispatched with the ticket PDF, based on the selected settings in the ticket options. This dispatch typically occurs with the booking confirmation via email.
Instructions on how to adjust barcode settings can be found in this guide.
Related Guides
Keywords for this guide
Attendances | Attendance List | Participants | Certificate | Attendance Confirmation | Admission Scanner | Scanning | Mobile Phone | Cell Phone