Please note that free support for this subject area is limited. If you require more extensive support, we are happy to offer you paid services.
Authentication with API Key
Generate API Key
API V2 utilizes V2 API keys. These must first be generated in your V2 account:
-
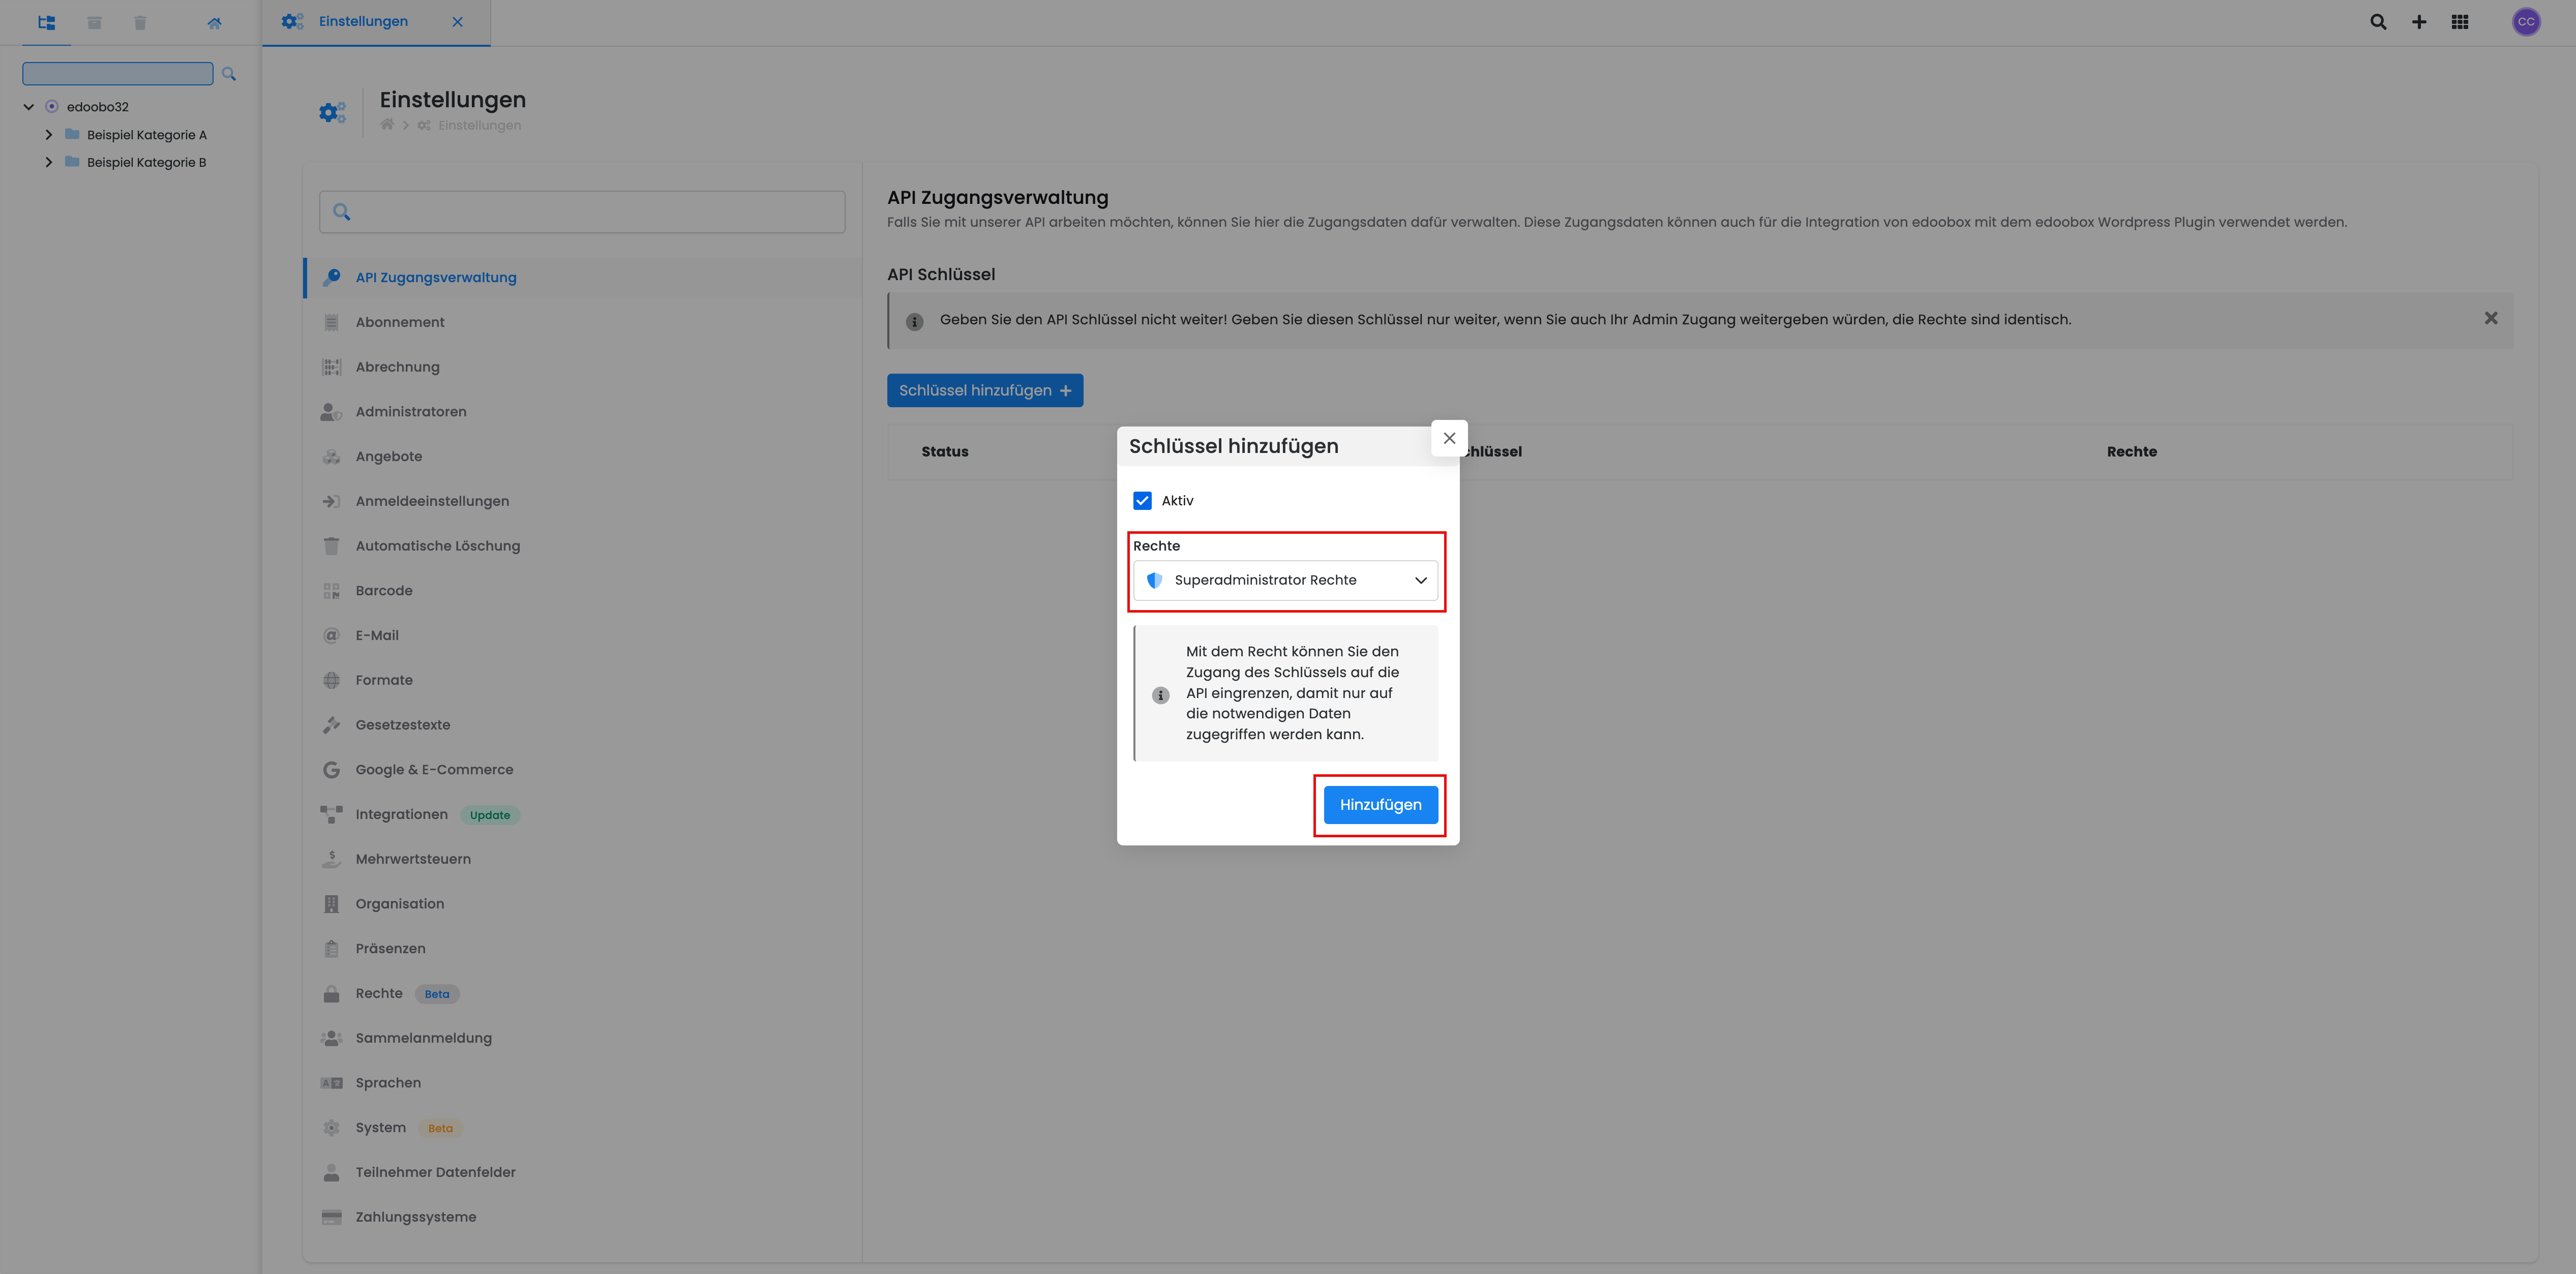
Navigate to Settings > API Access Management.
-
Click on Add Key to generate a new key.

-
Select the desired permission and then click on Add.
-
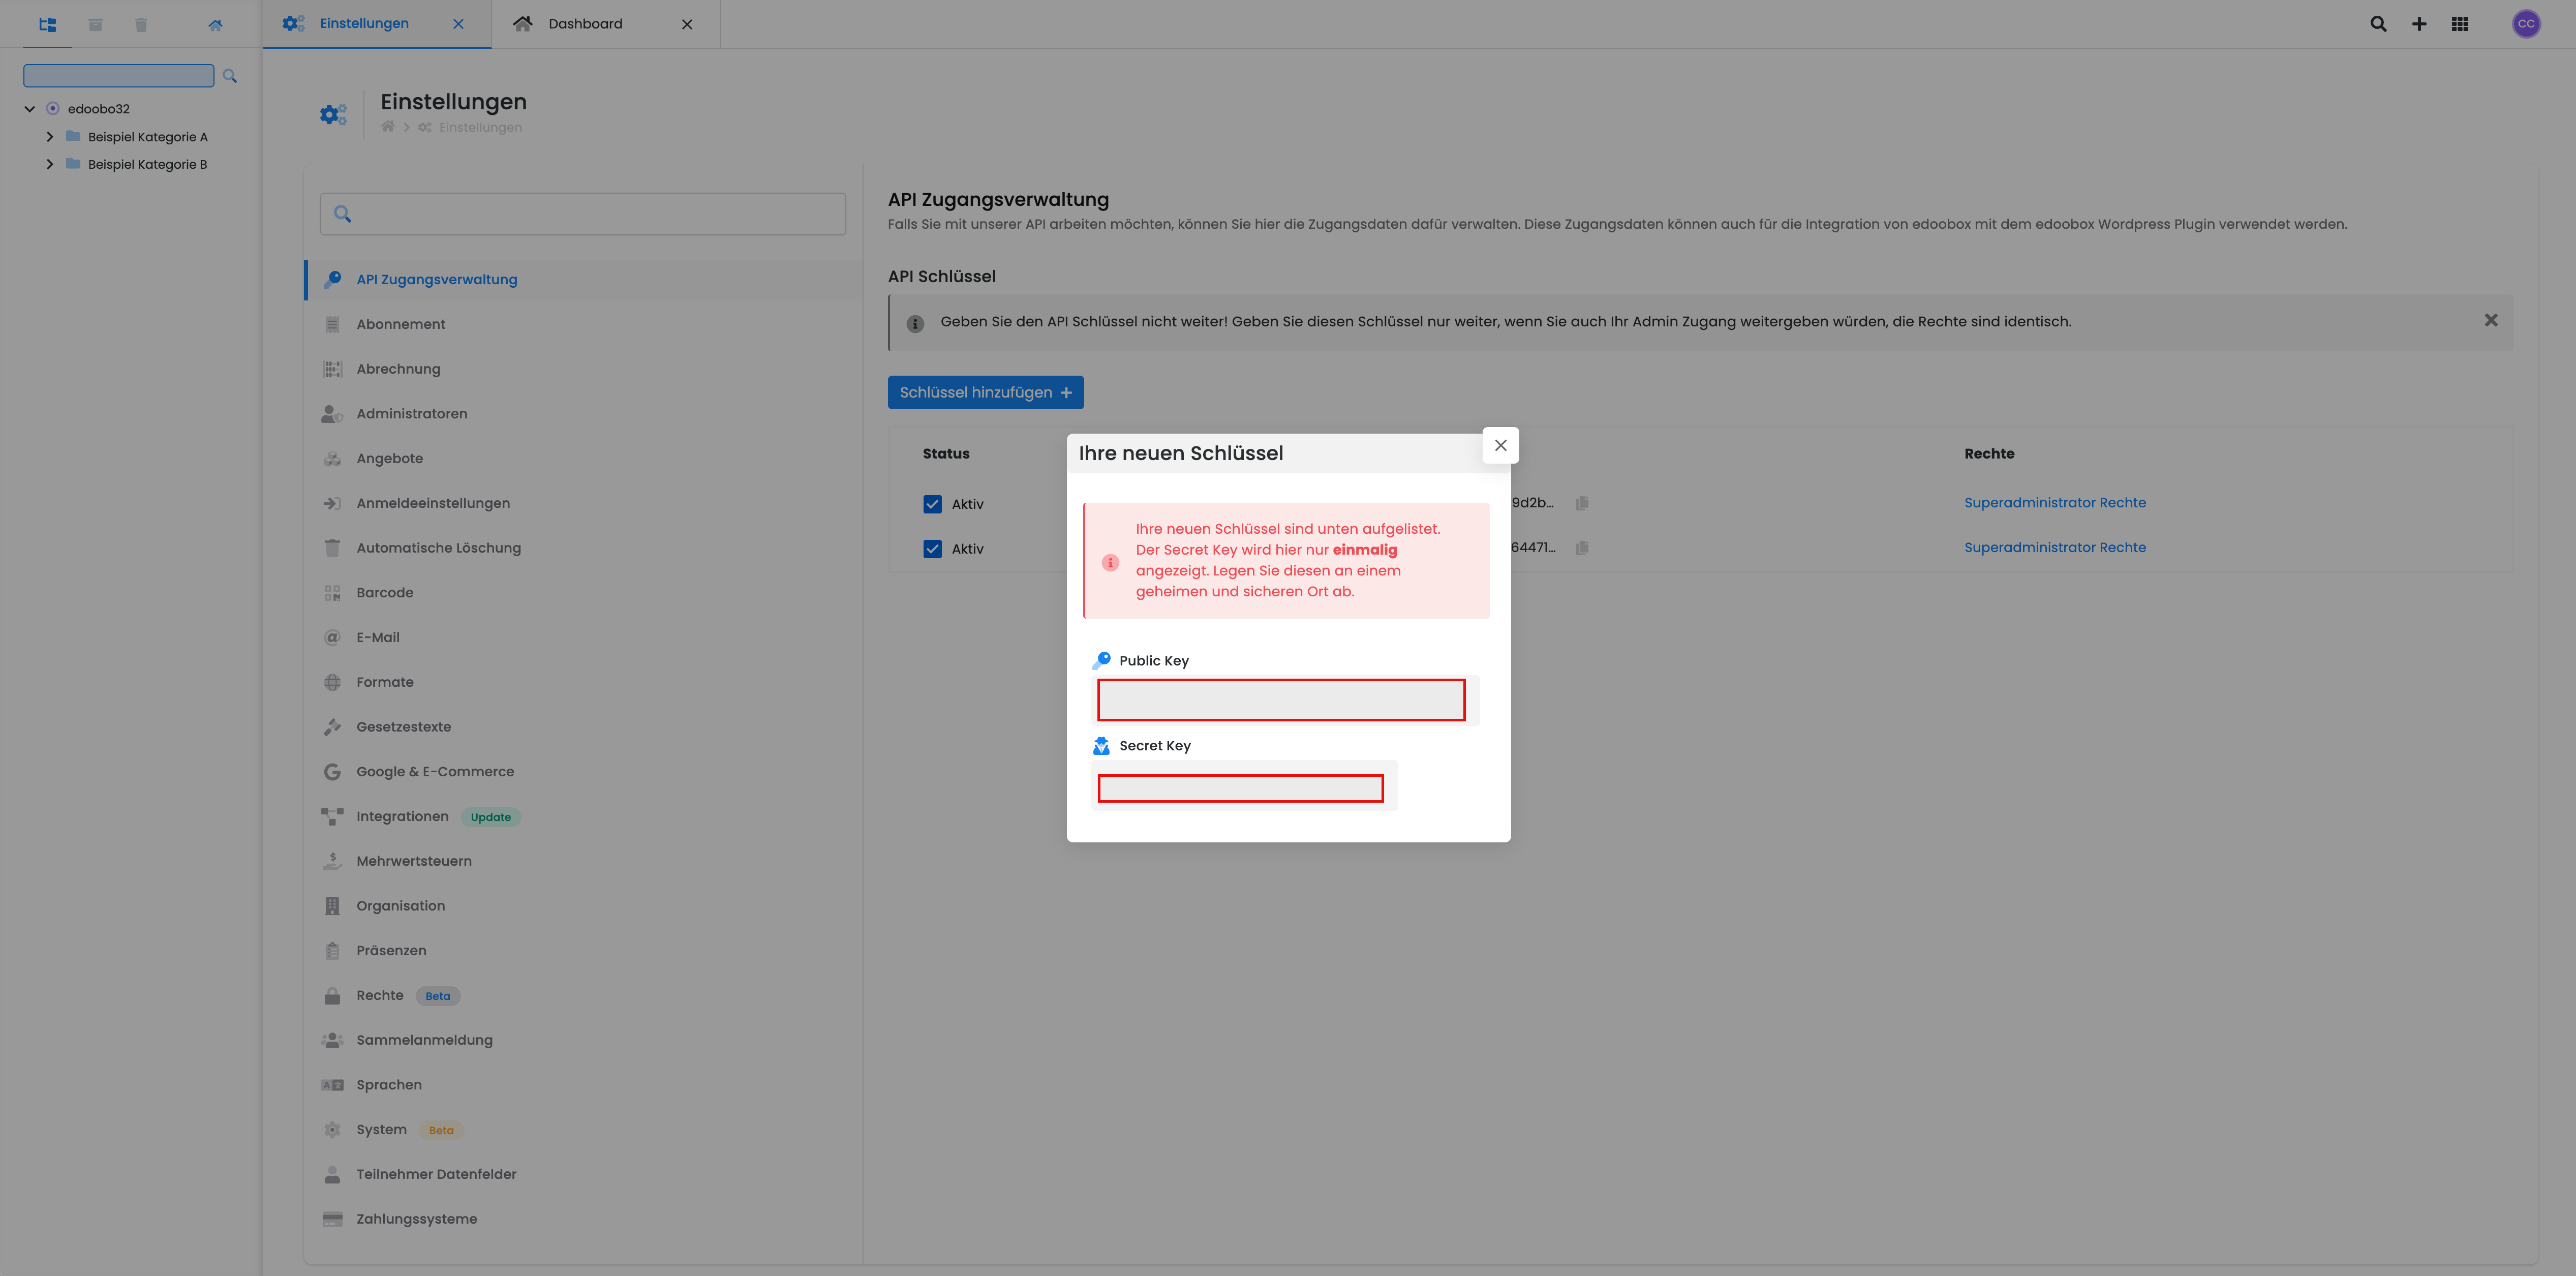
You will now receive two unique API keys that you can use to authenticate with API V2. Store these keys in a secure location, as they are only fully issued once.
Authentication and Obtaining Access Tokens
The authentication endpoints are not protected. All protected API V2 endpoints can only be used with an access_token and a edid can be used. The edid defines which account is currently authenticated. To obtain this access_token and the edid you must use the API keys and authenticate first. The endpoint for authentication is: https://app2.edoobox.com/v2/auth.
Below you will find some examples for authentication in different programming languages. The key is your public key, the secret is your secret key, and expire you can use to determine the expiration date of the access_tokentoken.
In the response, you will find the edid and your valid access_token. You will also find the permissions of the currently logged-in accounts and their account IDs. You can access them as follows:
data.login.data[edid]
Example of an API Response After Authentication
{
    "data": {
        // Die edid ID vom aktuellen Konto
        "edid": "63ef220a0c8f25O0O4833076730b351d639ea00000000000000000000",
        "login": {
            ...
            "data": {
                // alle aktiv eingeloggten Konten
                "63ef220a0c8f25O0O4833076730b351d639ea00000000000000000000": {
                    "id": "api_00000000_00000000",
                    "account": "account_00000000_00000000", // Konto ID
                    "auth": {
                        "rw": { // alle Rechte von diesen Schlüsseln
                            "admi": 3,
                            ...
                        }
                    }
                }
                "63ef220a0c8f25O0O4833076730b351d639ea0d4520f005f7f7347283": {
                    "id": "api_00000000_00000000",
                    "account": "account_00000000_00000001", // Konto ID
                    "auth": {
                        "sub": 1,
                        "rw": { // alle Rechte von diesen Schlüsseln
                            "admi": 3,
                            ...
                        }
                    }
                }
            }
        }
    },
    // Ihr gültiger Access Token
    "access_token": "eyJ0eXAiOiJKV1QiLCJhbGciOiJSUzI1NiJ9...",
    ...
}
Code-based Queries
Authentication
Authentication with Node.js (JavaScript)
For these examples, we are using Node version v18.13.0. Create a JavaScript file auth.js with the following content:
var myHeaders = new Headers();
myHeaders.append("grant-type", "password");
myHeaders.append("Content-Type", "application/json");

var raw = JSON.stringify({
  "key": "key_0000000000000000000000000000000",
  "secret": "sec_0000000000000000000000000000000",
  "expire": "2030-01-01T01:00:00+02:00"
});

var requestOptions = {
  method: 'POST',
  headers: myHeaders,
  body: raw,
  redirect: 'follow'
};

fetch("https://app2.edoobox.com/v2/auth", requestOptions)
  .then(response => response.json())
  .then(result => console.log(result))
  .catch(error => console.log('error', error));
In your shell, navigate to the directory of this file and execute the script:
node auth.js
Authentication with PHP
Create a PHP file auth.php with the following content:
<?php

$curl = curl_init();

curl_setopt_array($curl, array(
    CURLOPT_URL => 'https://app2.edoobox.com/v2/auth',
    CURLOPT_RETURNTRANSFER => true,
    CURLOPT_ENCODING => '',
    CURLOPT_MAXREDIRS => 10,
    CURLOPT_TIMEOUT => 0,
    CURLOPT_FOLLOWLOCATION => true,
    CURLOPT_HTTP_VERSION => CURL_HTTP_VERSION_1_1,
    CURLOPT_CUSTOMREQUEST => 'POST',
    CURLOPT_POSTFIELDS =>'{
	"key": "key_0000000000000000000000000000000",
	"secret":"sec_0000000000000000000000000000000",
	"expire":"2030-01-01T01:00:00+02:00"
}',
    CURLOPT_HTTPHEADER => array(
        'grant-type: password',
        'Content-Type: application/json',
    ),
));

$response = curl_exec($curl);

curl_close($curl);
echo $response;
In your shell, navigate to the directory of this file and execute the script:
php auth.php
Querying All Offers
Once authenticated, a cookie will be set for your session. You now possess the edid and the access_token , allowing you to make API requests. In this example, we will retrieve all offers associated with this account (provided you selected the correct permissions when creating the API key). The endpoint used for this is https://app2.edoobox.com/v2/offer/list. Pay attention to the headers edid, grant-type and Authorization. These are essential for the correct functioning of the queries. This also applies to all other protected endpoints.
Query with Node (JavaScript)
For these examples, we are using Node version v18.13.0. Create a JavaScript file offers.js with the following content. Replace eyJ0eXAiOiJKV... in the Authorization-Header with your own Access Token:
var myHeaders = new Headers();
myHeaders.append("edid", "63ef220a0c8f25O0O4833076730b351d639ea00000000000000000000");
myHeaders.append("grant-type", "access_token");
myHeaders.append("Authorization", "Bearer eyJ0eXAiOiJKV...");

var requestOptions = {
    method: 'GET',
    headers: myHeaders,
    redirect: 'follow'
};

fetch("https://app2.edoobox.com/v2/offer/list", requestOptions)
    .then(response => response.text())
    .then(result => console.log(result))
    .catch(error => console.log('error', error));
In your shell, navigate to the directory of this file and execute the script:
node offers.js
Query with PHP
Create a PHP file offers.php with the following content. Replace eyJ0eXAiOiJKV... in the Authorization-Header with your own Access Token:
<?php

$curl = curl_init();

curl_setopt_array($curl, array(
    CURLOPT_URL => 'https://app2.edoobox.com/v2/offer/list',
    CURLOPT_RETURNTRANSFER => true,
    CURLOPT_ENCODING => '',
    CURLOPT_MAXREDIRS => 10,
    CURLOPT_TIMEOUT => 0,
    CURLOPT_FOLLOWLOCATION => true,
    CURLOPT_HTTP_VERSION => CURL_HTTP_VERSION_1_1,
    CURLOPT_CUSTOMREQUEST => 'GET',
    CURLOPT_HTTPHEADER => array(
        'edid: 63ef220a0c8f25O0O4833076730b351d639ea00000000000000000000',
        'grant-type: access_token',
        'Authorization: Bearer eyJ0eXAiOiJKV...',
    ),
));

$response = curl_exec($curl);

curl_close($curl);
echo $response;
In your shell, navigate to the directory of this file and execute the script:
php offers.php
Queries with Postman
With Postman, you can easily test all interfaces to gain a better understanding of the API.
-
To do this, you must first install Postman via the installation guide at the following link: https://www.postman.com/downloads/.
-
Afterward, log in with your Postman account.
-
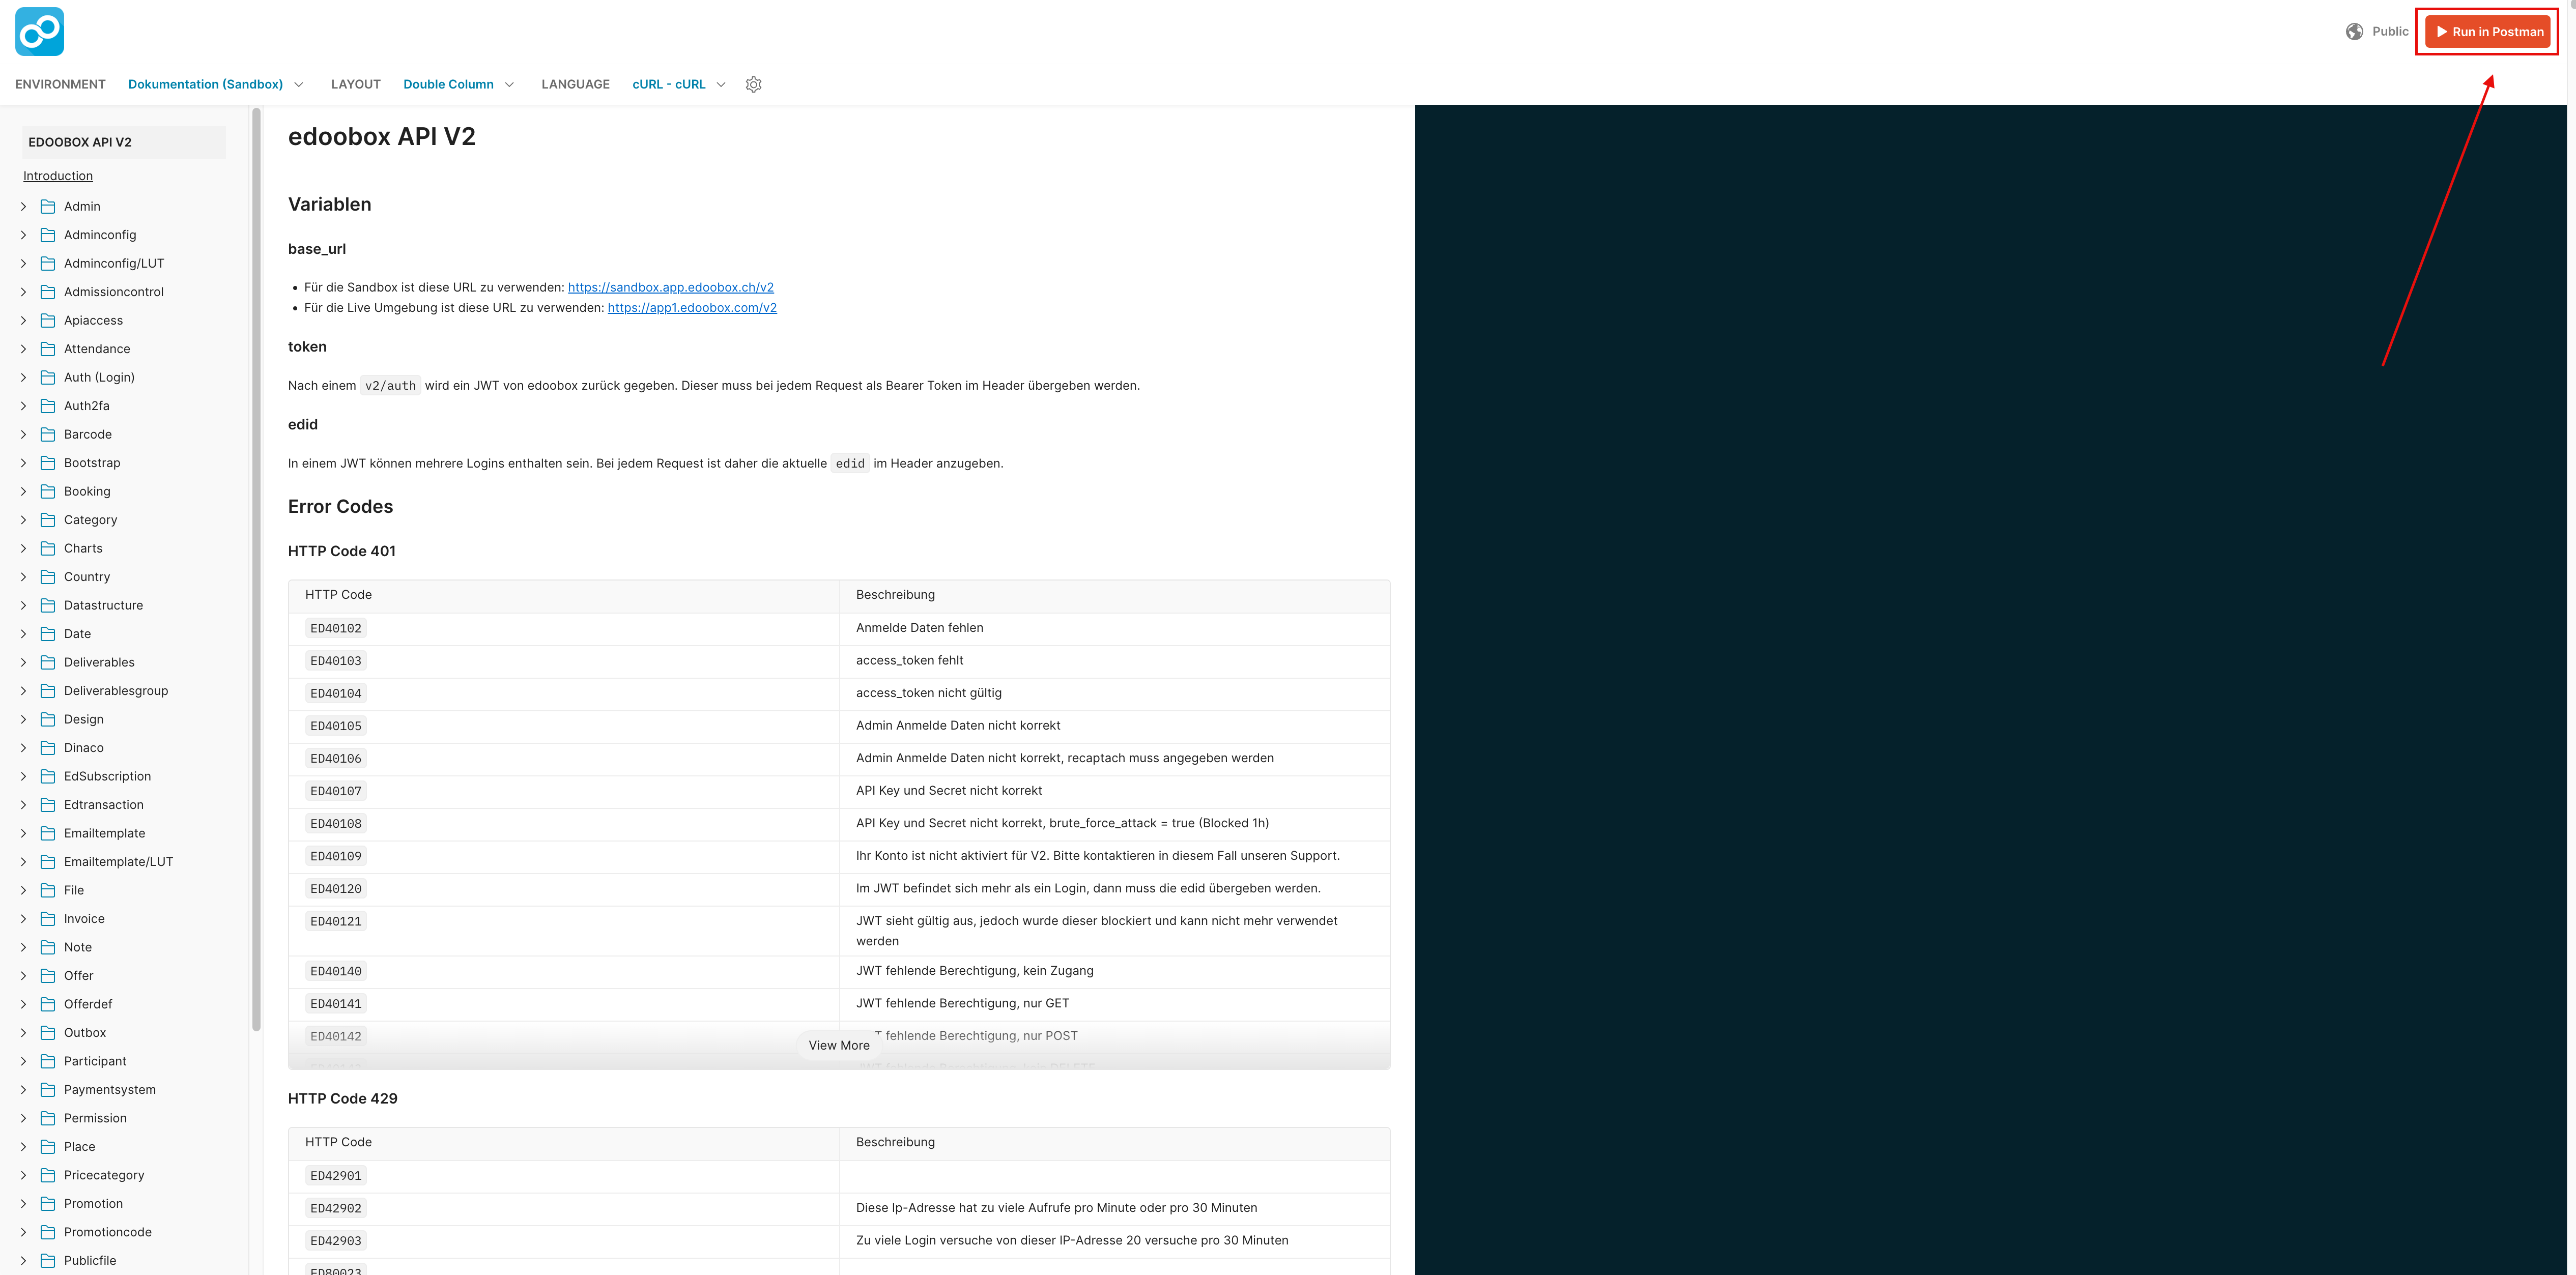
Visit our API documentation: https://api.docs.edoobox.com/.
-
In our documentation, click Run in Postman in the upper right corner.
-
You will then be asked whether you want to open our API via the desktop application or in the browser. Click on the option that suits you; in this example, we use the desktop application.
-
You may be prompted to allow opening in your desktop application. Click allow. If this question is not asked and you are directed straight to your desktop application, then proceed to the next step.
-
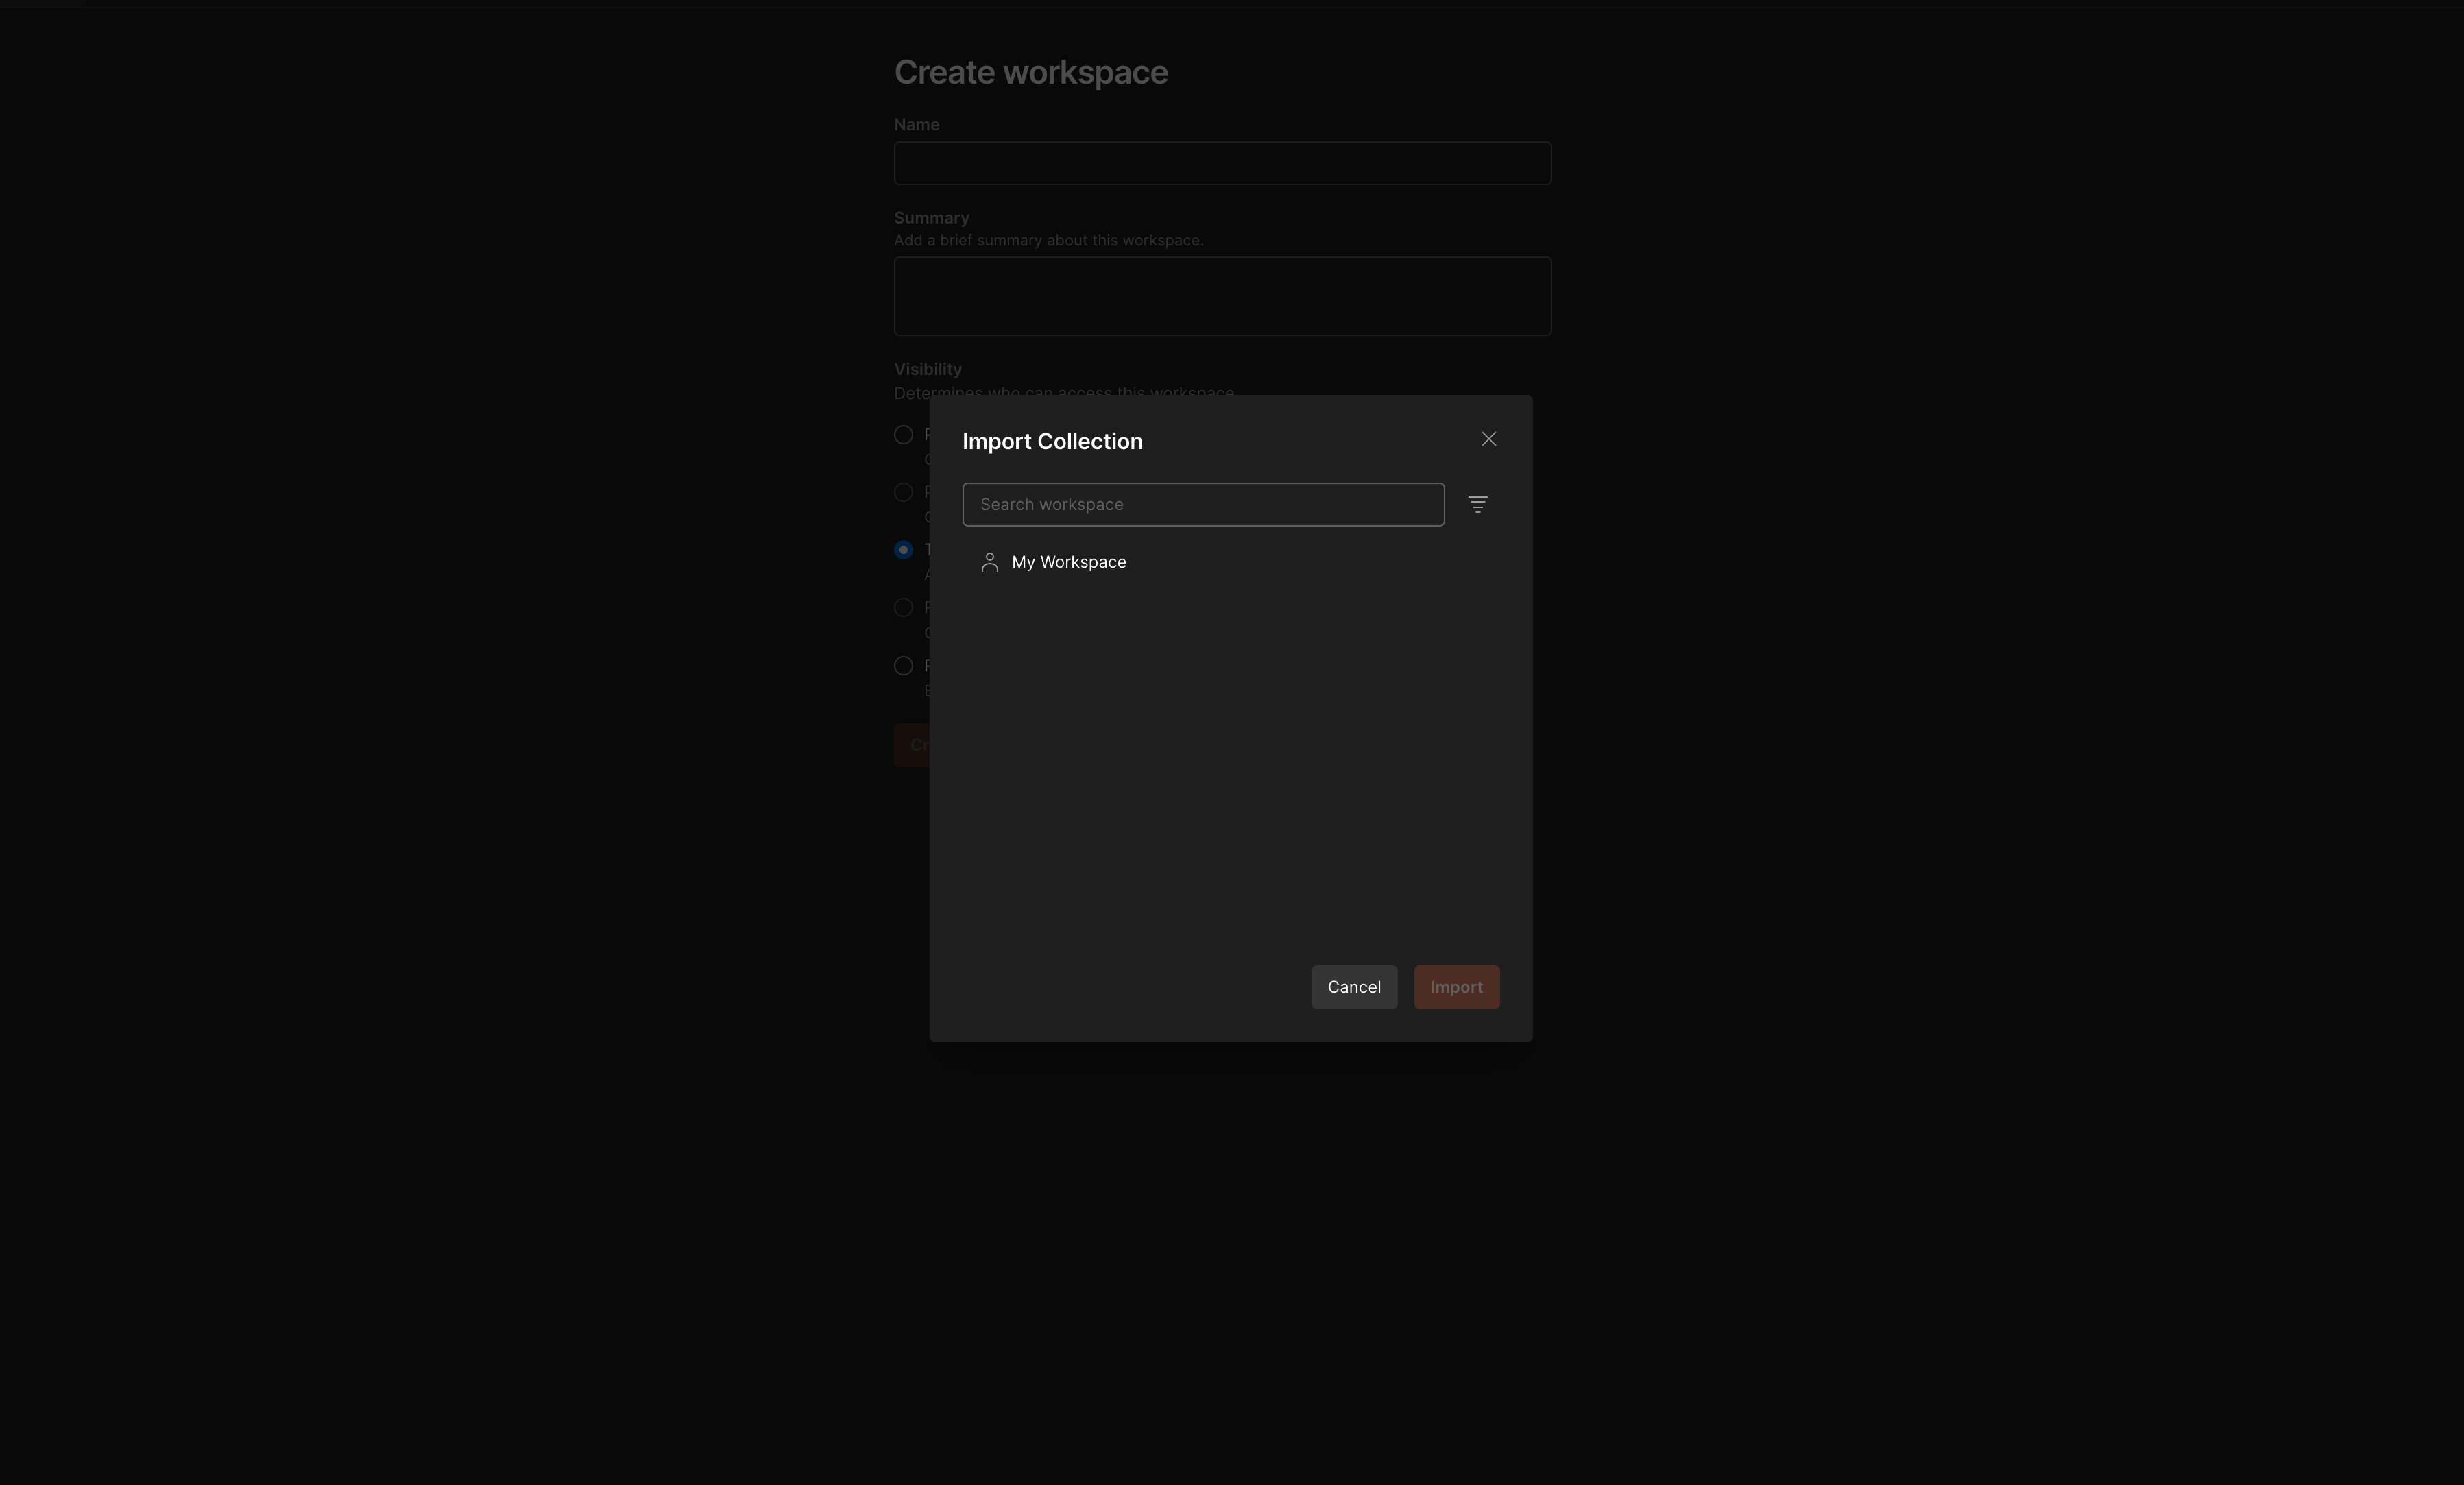
Import our Collection into the Workspace of your choice.
-
In Postman, navigate to Environments and import the attached Environment file (example.postman_environment.json).
-
Adjust your details in your newly imported environment (
api_key, oruser_emailetc.). -
Go to our Collection under Collections and select the newly added Environment in the upper right corner.
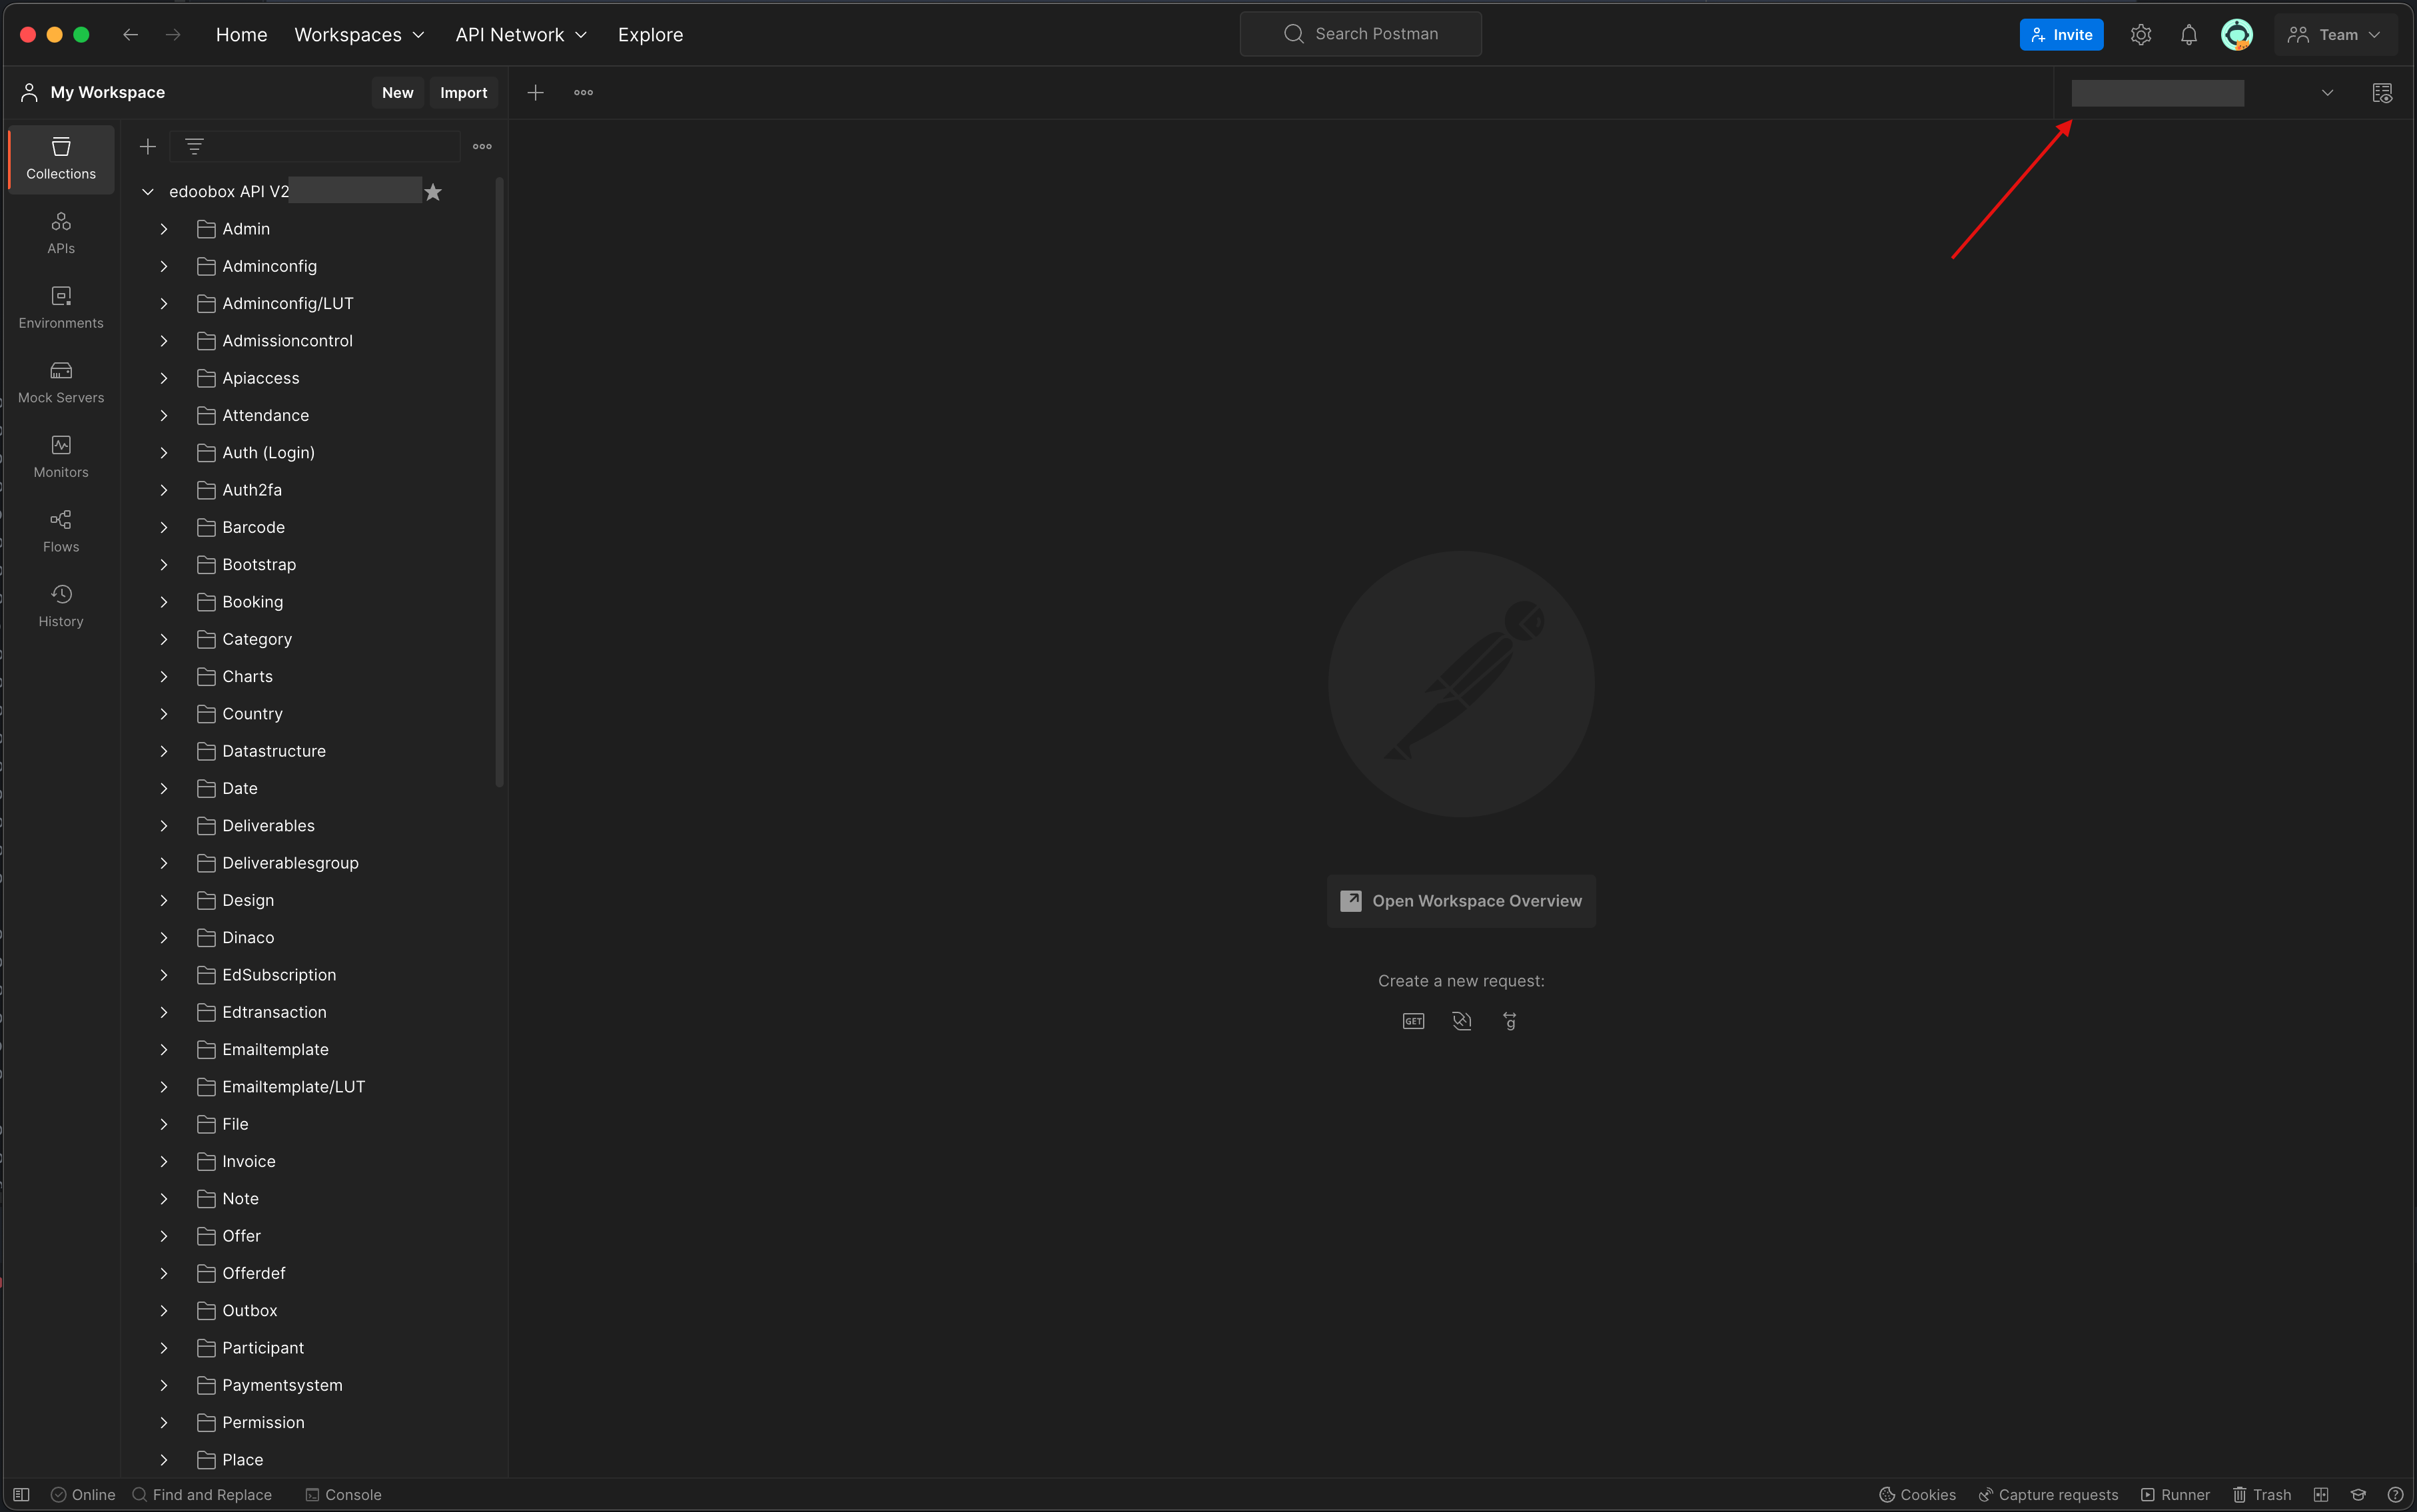
-
You can now authenticate via
Auth (Login) > POST (Login)authenticate. Theaccess_tokenand all other information will be automatically added to your Environment file after authentication. The queryPOST Auth APIThis is for authenticating with API keys. The queryPOST Auth Admin (Login)is for when you use your email and password for authentication. -
After you have executed one of the two
POSTqueries, you can execute all further queries in Postman.
example.postman_environment.json
Related Guides
Keywords for this guide
API ¦ API V2 ¦ Postman ¦ Authentication